Chapter 6: The Router’s Web-based Utility
Use the Router’s web-based utility to administer it. This chapter will describe each web page in the Utility and each page’s key functions. The utility can be accessed via your web browser through use of a computer connected to the Router.
The “Basic settings” , “Security” ,”System”,” Status”, and “Help” screens are available for basic setup. For advanced setup, click the Advanced Settings tab to access these screens: “Advanced Wireless”, “Access Control”, “Port Mapping”, “Routing”, “Dynamic DNS”, and “SNMP”.
To access the web-based utility, launch Internet Explorer or Netscape Navigator, and enter the Router’s default IP address, 192.168.1.1, in the Address field. Then press Enter.
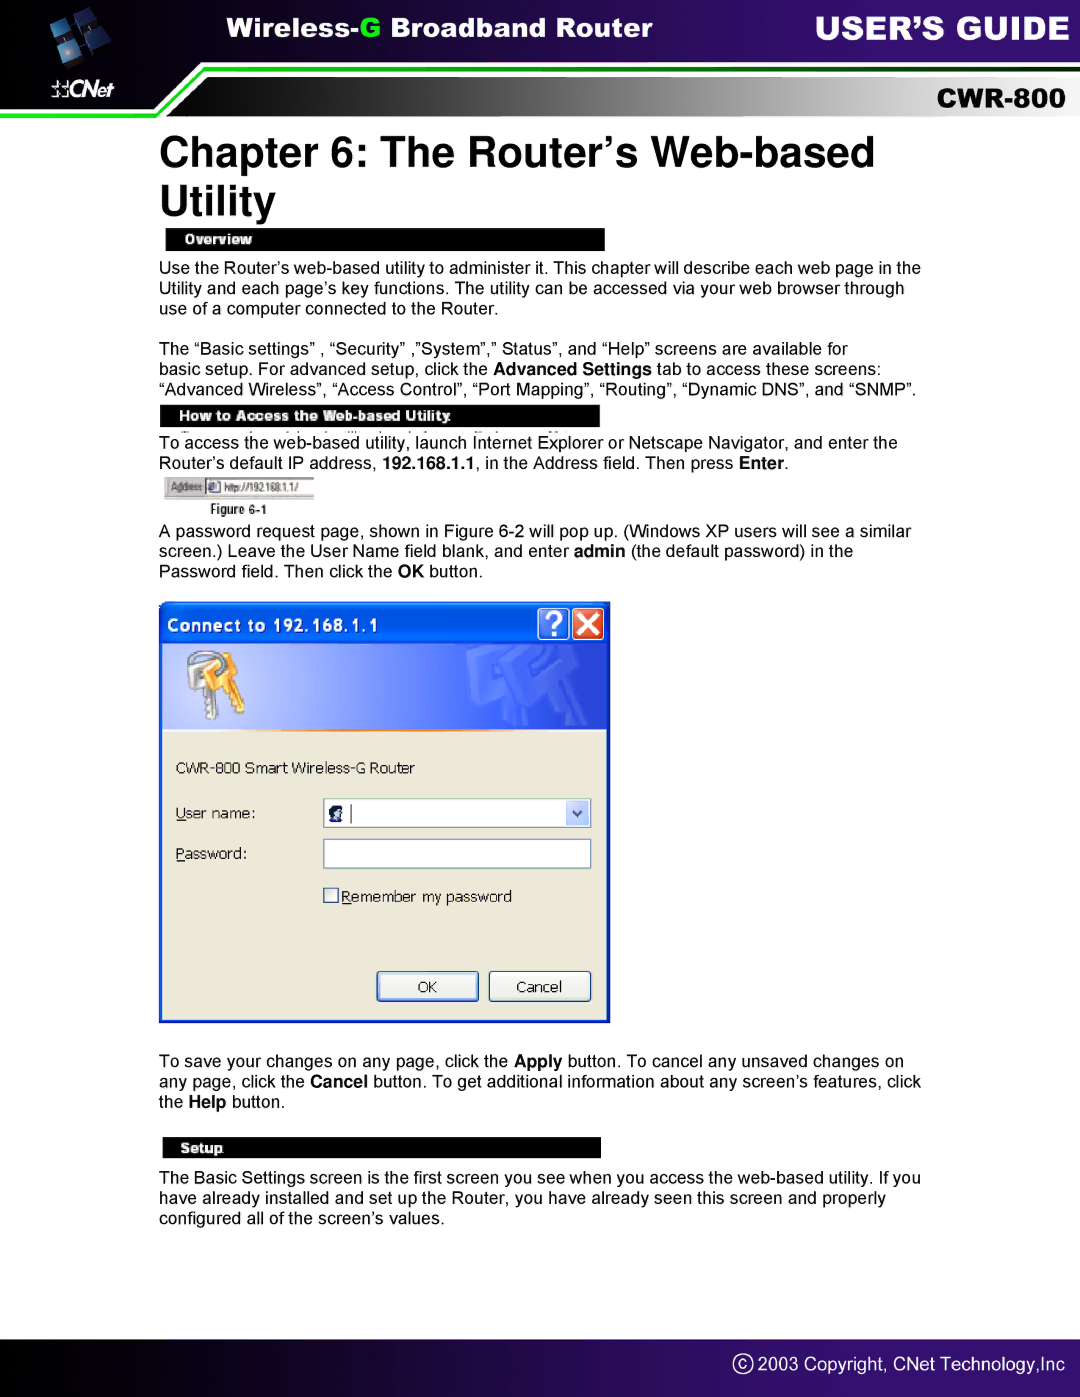
A password request page, shown in Figure 6-2 will pop up. (Windows XP users will see a similar screen.) Leave the User Name field blank, and enter admin (the default password) in the Password field. Then click the OK button.
To save your changes on any page, click the Apply button. To cancel any unsaved changes on any page, click the Cancel button. To get additional information about any screen’s features, click the Help button.
The Basic Settings screen is the first screen you see when you access the web-based utility. If you have already installed and set up the Router, you have already seen this screen and properly configured all of the screen’s values.

