H.STEAM BOILERS — INSTALL STEAM TRIM
Items for steam trim are located in the steam trim carton (except for the separately ordered low water cutoff and tankless heater control). Figures 25a and 25b show the proper tappings for each item.
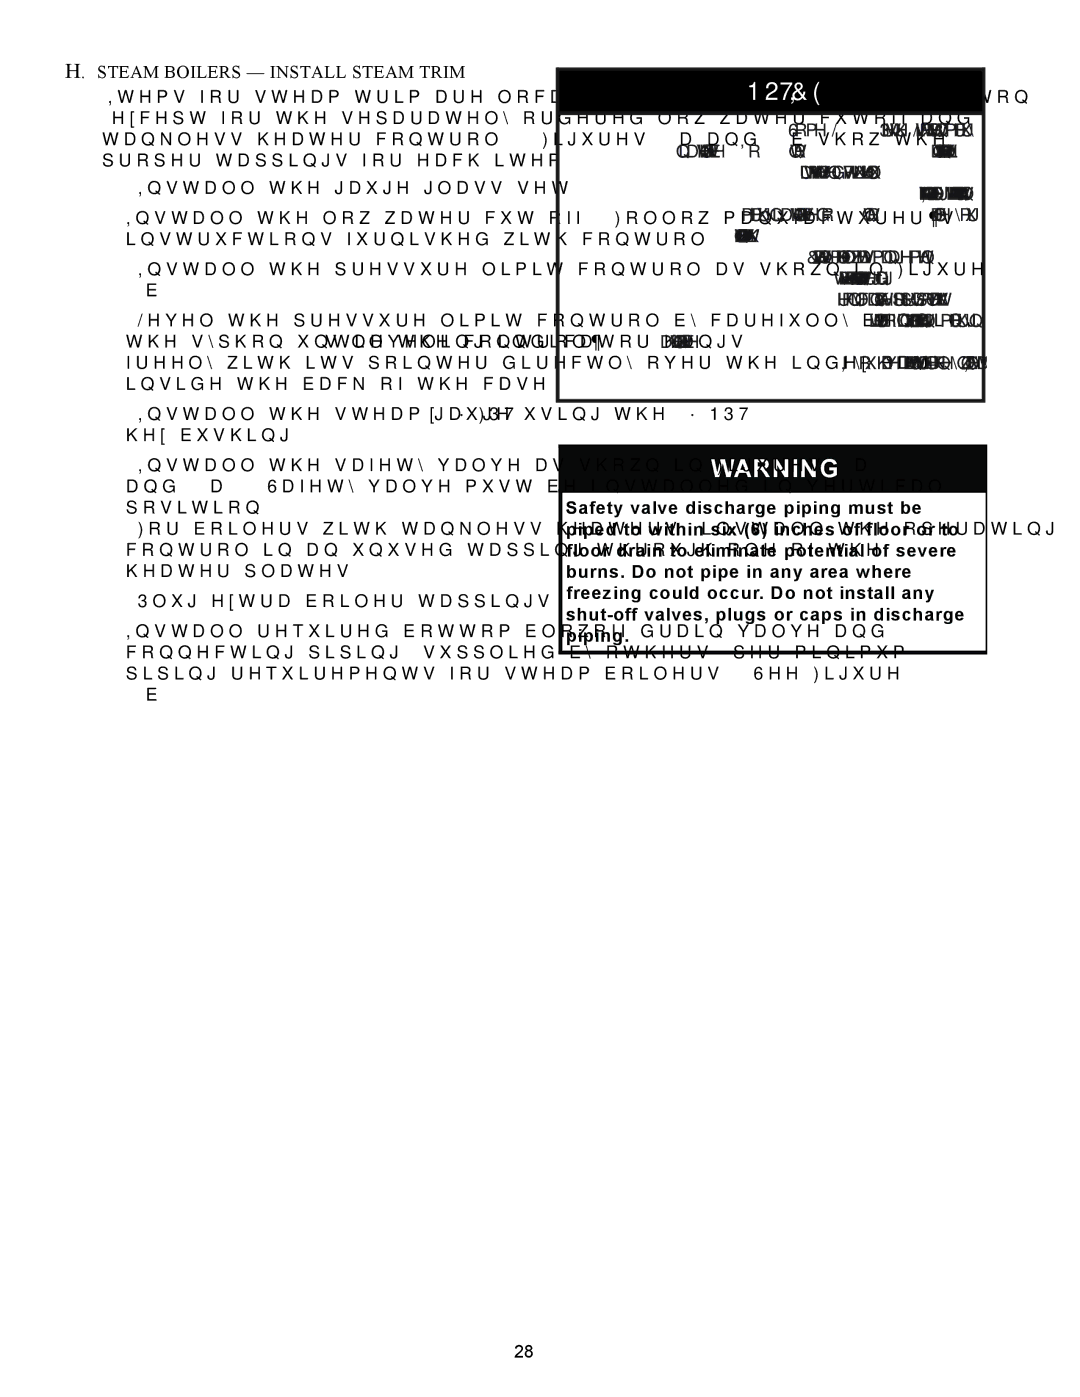
1.Install the gauge glass set.
2.Install the low water
3.Install the pressure limit control as shown in Figure 25b.
4.Level the pressure limit control by carefully bending the syphon until the control’s leveling indicator hangs freely with its pointer directly over the index mark inside the back of the case.
5.Install the steam gauge using the ½” NPT x ¼” FPT hex bushing.
6.Install the safety valve as shown in Figures 25a and 40a. Safety valve must be installed in vertical position.
7.For boilers with tankless heaters, install the operating control in an unused tapping through one of the heater plates.
8.Plug extra boiler tappings.
9.Install required bottom blowoff/drain valve and connecting piping (supplied by others) per minimum piping requirements for steam boilers. See Figure 25b.
NOTICE
Some L404 Pressure Limits contain mercury in a sealed tube. Do not place limit in the trash at the end of its useful life.
If this limit is replacing a limit that contains mercury in a sealed tube, do not place your old limit in the trash.
Contact your local waste management authority for instructions regarding recycling and the proper disposal of this limit, or of an old limit containing mercury in a sealed tube.
If you have questions, call Honeywell Inc. at
WARNING
Safety valve discharge piping must be piped to within six (6) inches of floor or to floor drain to eliminate potential of severe burns. Do not pipe in any area where freezing could occur. Do not install any
28