CONNECTING THE REMOTE CAMERA
Before the camera can be connected to a computer, the remote camera driver must be installed, see page 118. A fully charged battery should be used when the camera is connected to a computer. The use of the AC adapter set (sold separately) is recommended over the use of the battery. For users with Windows 98SE, the USB driver must be installed before connecting the camera to a computer (p. 102).
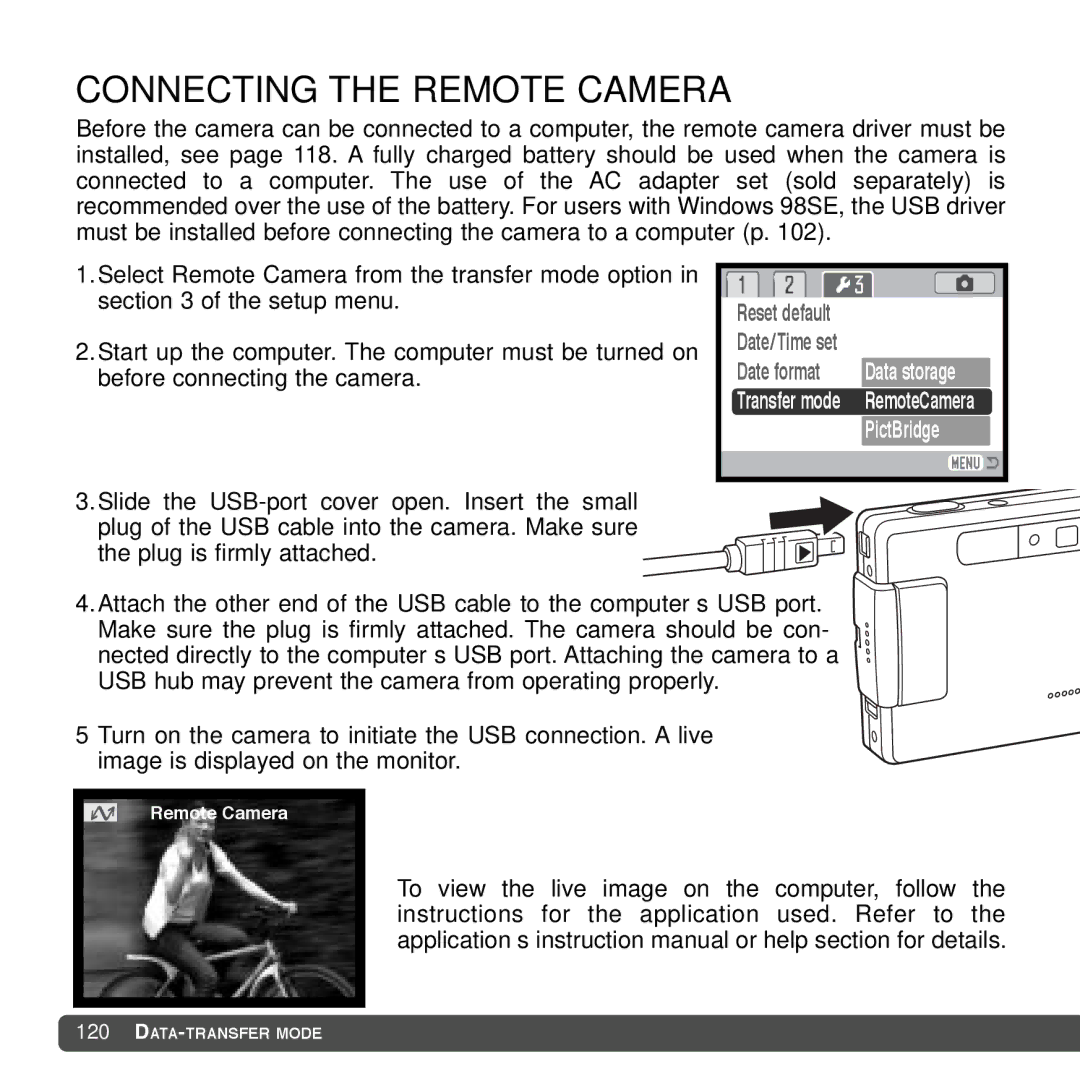
1.Select Remote Camera from the transfer mode option in |
|
|
| |
section 3 of the setup menu. |
|
|
| |
Reset default | – | |||
| ||||
2.Start up the computer. The computer must be turned on | Date/Time set | – | ||
Date format | Data storage |
| ||
before connecting the camera. |
| |||
| Transfer mode | RemoteCamera |
| |
|
| PictBridge |
| |
|
|
|
| |
|
|
|
| |
3.Slide the
4.Attach the other end of the USB cable to the computer’s USB port. Make sure the plug is firmly attached. The camera should be con- nected directly to the computer’s USB port. Attaching the camera to a USB hub may prevent the camera from operating properly.
5 Turn on the camera to initiate the USB connection. A live image is displayed on the monitor.
Remote Camera
To view the live image on the computer, follow the instructions for the application used. Refer to the application’s instruction manual or help section for details.