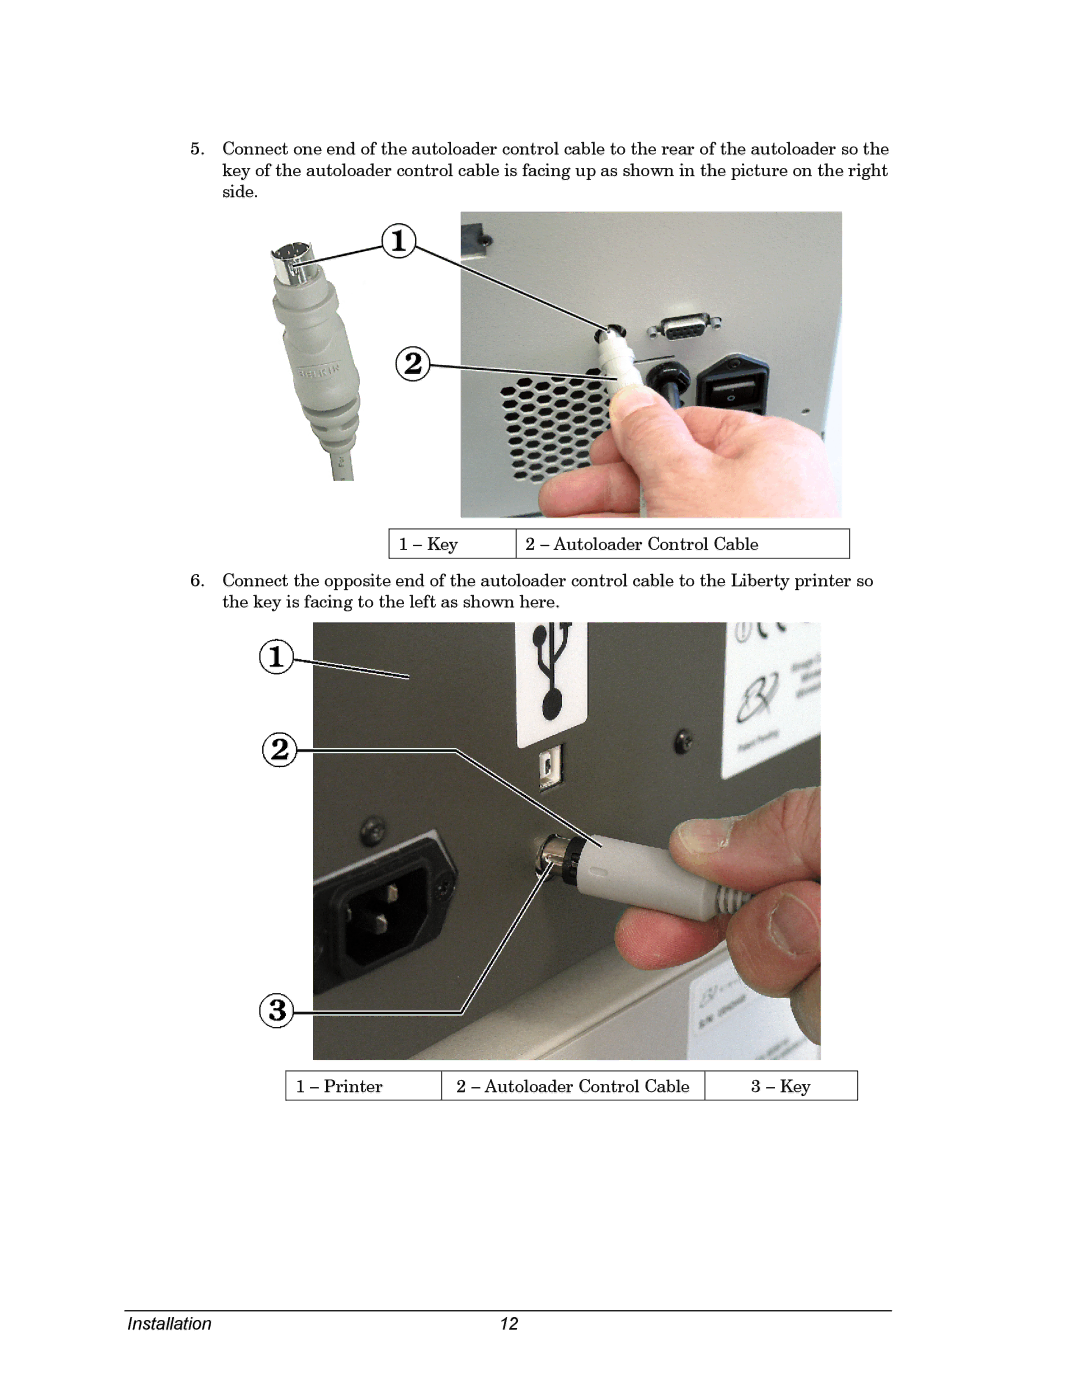
5.Connect one end of the autoloader control cable to the rear of the autoloader so the key of the autoloader control cable is facing up as shown in the picture on the right side.
1 – Key
2 – Autoloader Control Cable
6.Connect the opposite end of the autoloader control cable to the Liberty printer so the key is facing to the left as shown here.
1 – Printer
2 – Autoloader Control Cable
3 – Key
Installation | 12 |