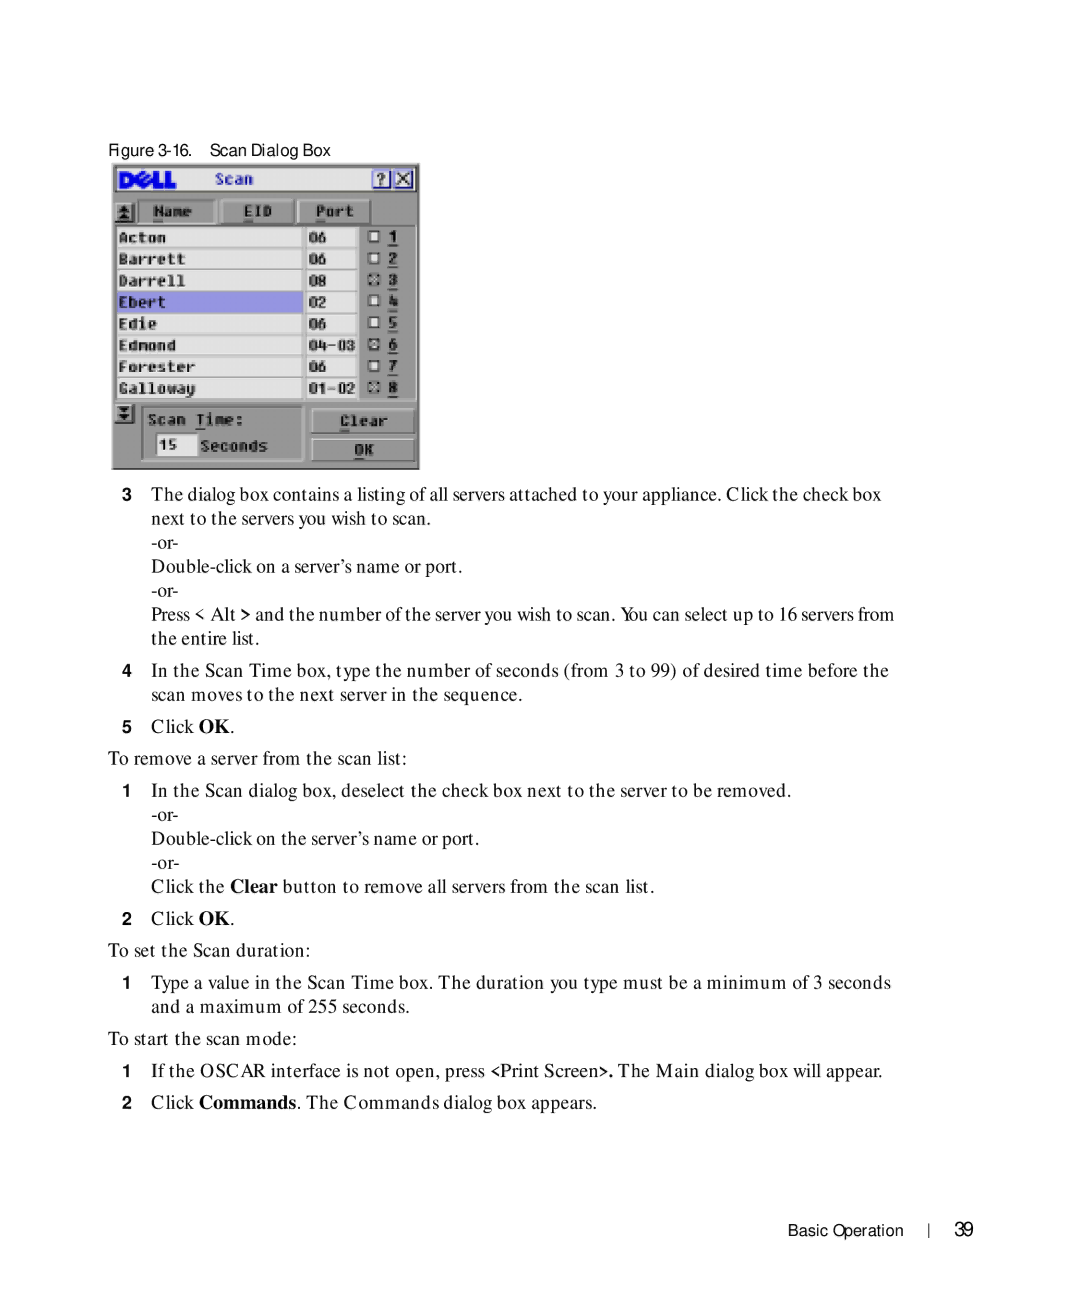
Figure 3-16. Scan Dialog Box
3The dialog box contains a listing of all servers attached to your appliance. Click the check box next to the servers you wish to scan.
Press <Alt > and the number of the server you wish to scan. You can select up to 16 servers from the entire list.
4In the Scan Time box, type the number of seconds (from 3 to 99) of desired time before the scan moves to the next server in the sequence.
5Click OK.
To remove a server from the scan list:
1In the Scan dialog box, deselect the check box next to the server to be removed.
Click the Clear button to remove all servers from the scan list.
2Click OK.
To set the Scan duration:
1Type a value in the Scan Time box. The duration you type must be a minimum of 3 seconds and a maximum of 255 seconds.
To start the scan mode:
1If the OSCAR interface is not open, press <Print Screen>. The Main dialog box will appear.
2Click Commands. The Commands dialog box appears.
Basic Operation
39
