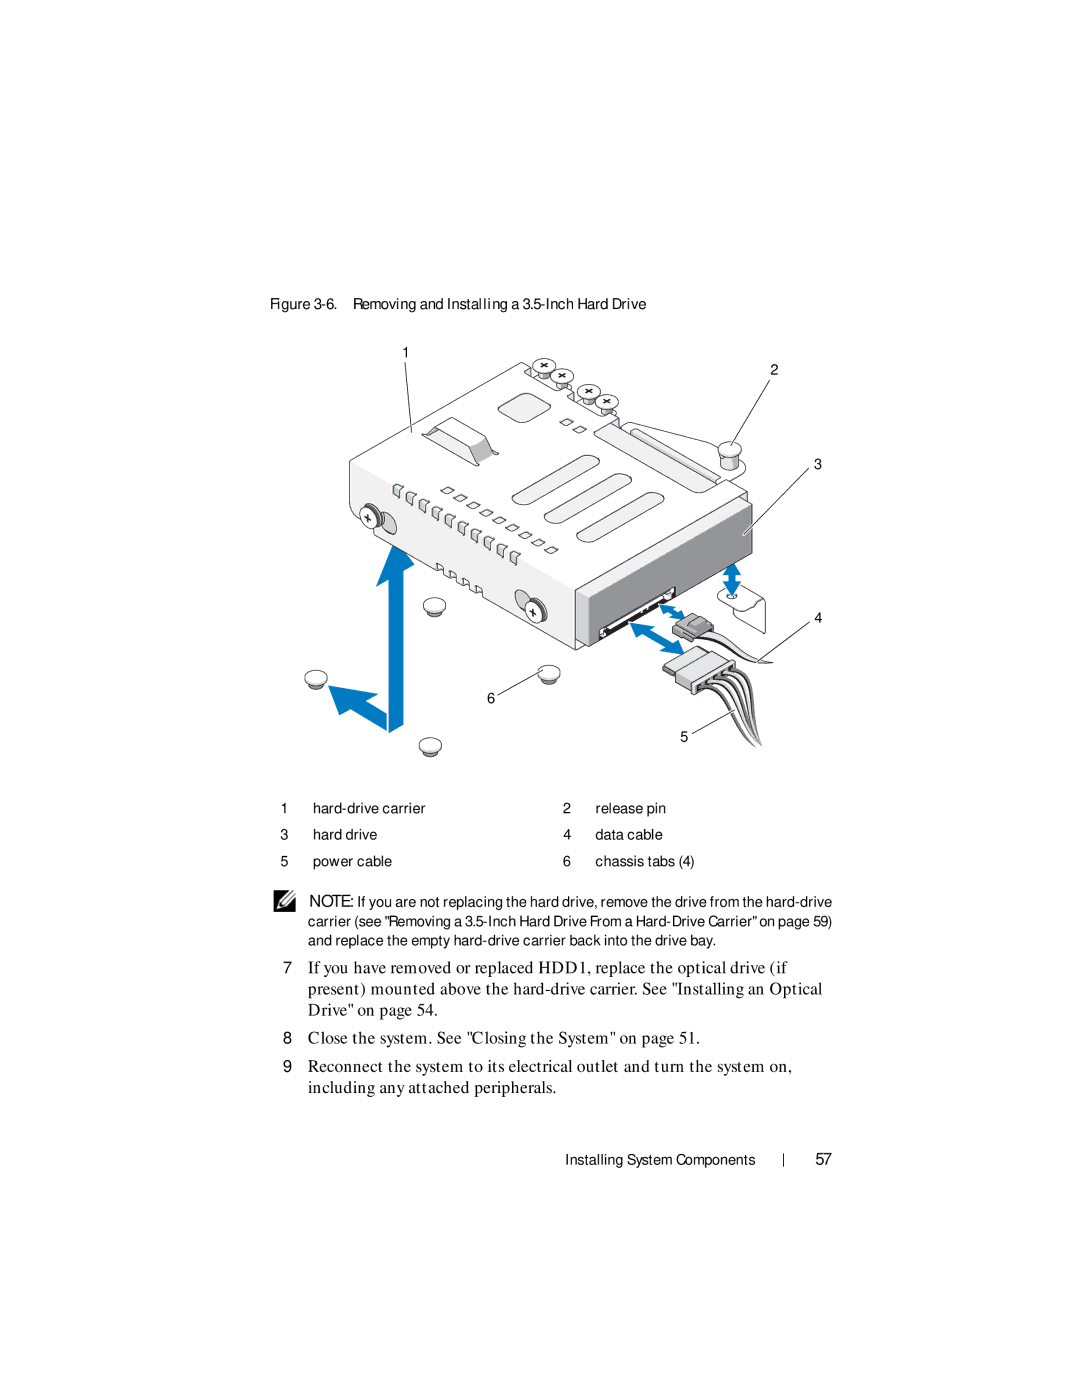
Figure 3-6. Removing and Installing a 3.5-Inch Hard Drive
1
2
3
4
6 ![]()
|
|
| 5 |
1 | 2 | release pin | |
3 | hard drive | 4 | data cable |
5 | power cable | 6 | chassis tabs (4) |
NOTE: If you are not replacing the hard drive, remove the drive from the
7If you have removed or replaced HDD1, replace the optical drive (if present) mounted above the
8Close the system. See "Closing the System" on page 51.
9Reconnect the system to its electrical outlet and turn the system on, including any attached peripherals.
Installing System Components
57