OPERATING CONTROLS
AND UNISAW ADJUSTMENTS
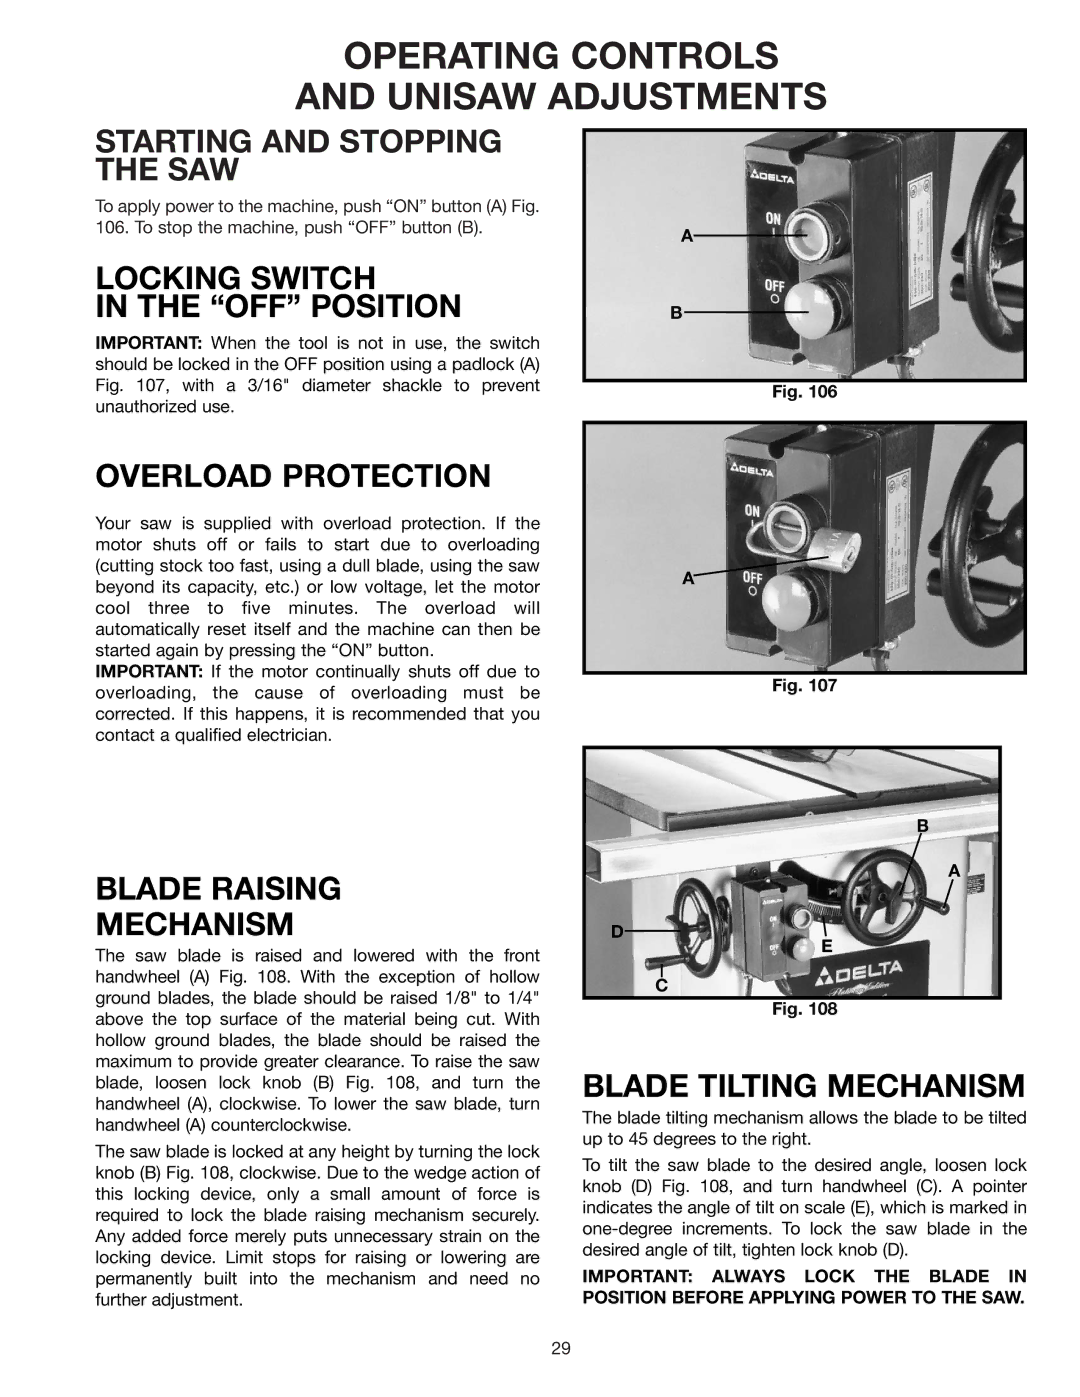
STARTING AND STOPPING THE SAW
To apply power to the machine, push “ON” button (A) Fig. 106. To stop the machine, push “OFF” button (B).
LOCKING SWITCH
IN THE “OFF” POSITION
IMPORTANT: When the tool is not in use, the switch should be locked in the OFF position using a padlock (A) Fig. 107, with a 3/16" diameter shackle to prevent unauthorized use.
A
B
Fig. 106
OVERLOAD PROTECTION
Your saw is supplied with overload protection. If the motor shuts off or fails to start due to overloading (cutting stock too fast, using a dull blade, using the saw beyond its capacity, etc.) or low voltage, let the motor cool three to five minutes. The overload will automatically reset itself and the machine can then be started again by pressing the “ON” button.
IMPORTANT: If the motor continually shuts off due to overloading, the cause of overloading must be corrected. If this happens, it is recommended that you contact a qualified electrician.
BLADE RAISING
MECHANISM
The saw blade is raised and lowered with the front handwheel (A) Fig. 108. With the exception of hollow ground blades, the blade should be raised 1/8" to 1/4" above the top surface of the material being cut. With hollow ground blades, the blade should be raised the maximum to provide greater clearance. To raise the saw blade, loosen lock knob (B) Fig. 108, and turn the handwheel (A), clockwise. To lower the saw blade, turn handwheel (A) counterclockwise.
The saw blade is locked at any height by turning the lock knob (B) Fig. 108, clockwise. Due to the wedge action of this locking device, only a small amount of force is required to lock the blade raising mechanism securely. Any added force merely puts unnecessary strain on the locking device. Limit stops for raising or lowering are permanently built into the mechanism and need no further adjustment.
A
Fig. 107
B
A
D
E
C
Fig. 108
BLADE TILTING MECHANISM
The blade tilting mechanism allows the blade to be tilted up to 45 degrees to the right.
To tilt the saw blade to the desired angle, loosen lock knob (D) Fig. 108, and turn handwheel (C). A pointer indicates the angle of tilt on scale (E), which is marked in
IMPORTANT: ALWAYS LOCK THE BLADE IN POSITION BEFORE APPLYING POWER TO THE SAW.
29