CANopen Communication Module
3.3Connecting to CANopen Connection Port
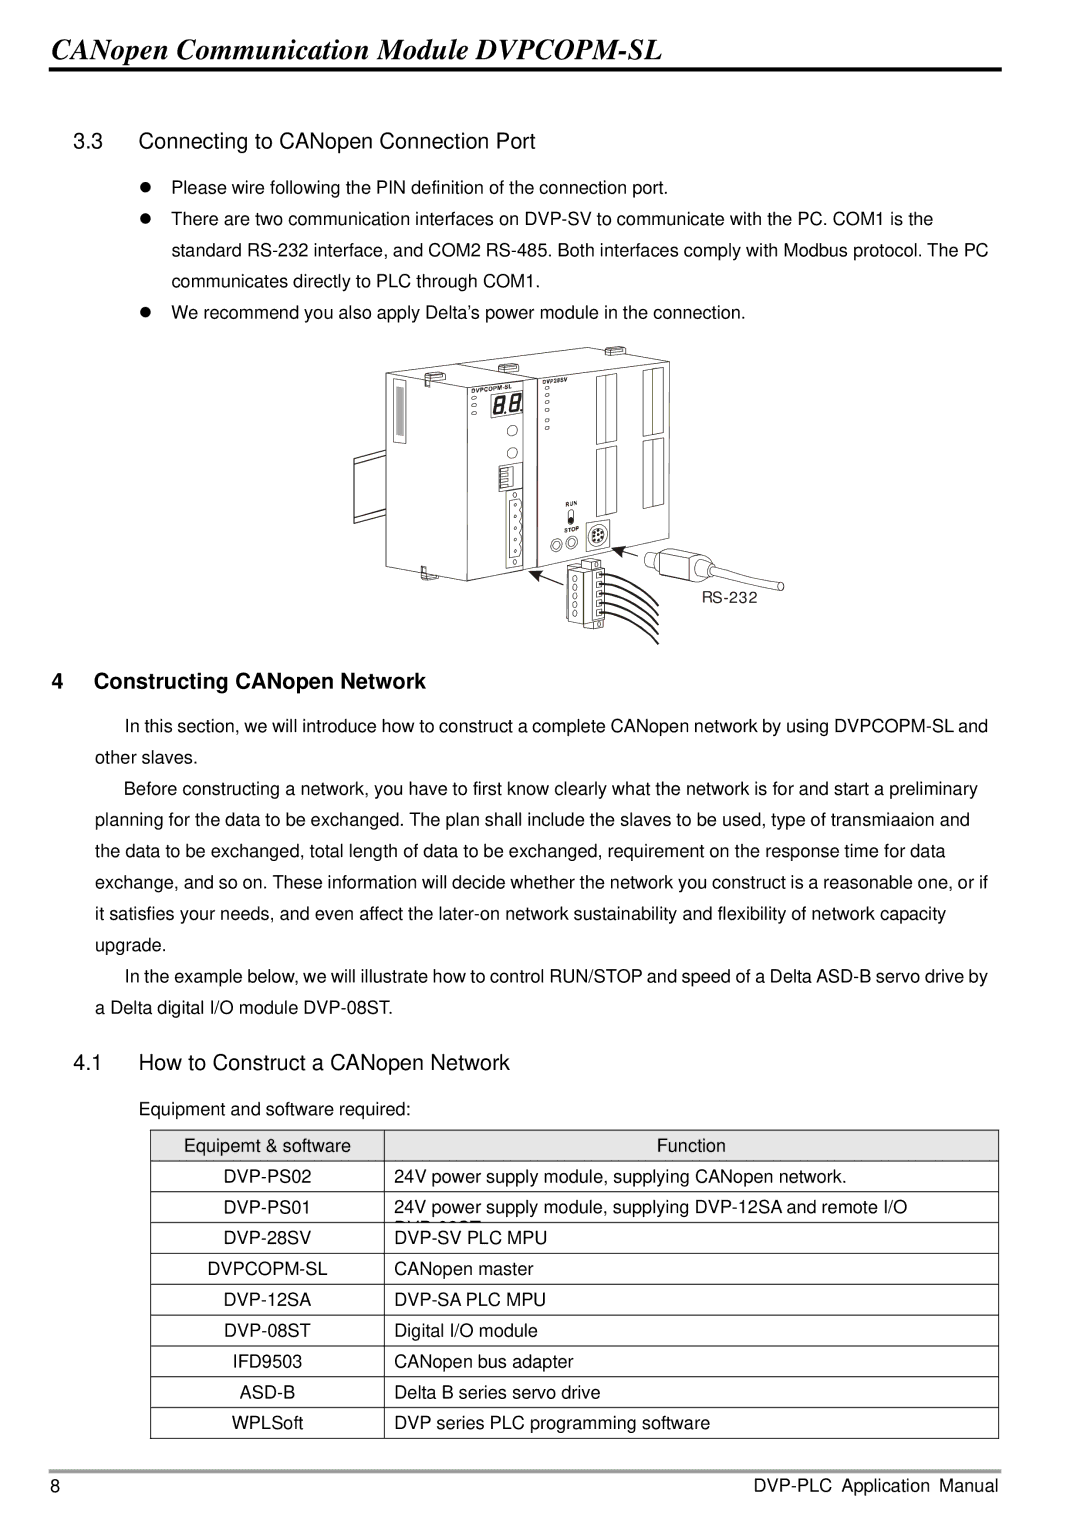
zPlease wire following the PIN definition of the connection port.
zThere are two communication interfaces on
zWe recommend you also apply Delta’s power module in the connection.
4 Constructing CANopen Network
In this section, we will introduce how to construct a complete CANopen network by using
Before constructing a network, you have to first know clearly what the network is for and start a preliminary planning for the data to be exchanged. The plan shall include the slaves to be used, type of transmiaaion and the data to be exchanged, total length of data to be exchanged, requirement on the response time for data exchange, and so on. These information will decide whether the network you construct is a reasonable one, or if it satisfies your needs, and even affect the
In the example below, we will illustrate how to control RUN/STOP and speed of a Delta
4.1How to Construct a CANopen Network
Equipment and software required:
Equipemt & software | Function |
24V power supply module, supplying CANopen network. | |
|
|
24V power supply module, supplying | |
| DVP 08ST |
|
|
CANopen master | |
|
|
|
|
Digital I/O module | |
|
|
IFD9503 | CANopen bus adapter |
|
|
| Delta B series servo drive |
|
|
WPLSoft | DVP series PLC programming software |
|
|
8 |
