|
|
|
|
|
|
|
| 14 | Adjusting the picture |
|
| ||
|
|
|
|
|
|
|
Adjusting the picture
Choosing the display format
To choose the display format:
•Press ZOOM repeatedly to cycle through the available display formats. Options include:
•
•
•
•
•
Notes:
2Press ![]() or
or ![]() to highlight Picture, then press ENTER. The Picture menu opens.
to highlight Picture, then press ENTER. The Picture menu opens.
•To view these zoom options, you can also press MENU, then select the Pictures, Aspect Ratio submenu.
•The default aspect ratio for all input sources, excluding TV, is Wide. For TV, the default settings is Normal.
Adjusting Advanced Video settings
Your TV supports advanced video functions so you can tailor the picture to match your viewing habits. You can select a preset picture setting or you can choose to enable any of the advanced picture functions.
Selecting a preset picture setting
To select a preset picture setting:
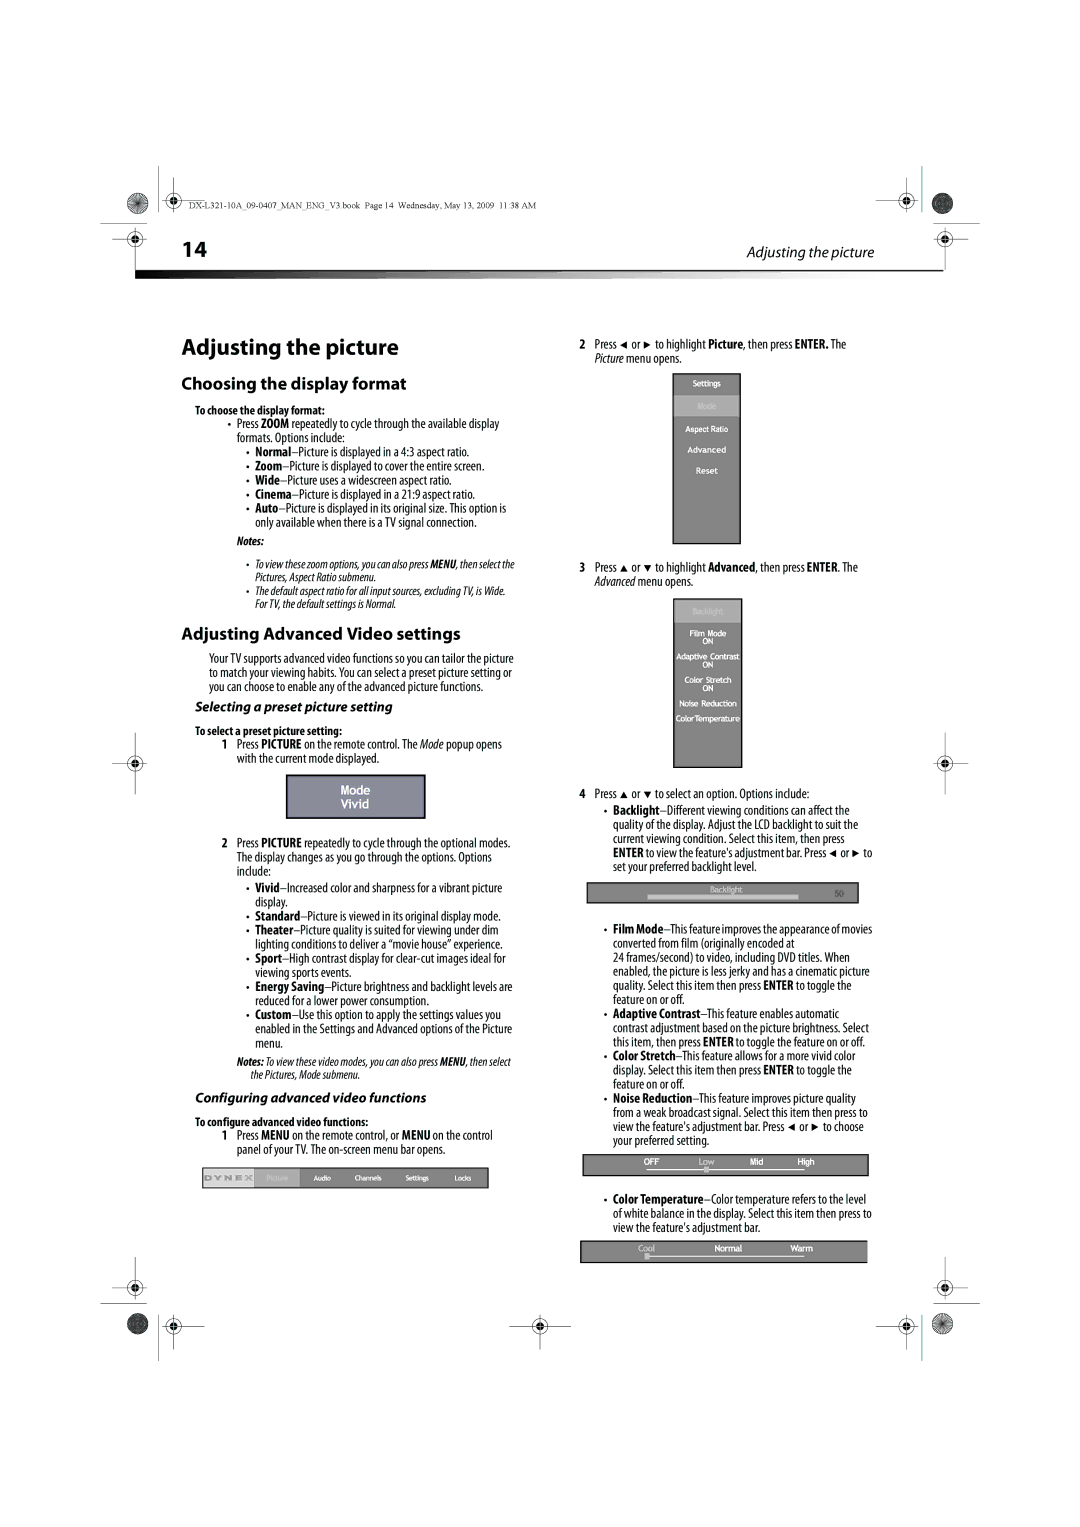
1Press PICTURE on the remote control. The Mode popup opens with the current mode displayed.
2Press PICTURE repeatedly to cycle through the optional modes. The display changes as you go through the options. Options include:
•
•Standard–Picture is viewed in its original display mode.
•
•
•Energy
•
Notes: To view these video modes, you can also press MENU, then select the Pictures, Mode submenu.
Configuring advanced video functions
To configure advanced video functions:
1Press MENU on the remote control, or MENU on the control panel of your TV. The
3Press ![]() or
or ![]() to highlight Advanced, then press ENTER. The Advanced menu opens.
to highlight Advanced, then press ENTER. The Advanced menu opens.
4Press  or
or  to select an option. Options include:
•![]() or
or ![]() to set your preferred backlight level.
to set your preferred backlight level.
•Film
24 frames/second) to video, including DVD titles. When enabled, the picture is less jerky and has a cinematic picture quality. Select this item then press ENTER to toggle the feature on or off.
•Adaptive
•Color
•Noise ![]() or
or ![]() to choose your preferred setting.
to choose your preferred setting.
•Color