|
| Adjusting the sound | 15 |
|
|
|
|
|
|
|
| ||
|
|
|
|
|
|
|
Press ![]() or
or ![]() to choose your preferred setting.
to choose your preferred setting.
•
•
•
•Digital
•
Freezing the picture
There may be instances when you want to jot down information displayed on the TV but you have no pen handy. In such cases, use the FREEZE button to capture the currently displayed image and view it in a separate screen.
To freeze the picture:
1Press FREEZE once to view an image capture of the display in a separate screen while the programming continues to run.
2Press FREEZE again to display the image capture using the entire screen.
3To continue with the regular programming, press FREEZE one more time.
Adjusting the sound
Changing channel settings
Automatically scanning for channels
Depending on the type of TV service you’re using, you can scan for available channels in your area.
Notes:
•Make sure the antenna is properly connected to the TV before you start a channel scan.
•If a system PIN has been set up, you will be prompted to key it in before you can perform a channel scan.
To auto scan for over-the-air and digital TV channels:
1Press MENU on the remote control, or MENU on the control panel of your TV. The
Adjusting the sound
To adjust the sound:
1Press MENU on the remote control, or MENU on the control panel of your TV. The
2Press ![]() or
or ![]() to highlight Audio, then press ENTER. The Audio menu opens. The list of Audio submenus will vary depending on the type of TV
to highlight Audio, then press ENTER. The Audio menu opens. The list of Audio submenus will vary depending on the type of TV
Analog | Digital |
2Press ![]() or
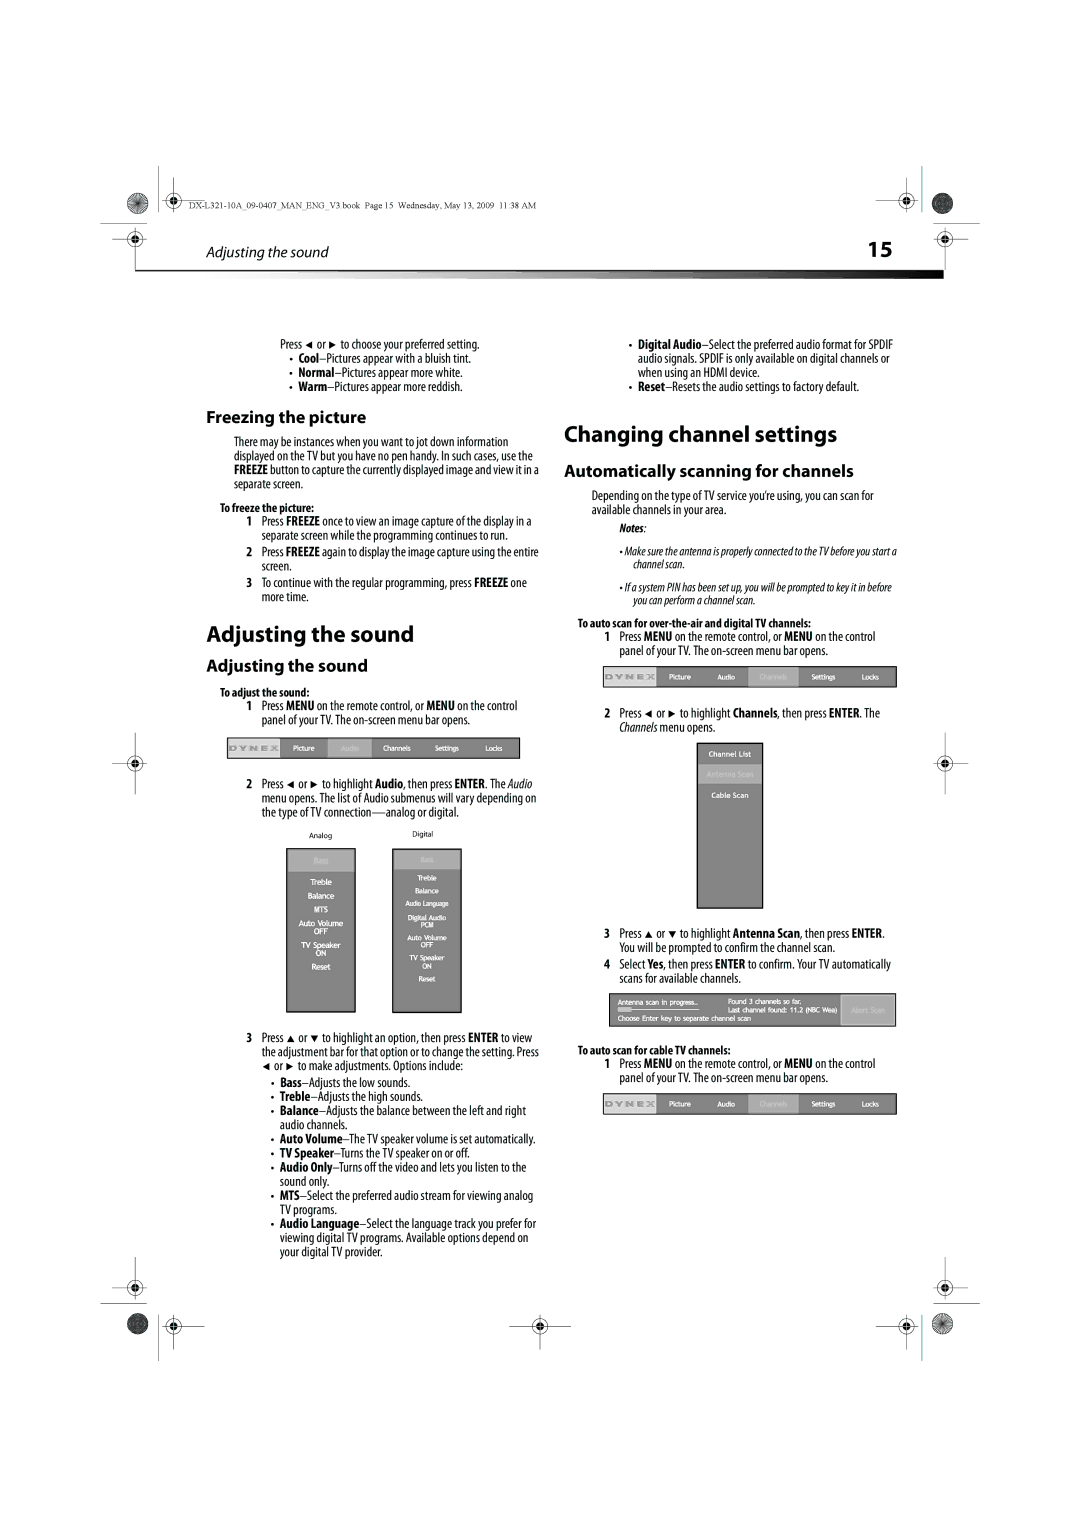
or ![]() to highlight Channels, then press ENTER. The Channels menu opens.
to highlight Channels, then press ENTER. The Channels menu opens.
3Press ![]() or
or ![]() to highlight Antenna Scan, then press ENTER. You will be prompted to confirm the channel scan.
to highlight Antenna Scan, then press ENTER. You will be prompted to confirm the channel scan.
4Select Yes, then press ENTER to confirm. Your TV automatically scans for available channels.
3Press ![]() or
or ![]() to highlight an option, then press ENTER to view the adjustment bar for that option or to change the setting. Press
to highlight an option, then press ENTER to view the adjustment bar for that option or to change the setting. Press ![]() or
or ![]() to make adjustments. Options include:
to make adjustments. Options include:
•
•
•
•Auto
•TV
•Audio
•
•Audio
To auto scan for cable TV channels:
1Press MENU on the remote control, or MENU on the control panel of your TV. The