Confidential
Note:
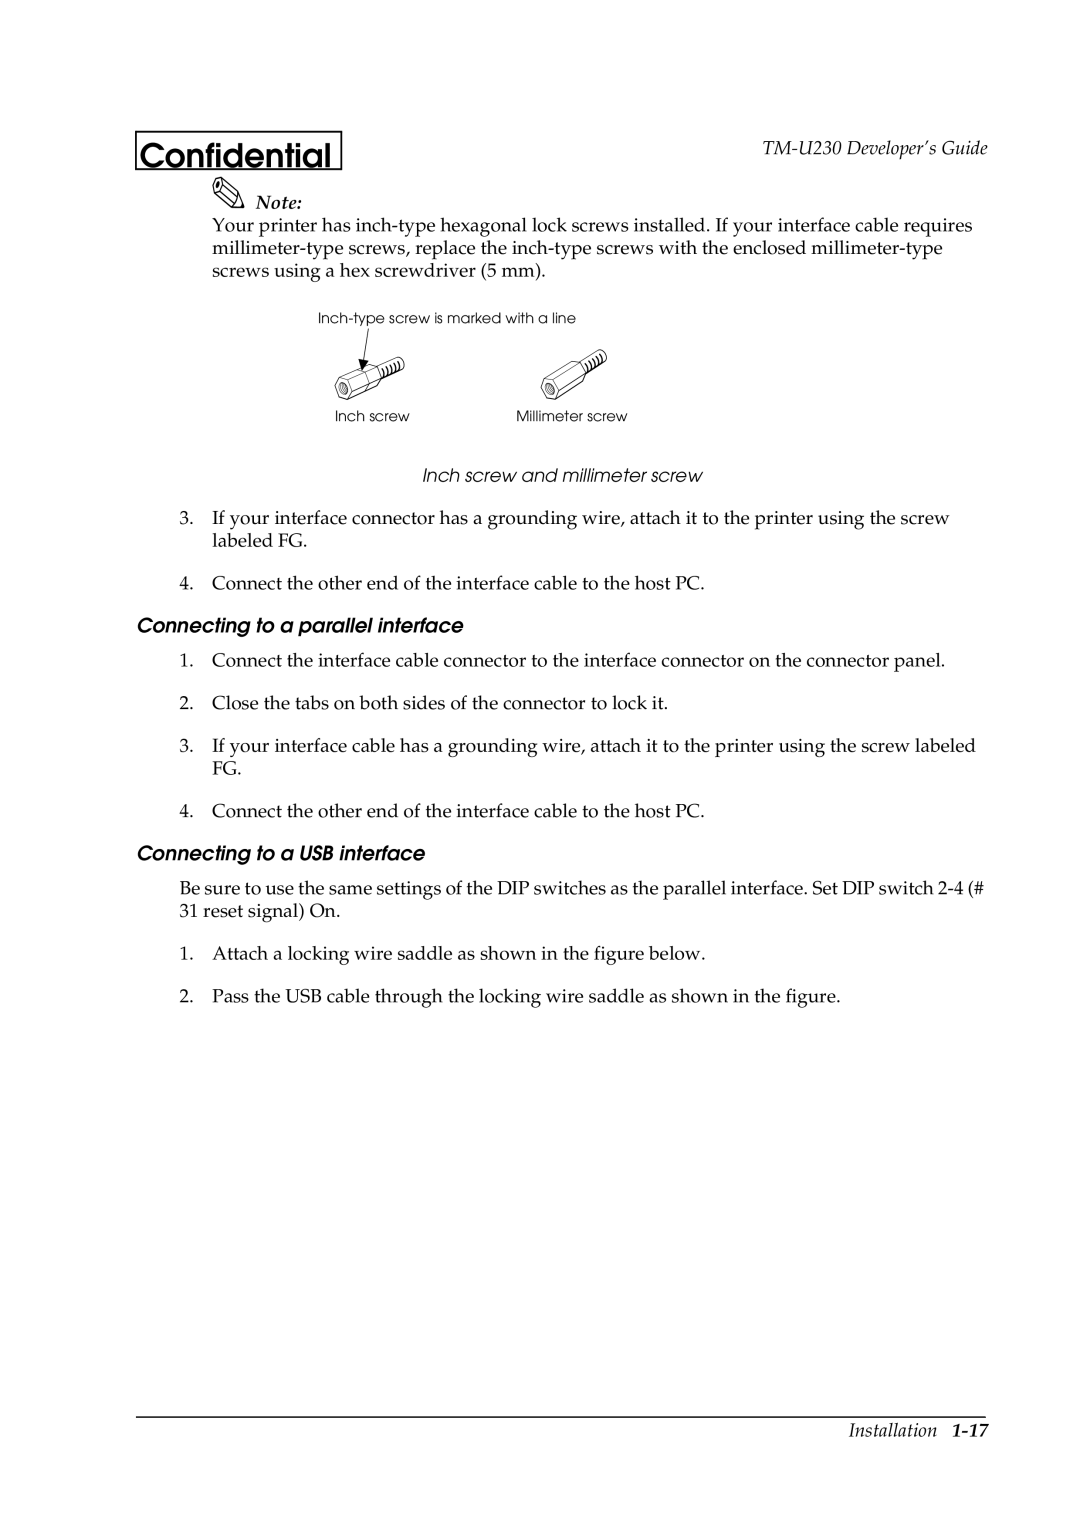
Your printer has
Inch screw | Millimeter screw |
Inch screw and millimeter screw
3.If your interface connector has a grounding wire, attach it to the printer using the screw labeled FG.
4.Connect the other end of the interface cable to the host PC.
Connecting to a parallel interface
1.Connect the interface cable connector to the interface connector on the connector panel.
2.Close the tabs on both sides of the connector to lock it.
3.If your interface cable has a grounding wire, attach it to the printer using the screw labeled FG.
4.Connect the other end of the interface cable to the host PC.
Connecting to a USB interface
Be sure to use the same settings of the DIP switches as the parallel interface. Set DIP switch
1.Attach a locking wire saddle as shown in the figure below.
2.Pass the USB cable through the locking wire saddle as shown in the figure.
Installation