3.5 MOTION DETECTION
MOTION SETUP MENU
CAMERA 1 | MOTION | ENABLE |
CAMERA 2 | SENSITIVITY | 07 |
CAMERA 3 |
|
|
CAMERA 4 | DURATION | 05 SEC |
CAMERA 5 | ALARM OUTPUT | 01 |
CAMERA 6 | NO | |
CAMERA 7 | NETWORK | NO |
CAMERA 8 | BUZZER | DISABLE |
CAMERA 9 |
|
|
SUMMARY | MAIN MON | NO CHANGE |
| CALL MON | NO CHANGE |
| MATRIX 1 | NO CHANGE |
| MATRIX 2 | NO CHANGE |
| MATRIX 3 | NO CHANGE |
| MATRIX 4 | NO CHANGE |
Menu display for
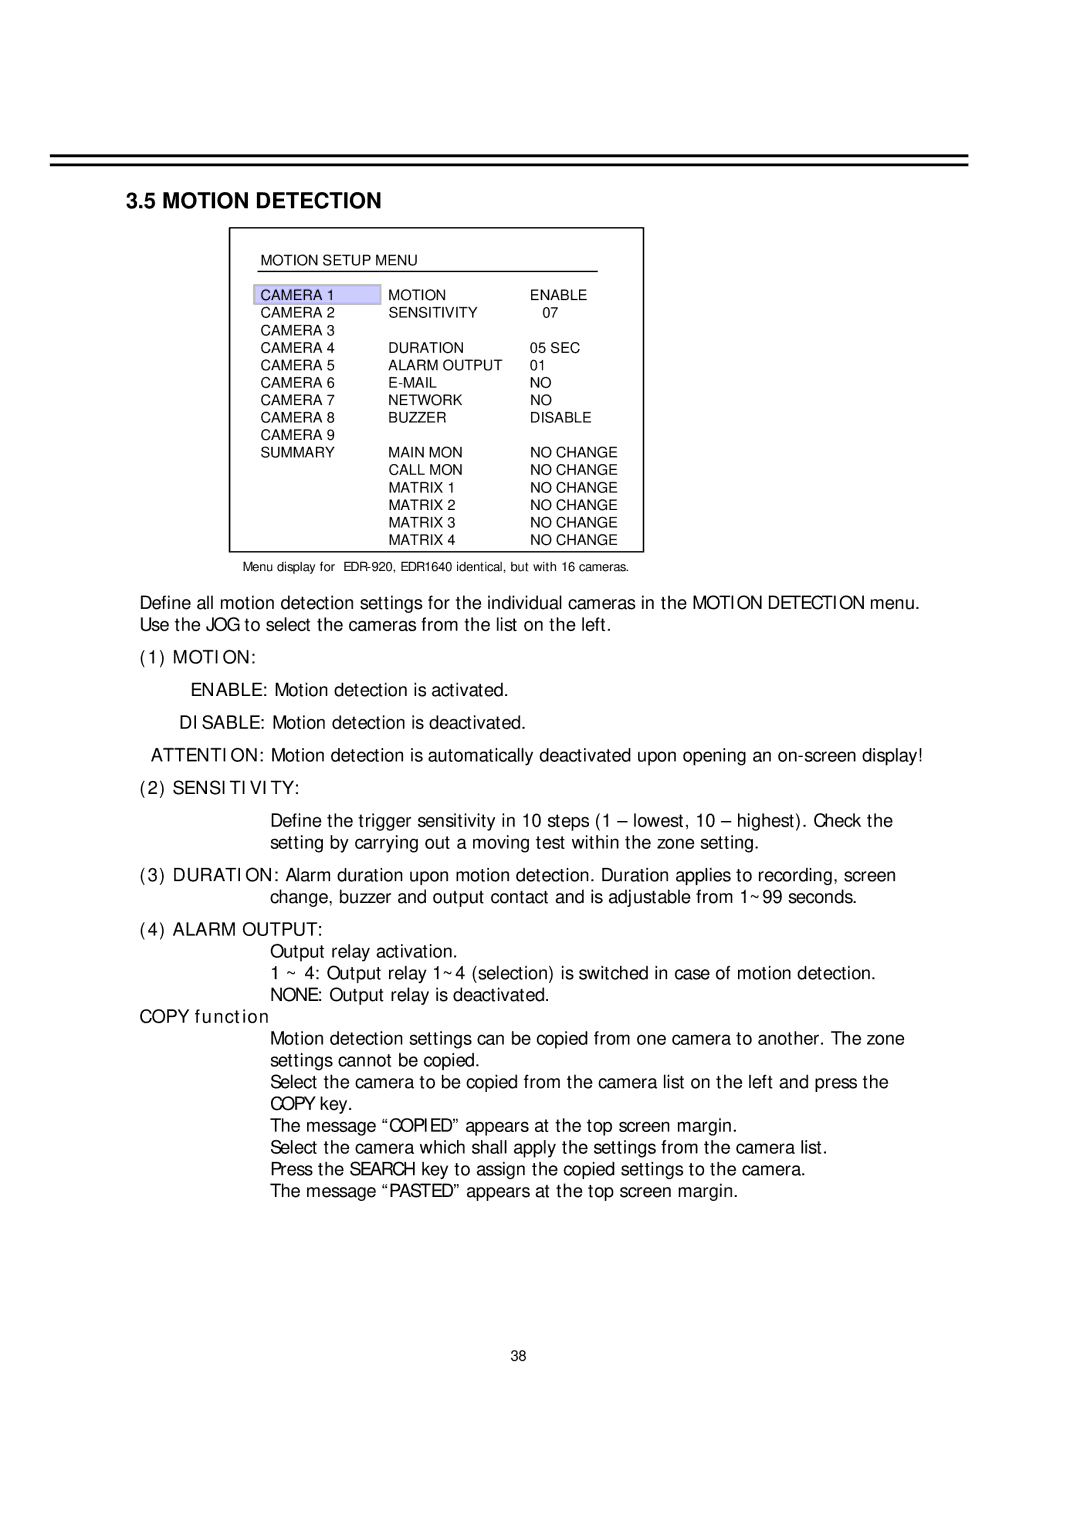
Define all motion detection settings for the individual cameras in the MOTION DETECTION menu. Use the JOG to select the cameras from the list on the left.
(1) MOTION:
ENABLE: Motion detection is activated. DISABLE: Motion detection is deactivated.
ATTENTION: Motion detection is automatically deactivated upon opening an
(2) SENSITIVITY:
Define the trigger sensitivity in 10 steps (1 – lowest, 10 – highest). Check the setting by carrying out a moving test within the zone setting.
(3)DURATION: Alarm duration upon motion detection. Duration applies to recording, screen change, buzzer and output contact and is adjustable from 1~99 seconds.
(4)ALARM OUTPUT:
Output relay activation.
1 ~ 4: Output relay 1~4 (selection) is switched in case of motion detection.
NONE: Output relay is deactivated.
COPY function
Motion detection settings can be copied from one camera to another. The zone settings cannot be copied.
Select the camera to be copied from the camera list on the left and press the COPY key.
The message “COPIED” appears at the top screen margin.
Select the camera which shall apply the settings from the camera list. Press the SEARCH key to assign the copied settings to the camera. The message “PASTED” appears at the top screen margin.
38
