Operation, cont’d
Front panel I/O label windows
9Input and output label windows — These translucent panels can be removed and replaced to insert labels behind the panels. To remove a panel, insert the Philips-head end of an Extron tweeker or small Philips- head screwdriver into the hole in one end of the panel, and gently slide the tab on the edge of the panel out of the recess in the switcher housing.
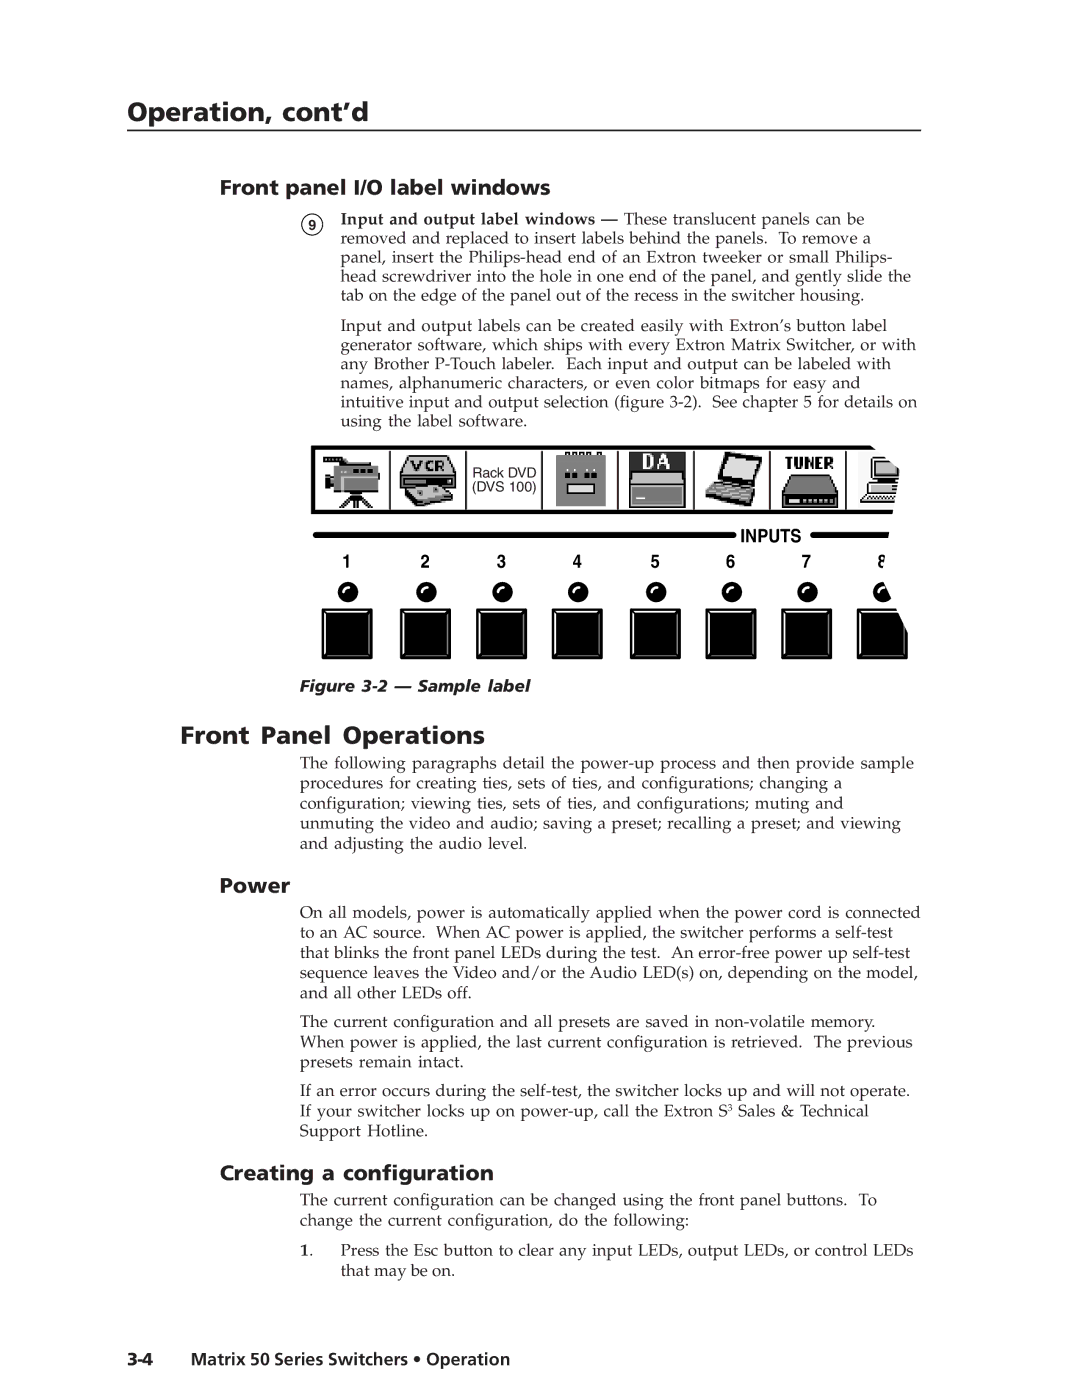
Input and output labels can be created easily with Extron’s button label generator software, which ships with every Extron Matrix Switcher, or with any Brother P-Touch labeler. Each input and output can be labeled with names, alphanumeric characters, or even color bitmaps for easy and intuitive input and output selection (figure 3-2). See chapter 5 for details on using the label software.
Rack DVD (DVS 100)
INPUTS
Figure 3-2 — Sample label
Front Panel Operations
The following paragraphs detail the power-up process and then provide sample procedures for creating ties, sets of ties, and configurations; changing a configuration; viewing ties, sets of ties, and configurations; muting and unmuting the video and audio; saving a preset; recalling a preset; and viewing and adjusting the audio level.
Power
On all models, power is automatically applied when the power cord is connected to an AC source. When AC power is applied, the switcher performs a self-test that blinks the front panel LEDs during the test. An error-free power up self-test sequence leaves the Video and/or the Audio LED(s) on, depending on the model, and all other LEDs off.
The current configuration and all presets are saved in non-volatile memory. When power is applied, the last current configuration is retrieved. The previous presets remain intact.
If an error occurs during the self-test, the switcher locks up and will not operate. If your switcher locks up on power-up, call the Extron S3 Sales & Technical Support Hotline.
Creating a configuration
The current configuration can be changed using the front panel buttons. To change the current configuration, do the following:
1. Press the Esc button to clear any input LEDs, output LEDs, or control LEDs that may be on.

