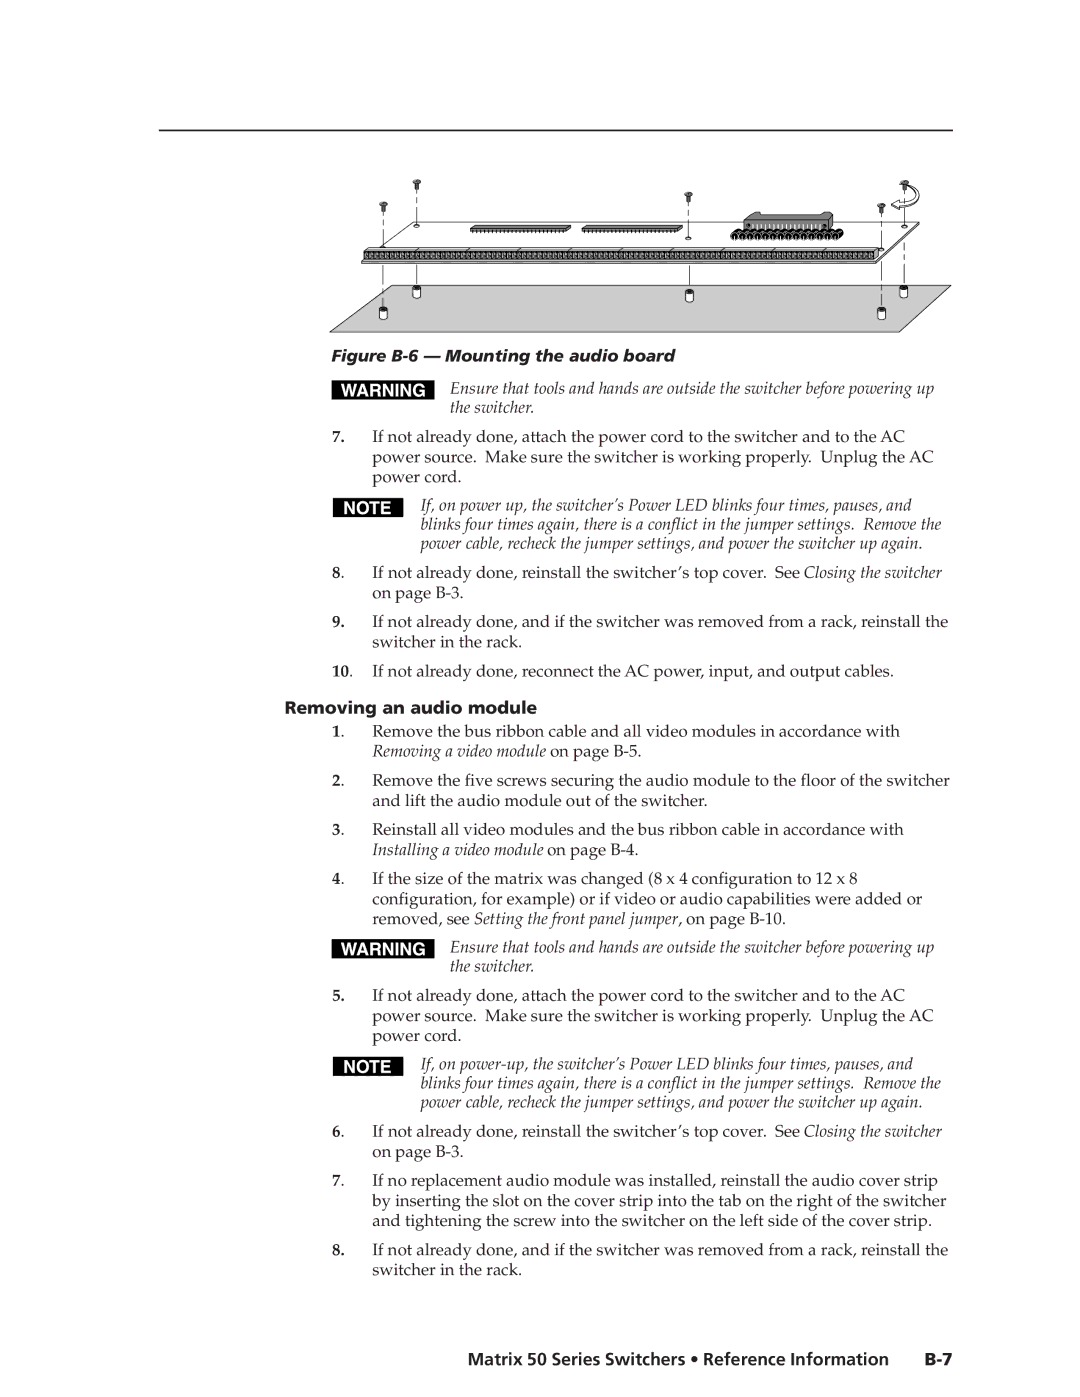
Figure B-6 — Mounting the audio board
Ensure that tools and hands are outside the switcher before powering up the switcher.
7.If not already done, attach the power cord to the switcher and to the AC power source. Make sure the switcher is working properly. Unplug the AC power cord.
|
| If, on power up, the switcher’s Power LED blinks four times, pauses, and |
|
| blinks four times again, there is a conflict in the jumper settings. Remove the |
|
| power cable, recheck the jumper settings, and power the switcher up again. |
8. | If not already done, reinstall the switcher’s top cover. See Closing the switcher | |
| on page | |
9.If not already done, and if the switcher was removed from a rack, reinstall the switcher in the rack.
10. If not already done, reconnect the AC power, input, and output cables.
Removing an audio module
1. | Remove the bus ribbon cable and all video modules in accordance with |
| Removing a video module on page |
2. | Remove the five screws securing the audio module to the floor of the switcher |
| and lift the audio module out of the switcher. |
3. | Reinstall all video modules and the bus ribbon cable in accordance with |
| Installing a video module on page |
4. | If the size of the matrix was changed (8 x 4 configuration to 12 x 8 |
| configuration, for example) or if video or audio capabilities were added or |
| removed, see Setting the front panel jumper, on page |
Ensure that tools and hands are outside the switcher before powering up the switcher.
5.If not already done, attach the power cord to the switcher and to the AC power source. Make sure the switcher is working properly. Unplug the AC power cord.
|
| If, on |
|
| blinks four times again, there is a conflict in the jumper settings. Remove the |
|
| power cable, recheck the jumper settings, and power the switcher up again. |
6. | If not already done, reinstall the switcher’s top cover. See Closing the switcher | |
| on page | |
7. | If no replacement audio module was installed, reinstall the audio cover strip | |
| by inserting the slot on the cover strip into the tab on the right of the switcher | |
| and tightening the screw into the switcher on the left side of the cover strip. | |
8.If not already done, and if the switcher was removed from a rack, reinstall the switcher in the rack.
Matrix 50 Series Switchers • Reference Information |