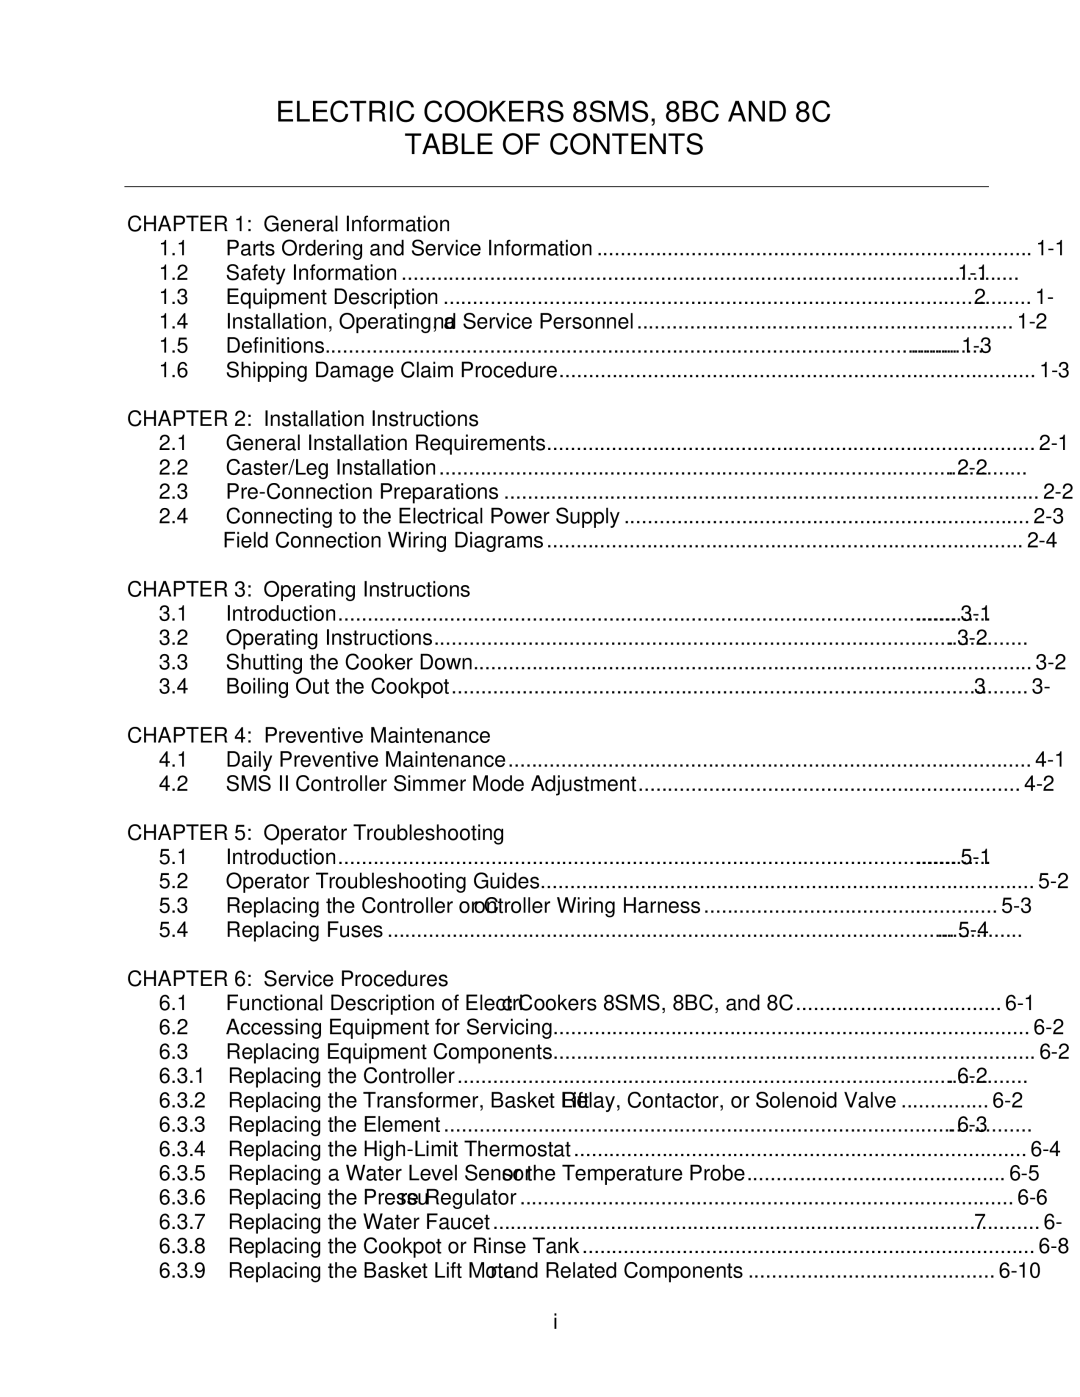
8C, 8BC, 8SMS specifications
Frymaster, a leading name in the commercial frying industry, offers a range of fryers designed for efficiency, durability, and consistent cooking performance. Among its notable models are the Frymaster 8BC, 8C, and 8SMS, each tailored to meet the demands of busy kitchens.The Frymaster 8BC is renowned for its advanced heating technology. Equipped with a high-efficiency oil heating system, it significantly reduces recovery time, allowing for faster cooking and increased output. This model features a double-walled design that enhances thermal insulation, minimizing heat loss and ensuring energy efficiency. Its intuitive controls and digital display make it easy for operators to monitor oil temperature and cooking times, resulting in perfectly crisp fried foods.
The 8C model incorporates the latest in oil filtration technology. This built-in oil filtration system extends oil life, maintains food quality, and ultimately saves on operational costs. The 8C is designed with user-friendly controls, allowing chefs to focus on food preparation rather than equipment management. Its stainless steel construction offers exceptional durability, which is crucial in high-demand environments. Additionally, the 8C's compact footprint makes it an ideal choice for kitchens with limited space.
Meanwhile, the Frymaster 8SMS stands out with its programmable cooking capabilities, enabling operators to automate the frying process. This model is equipped with smart technology that adjusts cooking times and temperatures based on menu items, ensuring consistent results across batches. The 8SMS also features an advanced oil management system that alerts users when filtration is needed, further enhancing oil longevity and food quality. Its programmable interface caters to various frying needs, making it adaptable for diverse culinary applications.
All three models are built with safety in mind, featuring automatic shut-off systems and high-temperature limit controls that prevent overheating. Their easy-to-clean designs minimize maintenance efforts, allowing kitchen staff to focus on delivering delicious meals.
In conclusion, the Frymaster 8BC, 8C, and 8SMS fryers offer a wide array of features and technologies that cater to the evolving needs of modern foodservice establishments. With their emphasis on efficiency, safety, and quality, these fryers are well-equipped to handle the demands of any busy kitchen, ensuring operators can consistently deliver the best fried foods to their customers.
