L i f e B o o k P 2 0 0 0 N o t e b o o k – S e c t i o n F o u r
P O I N T
If you plug headphones into the headphone jack, the
MICROPHONE JACK
The microphone jack allows you to connect an external mono microphone. Your microphone must be equipped with a 1/8”(3.5 mm) mono
1.Align the connector with the port opening.
2.Push the connector into the port until it is seated.
MINI-VGA PORT
The
1.Take the
1.Align the connector with the port opening.
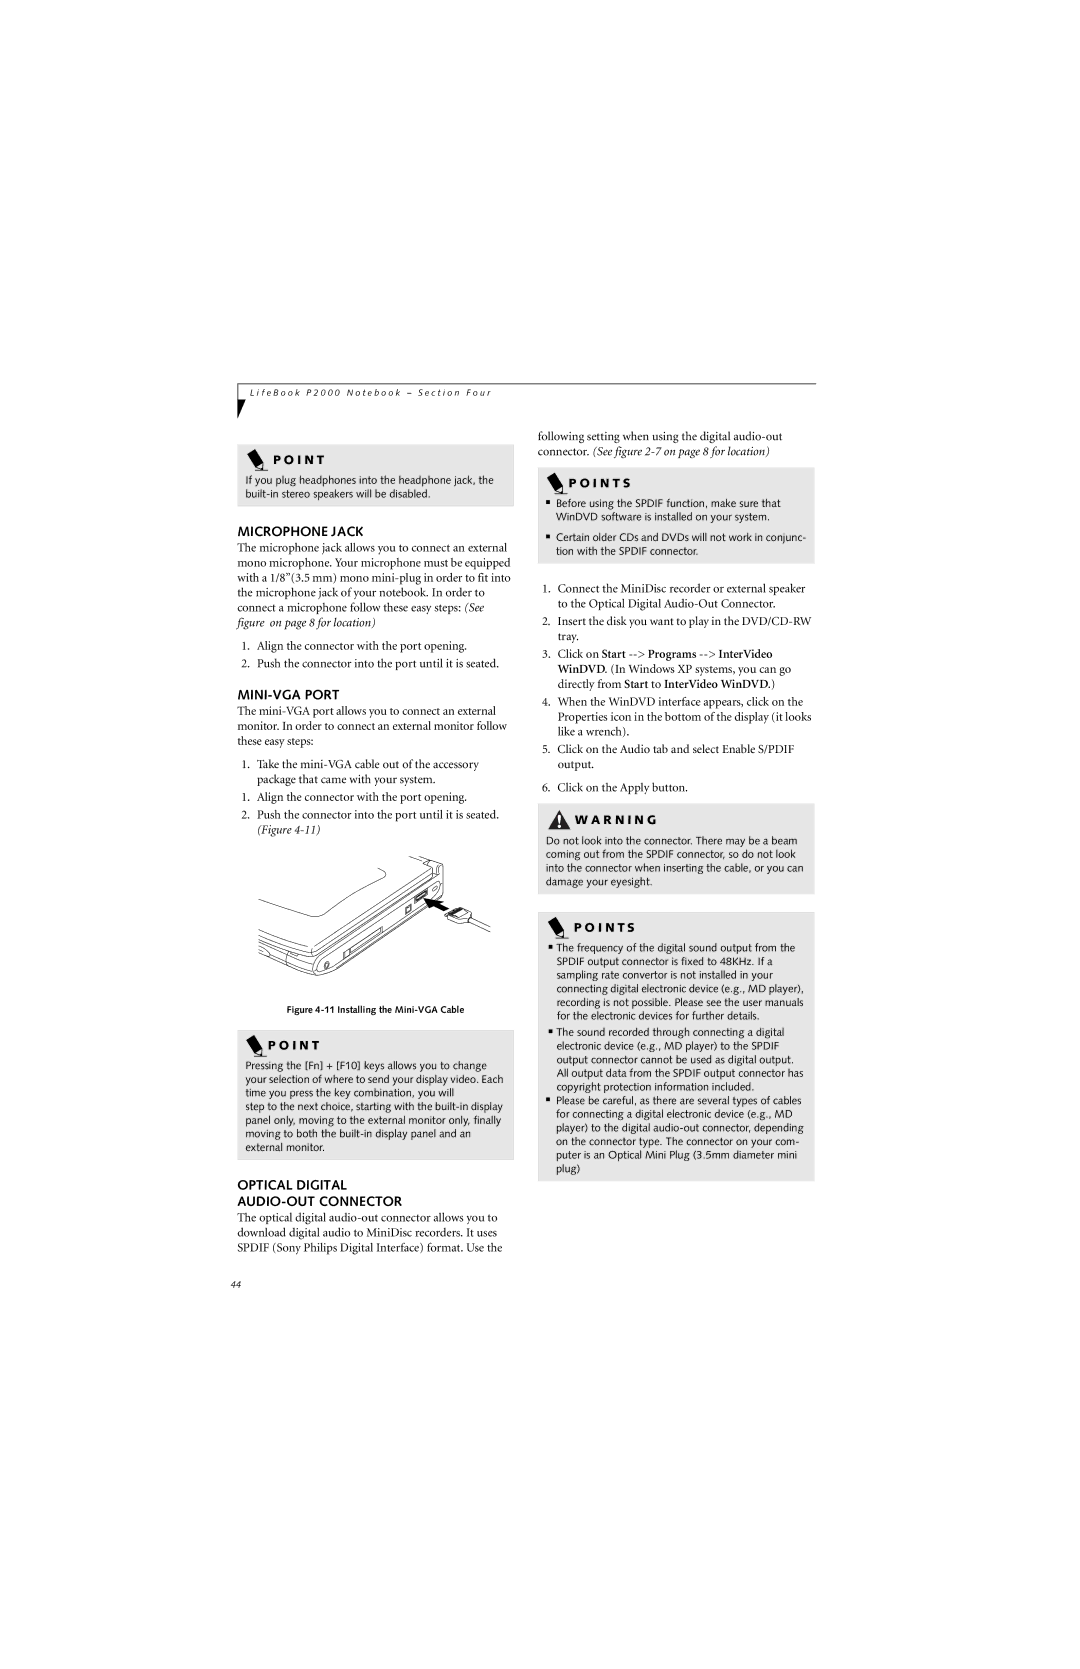
2.Push the connector into the port until it is seated. (Figure
Figure 4-11 Installing the Mini-VGA Cable
 P O I N T
Pressing the [Fn] + [F10] keys allows you to change your selection of where to send your display video. Each time you press the key combination, you will
step to the next choice, starting with the
OPTICAL DIGITAL
AUDIO-OUT CONNECTOR
The optical digital
following setting when using the digital
connector. (See figure
 P O I N T S
■Before using the SPDIF function, make sure that WinDVD software is installed on your system.
■Certain older CDs and DVDs will not work in conjunc- tion with the SPDIF connector.
1.Connect the MiniDisc recorder or external speaker to the Optical Digital
2.Insert the disk you want to play in the
3.Click on Start
4.When the WinDVD interface appears, click on the Properties icon in the bottom of the display (it looks like a wrench).
5.Click on the Audio tab and select Enable S/PDIF output.
6.Click on the Apply button.
![]() W A R N I N G
W A R N I N G
Do not look into the connector. There may be a beam coming out from the SPDIF connector, so do not look into the connector when inserting the cable, or you can damage your eyesight.
P O I N T S
■The frequency of the digital sound output from the SPDIF output connector is fixed to 48KHz. If a sampling rate convertor is not installed in your connecting digital electronic device (e.g., MD player), recording is not possible. Please see the user manuals for the electronic devices for further details.
■The sound recorded through connecting a digital electronic device (e.g., MD player) to the SPDIF output connector cannot be used as digital output. All output data from the SPDIF output connector has copyright protection information included.
■Please be careful, as there are several types of cables for connecting a digital electronic device (e.g., MD player) to the digital
44