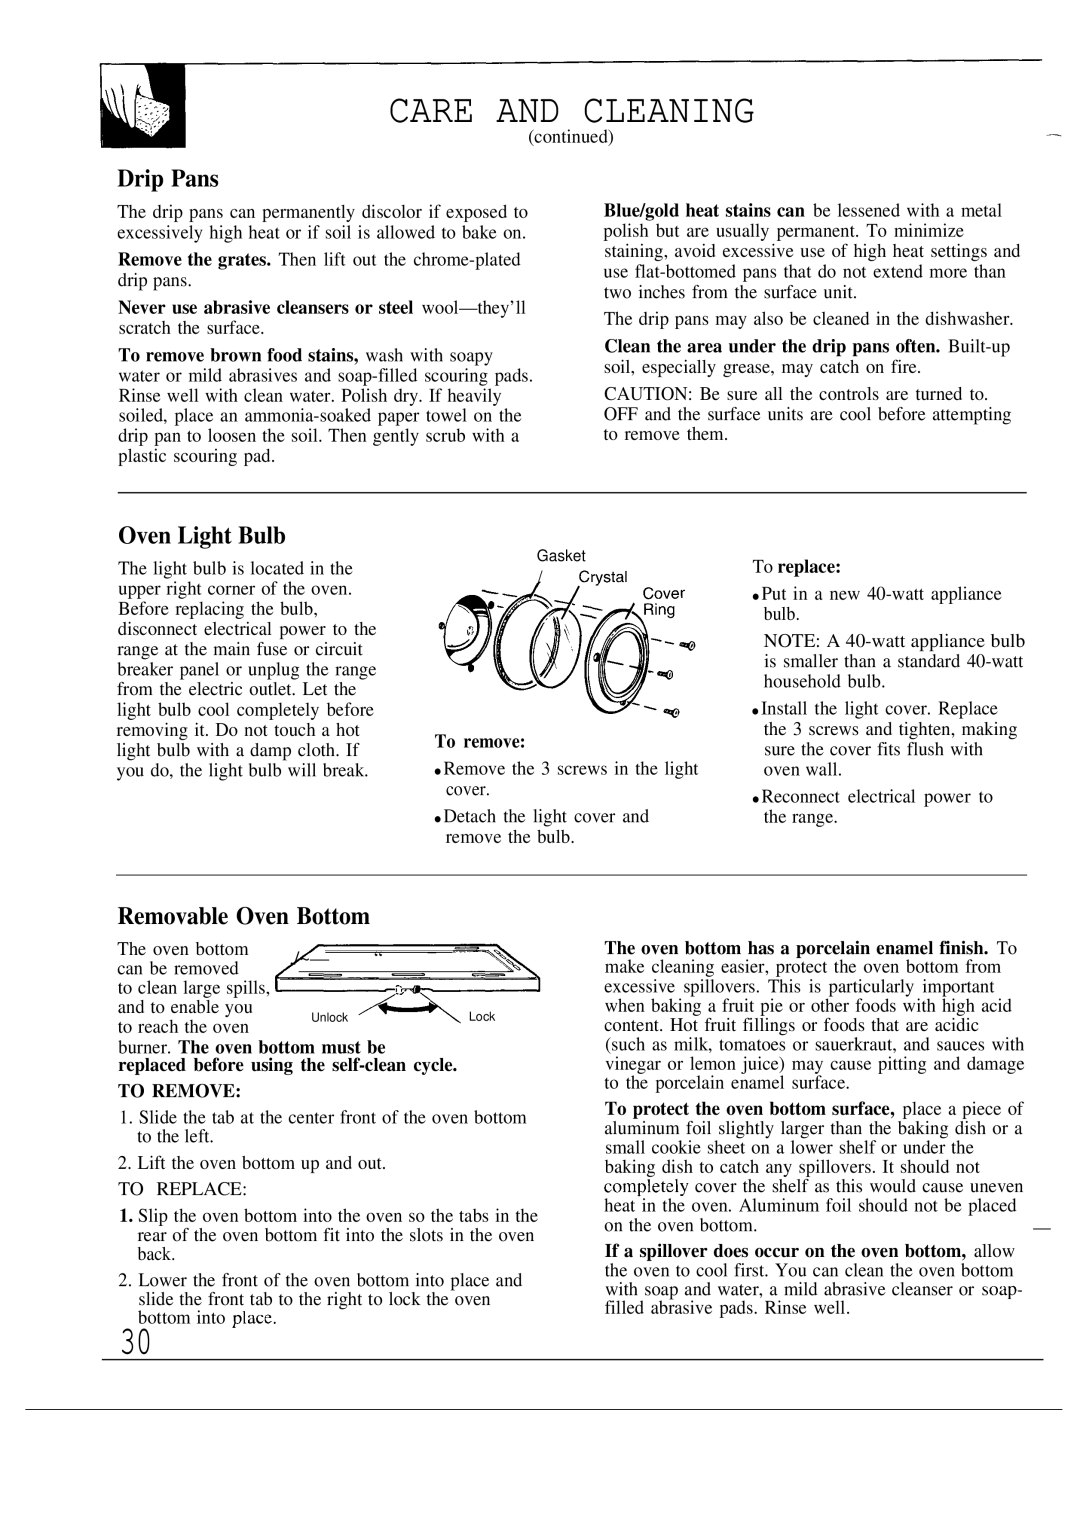
JGSP20, JGSP21 specifications
The GE JGSP21 and JGSP20 are two high-performance gas ranges designed to meet the needs of modern kitchens. Exceptional in their efficiency and versatility, these models have garnered a reputation for being reliable appliances suitable for both everyday cooking and gourmet meals.One of the standout features of the GE JGSP21 and JGSP20 is the industry-leading edge-to-edge cooktop. This design provides a seamless surface that allows for easy movement of pots and pans. With five burners, including a high-output burner for rapid boiling, these ranges enable chefs to cook multiple dishes simultaneously while maintaining perfect temperature control. The precise simmer burner allows for delicate cooking tasks such as sauces and melting chocolate, offering a range of cooking versatility that appeals to a broad audience.
The convection oven technology in both models enhances baking and roasting outcomes. By utilizing a fan to circulate hot air, the convection system ensures even cooking and browning, reducing cooking times and making it easier to achieve professional-quality results. Additionally, the ovens also feature self-cleaning options that use high heat to burn off residues, making maintenance a breeze.
The JGSP21 and JGSP20 come equipped with smart features that enhance user experience. With Wi-Fi connectivity, users can monitor and control their oven from anywhere via a smartphone app. This feature allows for preheating the oven or adjusting cooking settings, making it easier to multitask. The ranges also incorporate a built-in meat probe, which helps in achieving the perfect doneness by providing accurate temperature readings.
Furthermore, both models are designed with a sleek stainless-steel finish that adds a touch of elegance to any kitchen decor. The easy-to-use control knobs and backlit display make operating the range straightforward even for inexperienced cooks.
Energy efficiency is another important aspect of these gas ranges, which are designed to minimize energy consumption while maximizing performance. This balance ensures that users can enjoy high-quality cooking without incurring excessive energy costs.
In summary, the GE JGSP21 and JGSP20 gas ranges are a top choice for those seeking a powerful, efficient, and stylish cooking appliance. With their advanced technology, user-friendly features, and modern design, they reflect GE's commitment to quality and innovation in kitchen products.

