7.Press ENTER.
8.Select TIMER from the
9.Press RESET. The Main Screen displays.
NOTE: When TIMER is selected, the Timer Icon will dis- play on the top right corner of the screen.
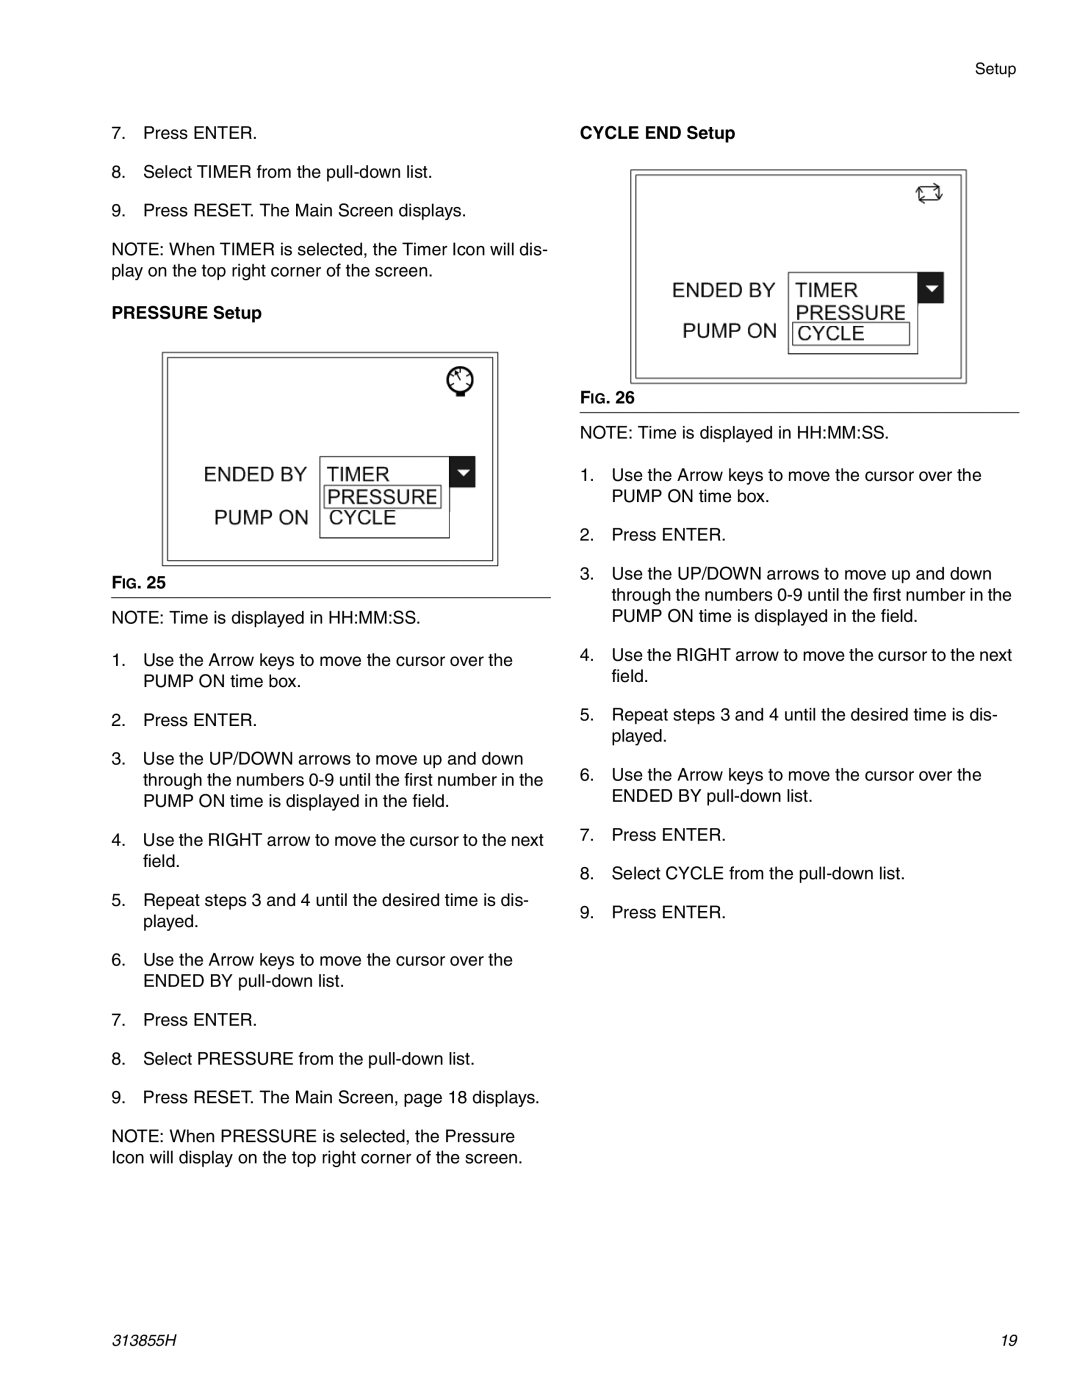
PRESSURE Setup
FIG. 25
NOTE: Time is displayed in HH:MM:SS.
1.Use the Arrow keys to move the cursor over the PUMP ON time box.
2.Press ENTER.
3.Use the UP/DOWN arrows to move up and down through the numbers
4.Use the RIGHT arrow to move the cursor to the next field.
5.Repeat steps 3 and 4 until the desired time is dis- played.
6.Use the Arrow keys to move the cursor over the ENDED BY
7.Press ENTER.
8.Select PRESSURE from the
9.Press RESET. The Main Screen, page 18 displays.
NOTE: When PRESSURE is selected, the Pressure Icon will display on the top right corner of the screen.
Setup
CYCLE END Setup
FIG. 26
NOTE: Time is displayed in HH:MM:SS.
1.Use the Arrow keys to move the cursor over the PUMP ON time box.
2.Press ENTER.
3.Use the UP/DOWN arrows to move up and down through the numbers
4.Use the RIGHT arrow to move the cursor to the next field.
5.Repeat steps 3 and 4 until the desired time is dis- played.
6.Use the Arrow keys to move the cursor over the ENDED BY
7.Press ENTER.
8.Select CYCLE from the
9.Press ENTER.
313855H | 19 |
