Arbor |
| Table Insert |
|
|
|
|
|
|
A1" or 5/8" arbor can be installed on the table saw, depending upon the arbor size of the blade you want to install.
To change the arbor:
1.DISCONNECT THE SAW FROM POWER!
2.Remove the table insert, blade guard and splitter or riving knife, arbor nut, arbor flange, and blade.
3.Raise the arbor all the way up.
4.Hold the arbor shaft with the arbor wrench and, using a 5mm hex wrench, remove the cap screw from the end of the arbor, as shown in Figure 23.
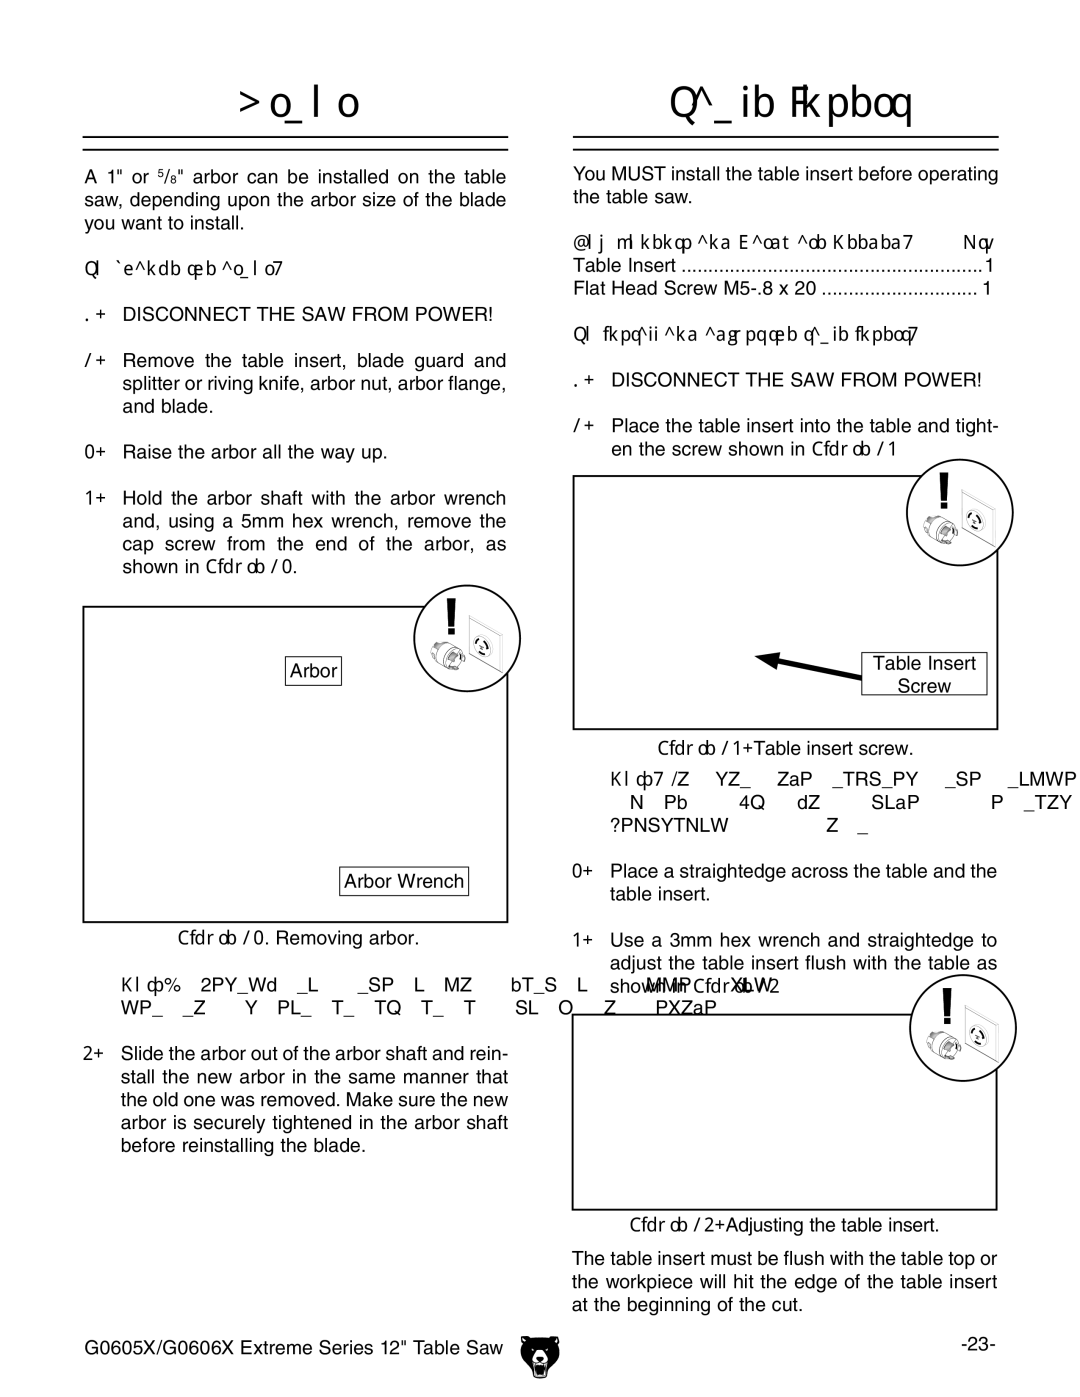
Arbor
Arbor Wrench
Figure 23. Removing arbor.
Note: Gently tap the arbor with a rubber mal- let to unseat it if it is hard to remove.
5.Slide the arbor out of the arbor shaft and rein- stall the new arbor in the same manner that the old one was removed. Make sure the new arbor is securely tightened in the arbor shaft before reinstalling the blade.
G0605X/G0606X Extreme Series 12" Table Saw
You MUST install the table insert before operating the table saw.
Components and Hardware Needed: | Qty |
Table Insert | 1 |
Flat Head Screw | 1 |
To install and adjust the table insert: |
|
1.DISCONNECT THE SAW FROM POWER!
2.Place the table insert into the table and tight- en the screw shown in Figure 24.
Table Insert
Screw
Figure 24. Table insert screw.
Note: Do not overtighten the table insert screw. If you have questions, contact Technical Support.