Programming the Scanner
Application Example
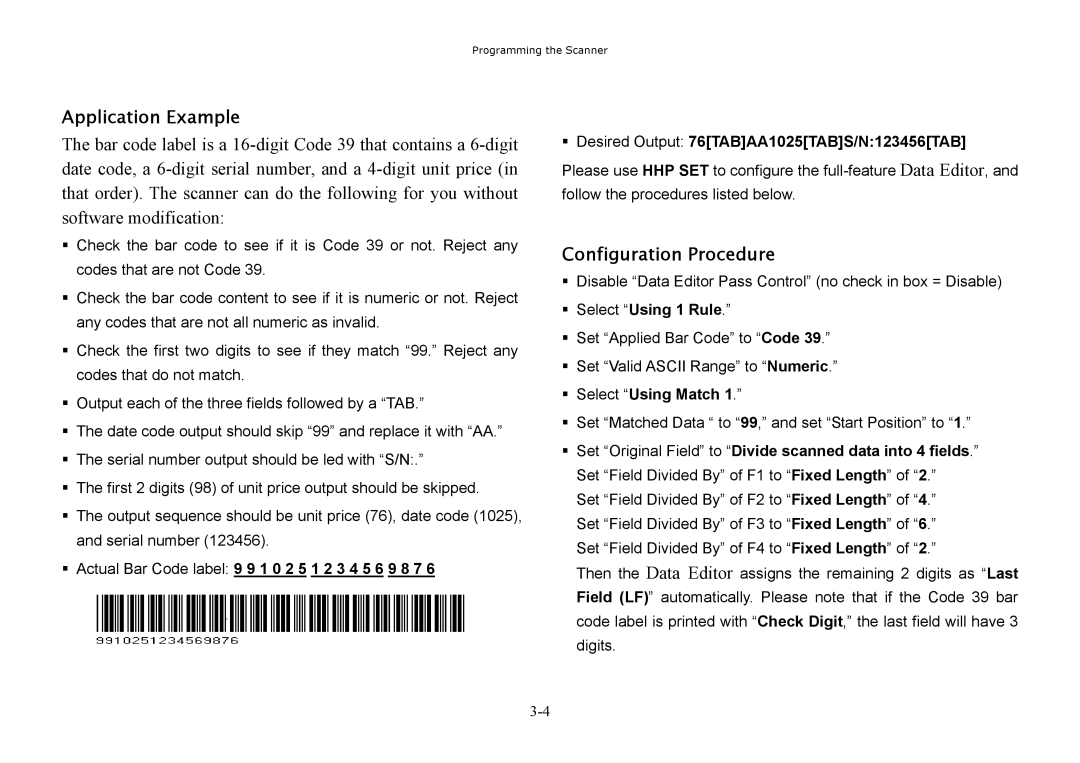
The bar code label is a
Check the bar code to see if it is Code 39 or not. Reject any codes that are not Code 39.
Check the bar code content to see if it is numeric or not. Reject any codes that are not all numeric as invalid.
Check the first two digits to see if they match “99.” Reject any codes that do not match.
Output each of the three fields followed by a “TAB.”
The date code output should skip “99” and replace it with “AA.”
The serial number output should be led with “S/N:.”
The first 2 digits (98) of unit price output should be skipped.
The output sequence should be unit price (76), date code (1025), and serial number (123456).
Actual Bar Code label: 9 9 1 0 2 5 1 2 3 4 5 6 9 8 7 6
Desired Output: 76[TAB]AA1025[TAB]S/N:123456[TAB] Please use HHP SET to configure the
Configuration Procedure
Disable “Data Editor Pass Control” (no check in box = Disable) Select “Using 1 Rule.”
Set “Applied Bar Code” to “Code 39.”
Set “Valid ASCII Range” to “Numeric.”
Select “Using Match 1.”
Set “Matched Data “ to “99,” and set “Start Position” to “1.” Set “Original Field” to “Divide scanned data into 4 fields.” Set “Field Divided By” of F1 to “Fixed Length” of “2.”
Set “Field Divided By” of F2 to “Fixed Length” of “4.” Set “Field Divided By” of F3 to “Fixed Length” of “6.” Set “Field Divided By” of F4 to “Fixed Length” of “2.”
Then the Data Editor assigns the remaining 2 digits as “Last Field (LF)” automatically. Please note that if the Code 39 bar code label is printed with “Check Digit,” the last field will have 3 digits.
