AVR
Service Instructions Outdoor Use Marking
Safety Information
Important Safety Instructions
Wet Location Marking
Important Safety Information
Unpacking
Table of Contents
Introduction
Surround Modes
Dolby Digital EX, Dolby Digital Plus, Dolby TrueHD
Audio/Video Inputs
Supplied Accessories
Audio Inputs
Digital Audio Inputs
Controls
Front
Panel
Remote
On When the AVR is turned on, this LED turns white
Volume Knob Turn this knob to raise or lower the volume
FRONT-PANEL Controls
Connections
Rear
REAR-PANEL Connections
Use an HDMI-to-DVI adapter
Always make a separate audio connection
AM and FM Antenna Terminals Connect the included
Front, Center and Surround Speaker Outputs
Main Remote Control Functions
AVR Power Off Button Press to turn off the AVR
Surround Modes Press to directly access the Surround
Main Remote Control Functions
Multichannel Audio
Introduction to Home Theater
Typical Home Theater System
Some basic concepts unique to multichannel surround sound
Subwoofer
Connecting Source Devices to the AVR
Speaker Connections
Audio Connections
Digital Video
Video Connections
Analog Audio
Analog Video
Antennas
USB Port
Component Pb Blue Video cable Pr Red
Placement of Surround Speakers in a 5.1-Channel System
Speaker Placement
Front Speaker Placement
Subwoofer Placement
Getting Started
Source Assignment Worksheet
Game Media Server
Getting Started
Installation
Plug the AC Power cord into an unswitched AC outlet
Step Nine Install a Multizone System
Step TEN Plug in AC Power Cords
Step SIX Connect AM Antenna
Step Twelve Program Sources Into the Remote
Step Thirteen Turn On the AVR
Two steps are required the first time you turn on the AVR
Initial Setup
Using the ON-SCREEN Menu System
Configure the AVR 2600, Using EzSet/EQ Technology
Set Up Sources
Audio and Video Input Selection
Channel Inputs
HDMI-Equipped Multichannel Disc Player
You are now ready to begin enjoying your new receiver
Dolby Volume Calibration Offset
Volume Control
Dolby Volume
Operation
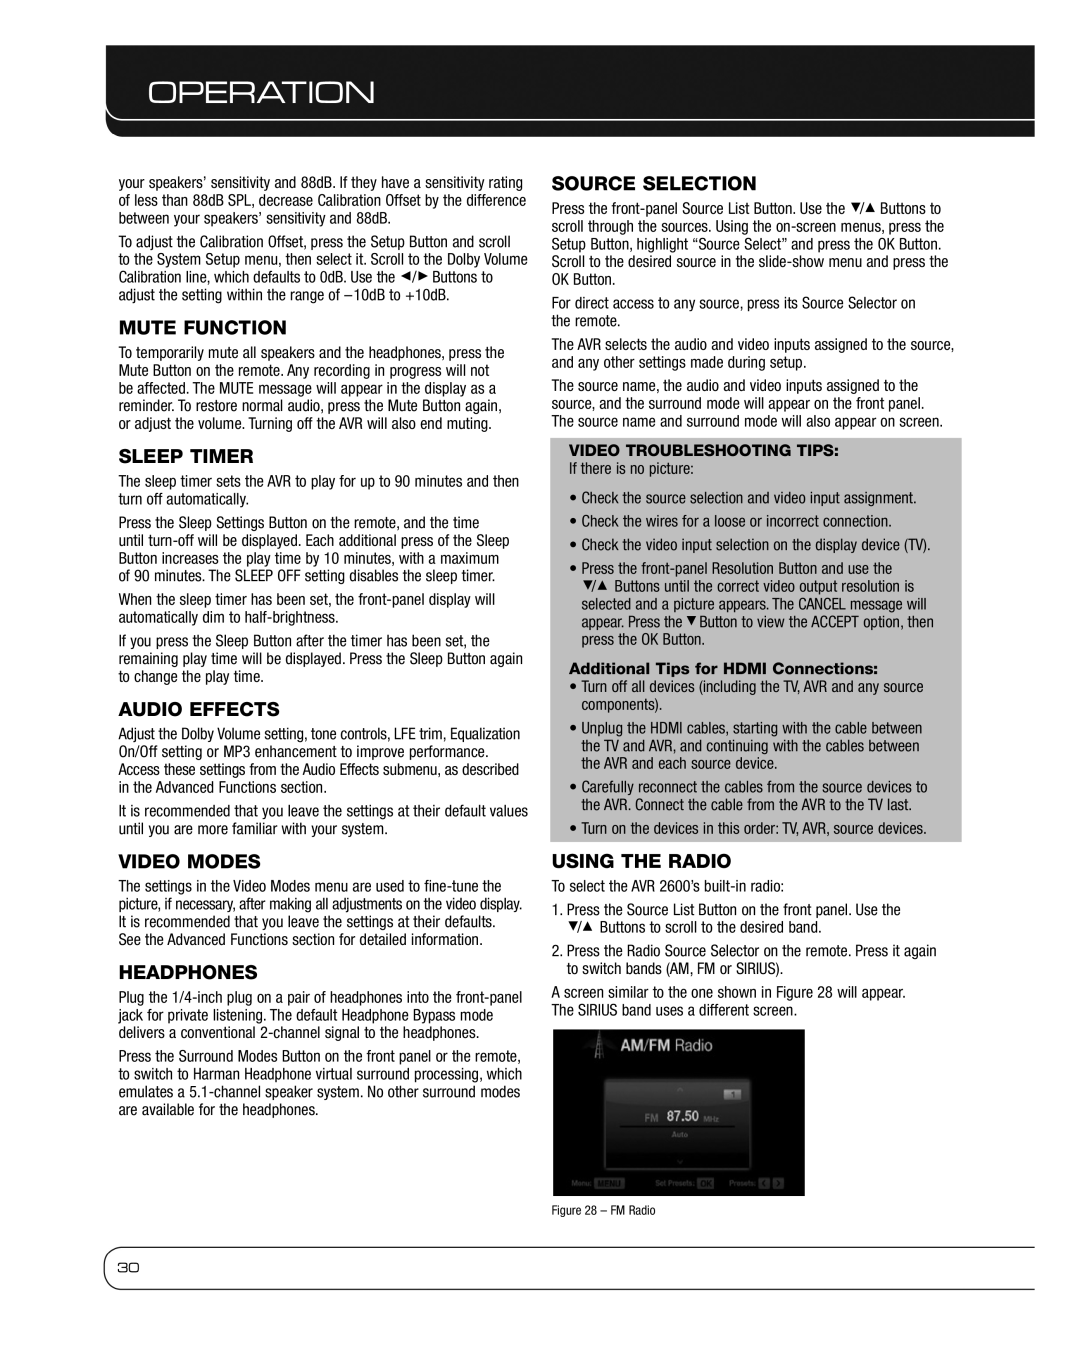
Using the Radio
Sleep Timer
Headphones
Mute Function
Sirius Satellite Radio Operation
Recording
Remote Control Key
Using Docking Station
Using The Bridge
Previous Track
Play Pause Menu Back/Exit or Left Arrow Select
IPod Manual Mode
Selecting a Surround Mode
Right Arrow
Operation
Advanced Functions
Analog Audio Signals
Digital Audio Signals
Audio Processing and Surround Sound
Dolby Surround Settings
Manual Speaker Setup
Video Game Logic 7 Game
Step TWO Measure Speaker Distances
Step Three Manual Setup Menu
Step ONE Determine Speaker Crossover
Number of Speakers
Adjust Crossover Frequencies Menu
Adjust Speaker Distance Menu
Sub Mode
Step Four Setting Channel Output Levels Manually
Video Adjustments
Video Modes
Video Modes Menu
How to Adjust the Custom Picture Settings
Brightness Adjustment
Contrast Adjustment
Color Adjustment
Convergence and Edge Focus
System Settings
General AVR Settings
Operating the Multizone System
System Information
Advanced Remote Control Functions
Menu Appearance
Punch-Through Programming
Memory
Resetting the Remote
Processor Reset
To program, or record an activity, follow these steps
Troubleshooting Guide
Symptom Cause Solution
Table A2 Source Setting Defaults
Appendix
Table A1 Recommended Source Component Connections
All Digital and 2-Channel Your Settings
Table A3 Speaker/Channel Setting Defaults
Table A4 Delay Setting Defaults
Analog Audio Inputs
Default
Table A5 Source Settings
Table A6 Audio Effects Settings
Bridge
Table A8 Surround Modes
Table A7 Video Modes Settings
Black Level Off Deinterlacing Film Mode Detect
Auto Select
Table A9 Remote Control Codes
Table A10 System Settings
Table A11 Zone 2 Settings
Surround Mode Description Incoming Bitstream or Signal
Table A12 Surround Modes
Table A12
Channel Stereo
DTS 2/2/.0 or .1, 3/2/.0 or
Channel music recordings
Center speaker plays a summed mono mix
Remote Control Function List Reference
36 37 38 40 41
Table A13 Remote Control Function List
Media Server
Table A13
AUX
Table A14 Remote Control Product Codes TV
Table A15 Remote Control Product Codes AUX-HDTV
Table A16 Remote Control Product Codes AUX-VCR
Table A16 VCR
Table A17 Remote Control Product Codes AUX-CD
Table A18 Remote Control Product Codes DVD
Table A17 CD
Table A19 Remote Control Product Codes SAT
Table A20 Remote Control Product Codes Game
Table A21 Remote Control Product Codes Cable
Table A24 Remote Control Product Codes AUX- TiVo
Table A22 Remote Control Product Codes Media Server
Table A21 Cable
AVR 2600 Technical Specifications
Audio Section
AVR
Informations SUR LA Sécurité
Importantes Consignes DE Sécurité
Avertissement concernant les endroits humides
Informations Importantes Relatives À LA Sécurité
Table DES Matières
Avertissement
Modèle pour les Canadiens
Merci d’avoir choisi un produit Harman Kardon
Modes Surround
Entrées audio/vidéo
Accessoires fournis
Entrées audio
Entrées audio numériques
Façade
Commandes EN Façade
Connexions DU Panneau Arrière
Hdmi
Sorties audio numériques coaxiales et optiques
Interrupteur de courant électrique Cet interrupteur
Entrées audio numériques coaxiales 1/2 et
Entrée à infrarouge IR Zone 2 Branchez un récepteur IR
Sorties enceintes frontales, centrale et
Sortie secteur accessoires commandée Vous pou
Sorties écran vidéo en composantes Si vous utilisez
Sorties enceintes Surround arrière/Zone 2 Ces
Dernier
Arrêt AVR
Arrêt périphériques
Navigation
Touches de sélection de sources Appuyez sur l’une de
Touche de sélection de source AUX Les codes pro
Touche Marche périphérique Appuyez sur la touche de
Touche Paramètres de mise en veille Appuyez sur
Commande des Chaînes / Pages Une fois le syntoniseur
Touches de commandes de lecture Ces touches per
Commutateur de sélection de zone Utilisez cette
Système de cinéma à domicile courant
Audio multicanaux
Parleur Harman Virtual, Casque Harman
Connexion DES Périphériques Source À L’AVR
Tableau 1 Guide des couleurs des connexions
Connexions des enceintes
Connexions audio
Vidéo numérique
Audio analogique
Connexions vidéo
Vidéo analogique
Pr Rouge
Antennes
Vert
Câble vidéo en Pb Bleu Composantes
Positionnement DES Enceintes
Disposition des enceintes frontales
Disposition des subwoofers
Mise EN Route
Tableau 2 Affectation des sources
Mise EN Route
Étape Trois Connectez les enceintes
Étape UN Connectez les périphériques sources
Étape Deux Connectez le téléviseur
Quatrième Étape Connectez le Dock
Étape Cinq Connectez l’antenne FM
Étape Neuf Installation d’un système multizone
Étape Onze Introduisez les piles dans la télécommande
Étape SIX Connectez l’antenne AM
Étape Treize Allumez l’AVR
Allumez votre appareil source
Configuration Initiale
Utilisation DU Système DE Menus D’ÉCRAN
Configuration des sources
Format audio à partir de la source Cette ligne n’est
Sélection d’entrée audio et vidéo
Entrées à 6/8 canaux
Résolution vers l’écran
Entrée audio à partir de la source Affectez la bonne
Lecteur de disque multicanaux Hdmi
Scrutation automatique audio Elle est utilisée lorsque les
Ajustement de la synchronisation labiale
Commandes DE Volume
Utilisation
Mise EN Route DE L’AVR
Effets Audio
Fonction Sourdine
Minuteur DE Mise EN Veille
Modes Vidéo
Operation Radio Satellite Sirius
Enregistrement
Piste précédente
Utilisation DE LA Station D’ACCUEIL
Lecture Pause Menu Précédent/Quitter
Précédente/suivante Arrêt
Mode Manuel iPod
Choix D’UN Mode Surround
Fonction de l’iPod
Utilisation
Signaux audio numériques
Fonctions Évoluées
Traitement Audio ET SON Surround
Signaux audio analogiques
Configuration Manuelle DES Enceintes
Paramètres Dolby Surround
Étape Trois Menu Configuration manuelle
Étape Deux Mesure des distances entre les enceintes
Nombre d’enceintes
Mode Subwoofer
Menu Réglage des fréquences de séparation
Menu Réglage de la distance des enceintes
Amélioreur enhancer MP3 Améliore la gamme de fré
Menu Réglage des niveaux des enceintes
Réglages Vidéo
Modes vidéo
Sports Pour les évènements sportifs
Réglage du contraste
Comment régler les paramètres d’image personnalisés
Réglage de la luminosité
Réglage de la saturation
Utilisation du système multizone
Convergence et mise au point des bords
Fonctionnement Multizone
Paramètres DU Système
Informations du système
Fonctions Avancées DE LA Télécommande
Apparence des Menus
Programmation des fonctions de substitution
Réinitialisation DU Processeur
Rerégler la Télécommande
Memoire
Appuyez sur la Touche Activité pour supprimer l’activité
Guide DE Dépannage
Type d’appareil
Annexe
Tableau A2 Réglages des sources
Connexions Vidéo
Tableau A3 Enceintes / Réglages par défaut des Canaux
Tableau A4 Réglages par défaut du retard
Tableau A6 Réglage des Effets Audio
Volume Dolby Voir Source
Tableau A5 Réglages des sources
Éteint Aigus 0dB Graves État LFE Amélioreur Enhancer MP3
Surbalayage Allumé Réduction des bruits Bas
Tableau A7 Réglages des Modes Vidéo
Tableau A8 Modes Surround
Bas Cross Color Suppressor Allumé
Tableau A11 Réglages Zone
Tableau A9 Codes de la télécommande
Tableau A10 Réglages du système
Câble/Sat
Tableau A12 Modes Surround
Tableau A12 suite
Syntoniseur PCM 32kHz, 44.1kHz, 48kHz, 96kHz Logic
Voir ci-dessous Mode Group
Analogique 2-canaux Movie
Analogique 2-canaux Music
Références de la Liste de Fonctions de la Télécommande
Tableau A13 Liste de Fonctions de la Télécommande
Bridge Sél entrée
Tableau A13 suite
Nom de la Touche Câble/SAT Jeu
Tableau A14 Codes Produits de Commande à distance TV
Fabricant/Marque de Numéro de Code d’Installation
Fabricant/Marque de
Tableau A16 suite Magnétoscope
Tableau A15 Codes Produits de Commande à distance AUX-HDTV
Tableau A16 Codes Produits de Commande à distance AUX-VCR
Magnétoscope
Tableau A17 Codes Produits de Commande à distance AUX-CD
Tableau A18 Codes Produits de Commande à distance DVD
Tableau A17 suite CD
Tableau A19 Codes Produits de Commande à distance SAT
Tableau A20 Codes Produits de Commande à distance Jeu
Tableau A21 Codes Produits de Commande à distance Câble
Tableau A21 suite Câble
Tableau A24 Codes Produits de Commande à distance AUX- TiVo
Fabricant/Marque Numéro de Code d’Installation
Fabricant/Marque
Spécifications Techniques AVR
Section Audio
Tous droits réservés. Part No. CQX1A1430Z