AVR 435 specifications
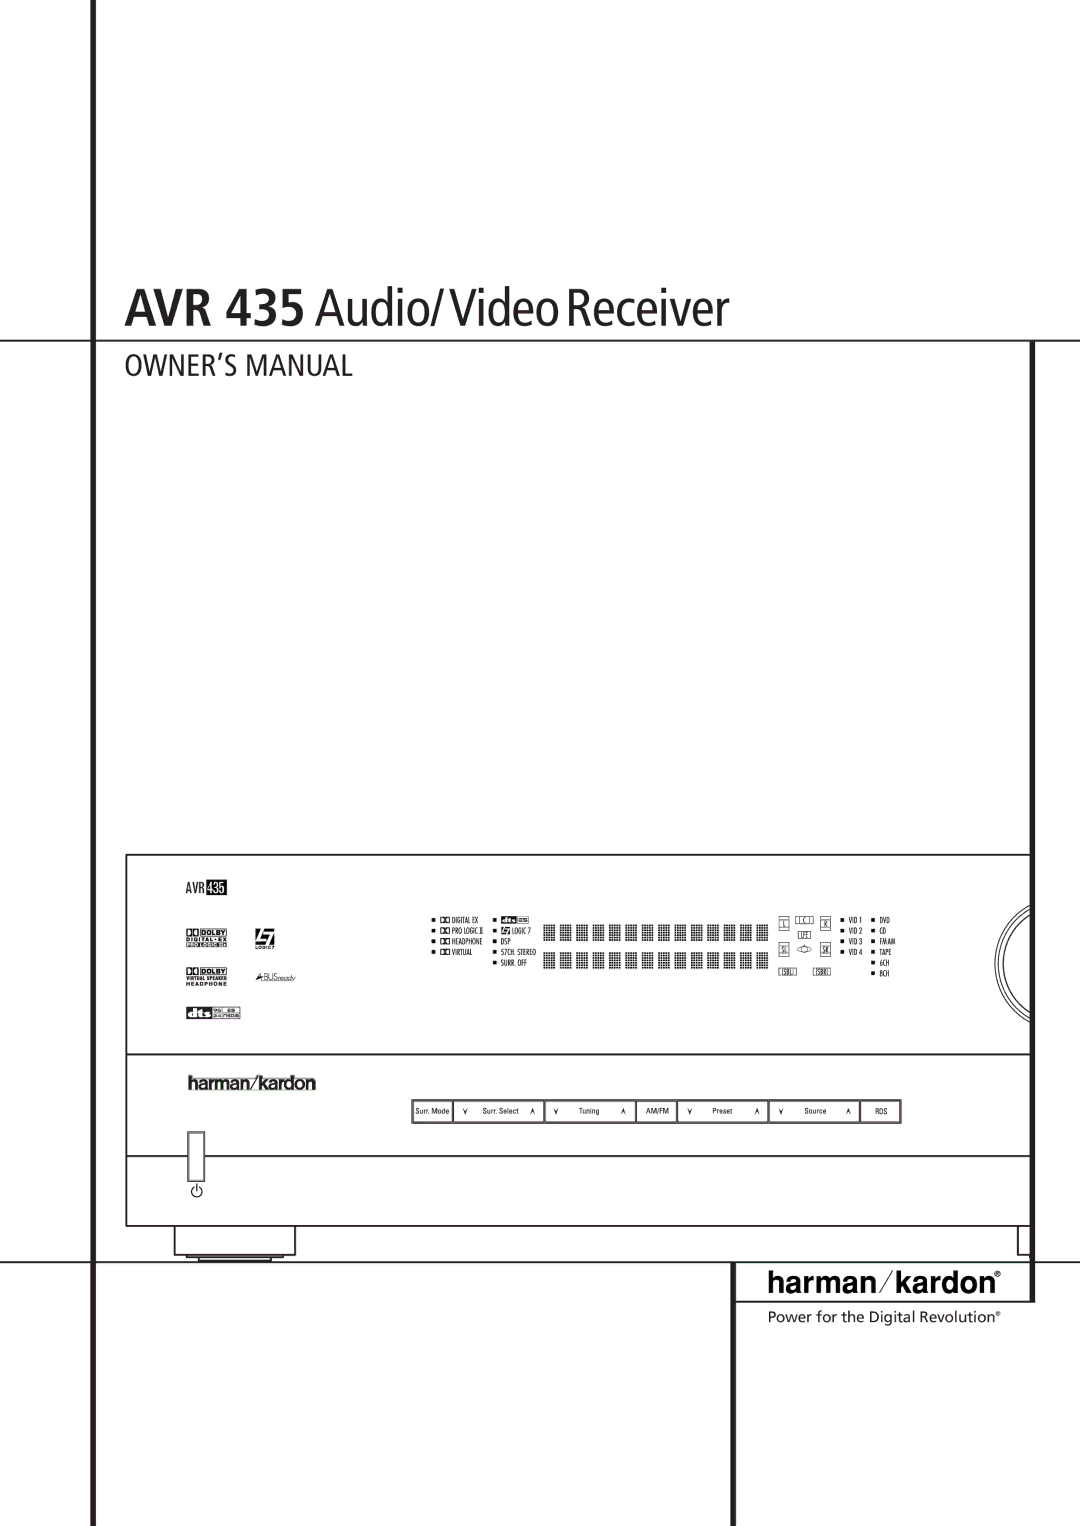
The Harman-Kardon AVR 435 is a versatile and powerful home theater receiver that has made a significant mark in the world of audio-visual entertainment. Known for its impressive audio quality and advanced features, this unit caters to both casual listeners and audiophiles looking for a rich experience.At the heart of the AVR 435 is its 7.1 channel configuration, providing a robust sound system that envelops listeners in an immersive audio experience. Each channel is powered by high-performance amplifiers, delivering a total output of 100 watts per channel. This ensures dynamic sound reproduction, whether you are watching movies, playing games, or listening to music.
One of the standout features of the AVR 435 is its support for various surround sound formats, including Dolby Digital, DTS, and Dolby Pro Logic II. This enables the receiver to decode multiple audio streams, producing an authentic surround sound experience. The inclusion of Harman-Kardon's proprietary Logic 7 processing further enhances the spatial sound, making it particularly effective for movie watching and multi-channel music.
The AVR 435 also boasts extensive connectivity options. With multiple HDMI inputs, digital audio inputs, and component video inputs, it facilitates easy connection to a wide range of devices such as Blu-ray players, gaming consoles, and streaming devices. This flexibility ensures that users can integrate their home theater system seamlessly.
Moreover, the receiver features a built-in AM/FM tuner, allowing access to a variety of radio stations, and provides pre-set options for user convenience. An intuitive on-screen setup guide makes configuration simple, allowing users to adjust settings according to their personal preferences.
Another notable characteristic is the inclusion of a room EQ feature, which helps optimize sound performance based on the specific acoustics of your space. This ensures that users receive the best possible audio quality regardless of their room layout.
The design of the AVR 435 emphasizes both style and functionality. Its sleek, modern aesthetic fits seamlessly into any home decor, while the layout of controls is user-friendly. Whether using the remote control or the front panel, navigating through the various functions is straightforward.
In conclusion, the Harman-Kardon AVR 435 represents a powerful blend of sound quality, advanced technology, and user-friendly features. It stands as a solid choice for anyone eager to create an exceptional home theater experience.