Programming the Remote

4.Press the Set Button Fone more time. The LCD display will show the word SAVING on the top line for about 2 seconds and then flash SAVED four times on the bottom line to indicate that the setting has been accepted by the remote’s memory.

5.The remote’s backlighting will now turn on whenever a button is pressed. To revert to the original setting, follow the four steps shown above, but in Step 3, select the option that has the word NORMAL on the bottom line of the LCD display.

Additional Notes on Configuring and Operating the Remote:

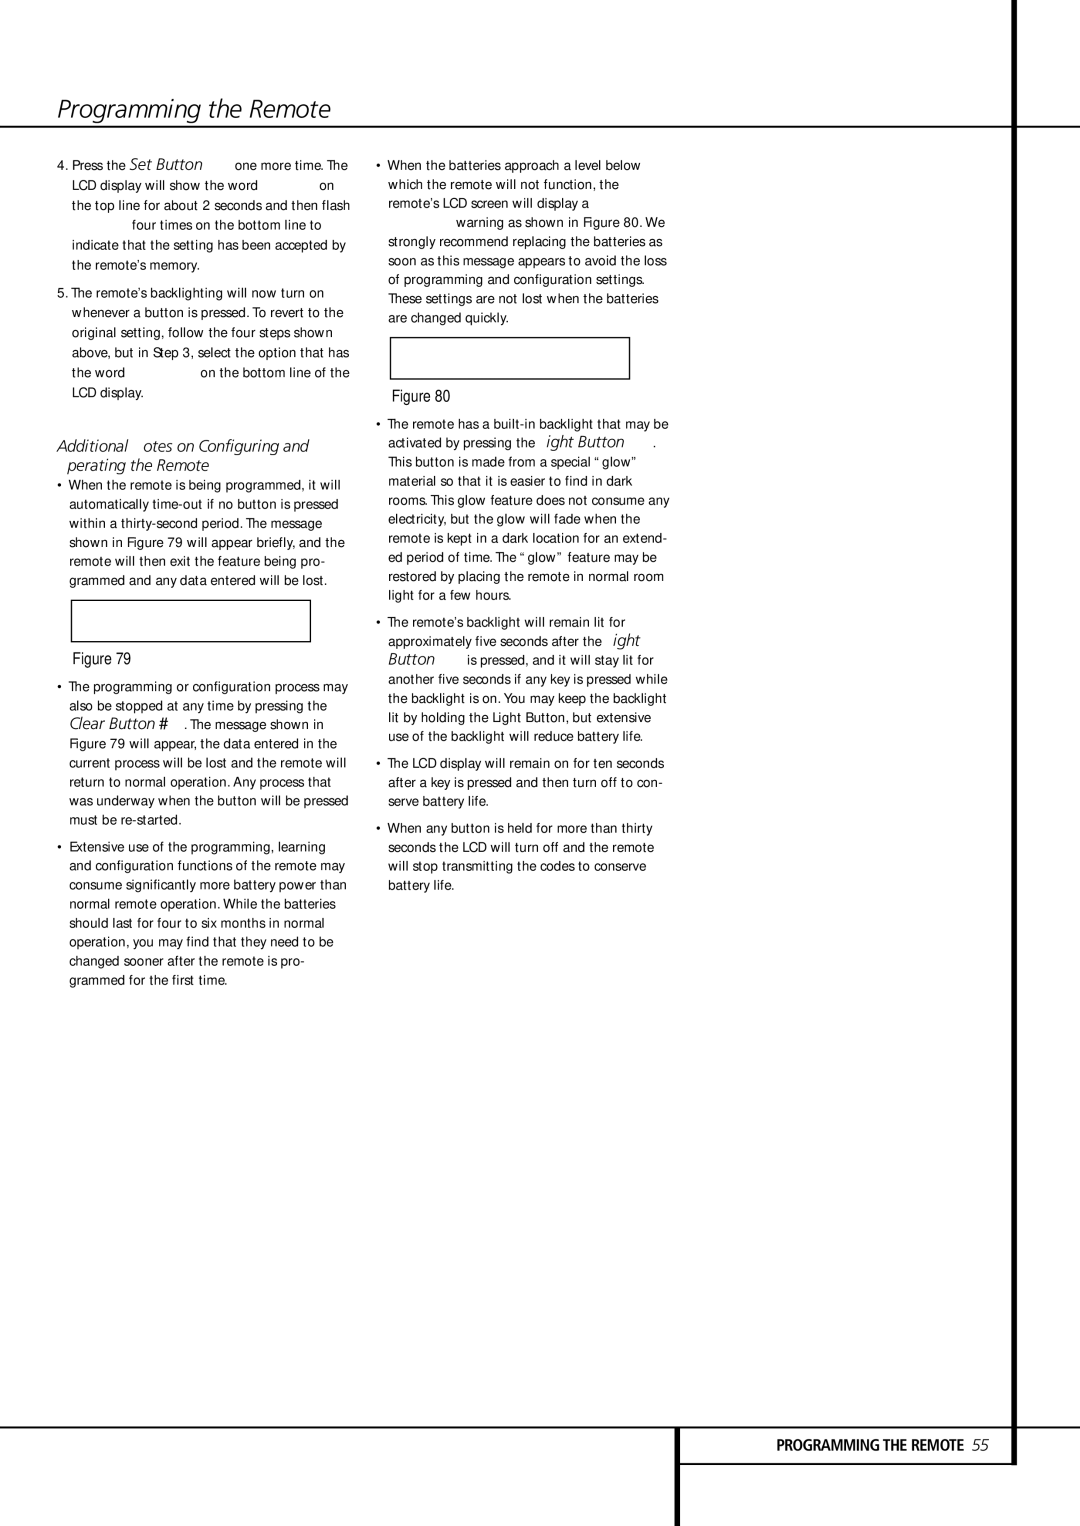
When the remote is being programmed, it will automatically time-out if no button is pressed within a thirty-second period. The message shown in Figure 79 will appear briefly, and the remote will then exit the feature being pro- grammed and any data entered will be lost.

T I M E O U T O R

C L R K E Y P R E S S E D

Figure 79

The programming or configuration process may also be stopped at any time by pressing the Clear Button . The message shown in Figure 79 will appear, the data entered in the current process will be lost and the remote will return to normal operation. Any process that was underway when the button will be pressed must be re-started.

Extensive use of the programming, learning and configuration functions of the remote may consume significantly more battery power than normal remote operation. While the batteries should last for four to six months in normal operation, you may find that they need to be changed sooner after the remote is pro- grammed for the first time.

When the batteries approach a level below which the remote will not function, the remote’s LCD screen will display a LOW BATTERY warning as shown in Figure 80. We strongly recommend replacing the batteries as soon as this message appears to avoid the loss of programming and configuration settings. These settings are not lost when the batteries are changed quickly.

A V R

L O W B A T T E R Y

Figure 80

The remote has a built-in backlight that may be activated by pressing the Light Button Q. This button is made from a special “glow” material so that it is easier to find in dark rooms. This glow feature does not consume any electricity, but the glow will fade when the remote is kept in a dark location for an extend- ed period of time. The “glow” feature may be restored by placing the remote in normal room light for a few hours.

The remote’s backlight will remain lit for approximately five seconds after the Light Button Qis pressed, and it will stay lit for another five seconds if any key is pressed while the backlight is on. You may keep the backlight lit by holding the Light Button, but extensive use of the backlight will reduce battery life.

The LCD display will remain on for ten seconds after a key is pressed and then turn off to con- serve battery life.

When any button is held for more than thirty seconds the LCD will turn off and the remote will stop transmitting the codes to conserve battery life.

PROGRAMMING THE REMOTE 55

Page 55
Image 55
Harman-Kardon AVR 435 owner manual Additional Notes on Configuring and Operating the Remote

AVR 435 specifications

The Harman-Kardon AVR 435 is a versatile and powerful home theater receiver that has made a significant mark in the world of audio-visual entertainment. Known for its impressive audio quality and advanced features, this unit caters to both casual listeners and audiophiles looking for a rich experience.

At the heart of the AVR 435 is its 7.1 channel configuration, providing a robust sound system that envelops listeners in an immersive audio experience. Each channel is powered by high-performance amplifiers, delivering a total output of 100 watts per channel. This ensures dynamic sound reproduction, whether you are watching movies, playing games, or listening to music.

One of the standout features of the AVR 435 is its support for various surround sound formats, including Dolby Digital, DTS, and Dolby Pro Logic II. This enables the receiver to decode multiple audio streams, producing an authentic surround sound experience. The inclusion of Harman-Kardon's proprietary Logic 7 processing further enhances the spatial sound, making it particularly effective for movie watching and multi-channel music.

The AVR 435 also boasts extensive connectivity options. With multiple HDMI inputs, digital audio inputs, and component video inputs, it facilitates easy connection to a wide range of devices such as Blu-ray players, gaming consoles, and streaming devices. This flexibility ensures that users can integrate their home theater system seamlessly.

Moreover, the receiver features a built-in AM/FM tuner, allowing access to a variety of radio stations, and provides pre-set options for user convenience. An intuitive on-screen setup guide makes configuration simple, allowing users to adjust settings according to their personal preferences.

Another notable characteristic is the inclusion of a room EQ feature, which helps optimize sound performance based on the specific acoustics of your space. This ensures that users receive the best possible audio quality regardless of their room layout.

The design of the AVR 435 emphasizes both style and functionality. Its sleek, modern aesthetic fits seamlessly into any home decor, while the layout of controls is user-friendly. Whether using the remote control or the front panel, navigating through the various functions is straightforward.

In conclusion, the Harman-Kardon AVR 435 represents a powerful blend of sound quality, advanced technology, and user-friendly features. It stands as a solid choice for anyone eager to create an exceptional home theater experience.