System Configuration
When the delay settings are complete, press the
¤Button Eonce so that the cursor is next to the BACK TO MANUAL SETUP menu line and press the Set Button p to return to the
MANUAL SETUP menu.
Note that the delay settings may also be adjusted at any time when the Dolby Digital or Dolby Pro Logic II modes are in use by pressing the Delay
button on the remote | . Then press the ⁄/¤ |
Ebuttons on the remote to select the Center or Rear channels for adjustment, followed by a press of the Set button F. Next, press the ⁄/¤ buttons Eon the remote until the desired figure appears in the Main Information Display ˜ and press the Set button p twice to confirm the setting and return to the normal display.
Output Level Adjustment
Output level adjustment is a key part of the con- figuration of any surround-sound product. It is particularly important for a digital receiver such as the AVR, as correct outputs ensure that you hear sound tracks with the proper directionality and intensity.
In most cases, you will not need to make any adjustments to the output level, as the settings made by running EzSet/EQ are as accurate as those made manually. However, you are able to use the CHANNEL ADJUST menu to trim the settings to suit your personal preferences or to configure the system so that the output set- tings are different from one input source to another. The ability to make individual output level adjustments on a per-input basis is useful for listeners who may prefer different settings for the subwoofer or an individual channel group such as the front speakers when playing musical selections via the CD input as opposed to the movie soundtracks more frequently used with the DVD input. This menu also allows you to adjust the output levels using external sources such as a test disc or other program material that you use as a standard, rather than the system’s test tone.
NOTE: Listeners are often confused about the operation of the surround channels. While some assume that sound should always be coming from each speaker, most of the time there will be little or no sound in the surround channels. This is because they are only used when a movie director or sound mixer specifically places sound there to create ambience, a special effect or to continue action from the front of the room to the rear. When the output levels are properly set, it is normal for surround speakers to operate only occasionally. Artificially increasing the volume to the rear speakers may destroy the illusion of an enveloping sound field that duplicates the way you hear sound in a movie theater or concert hall.
Before beginning the output level adjustment process, make certain that all speaker connec- tions have been properly made. The system volume should be turned down at first.
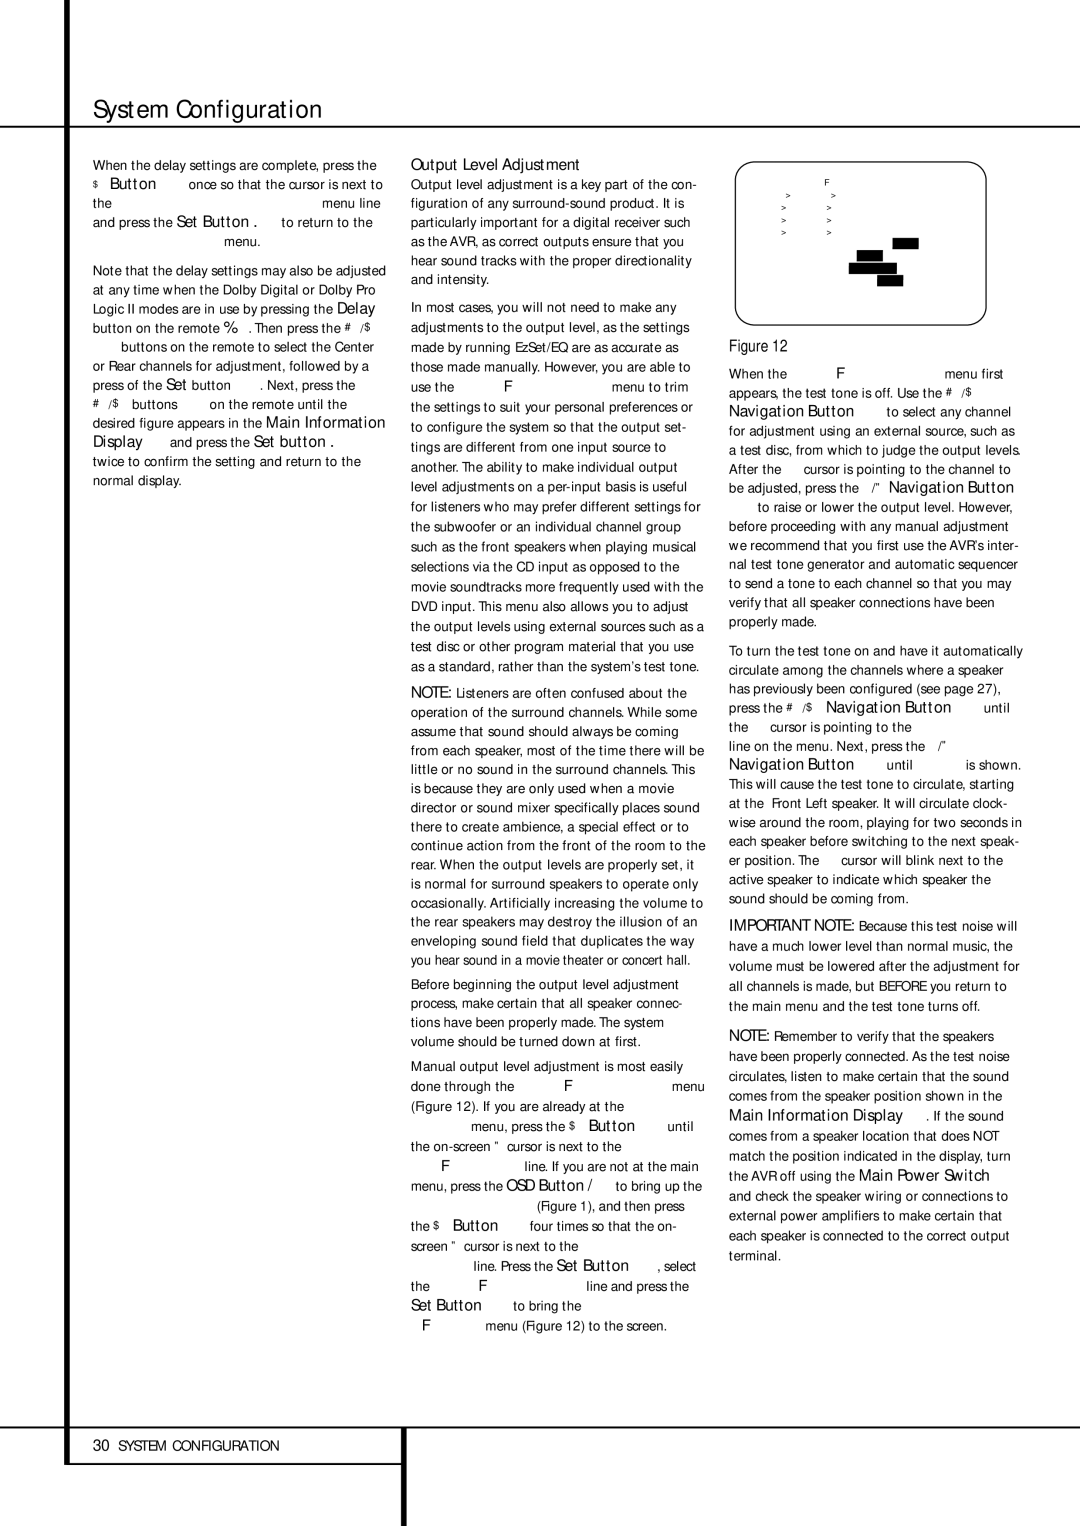
Manual output level adjustment is most easily done through the CHANNEL ADJUST menu (Figure 12). If you are already at the MANUAL SETUP menu, press the ¤ Button Euntil the on-screen› cursor is next to the CHAN- NEL ADJUST line. If you are not at the main menu, press the OSD Button vto bring up the MASTER MENU (Figure 1), and then press the ¤ Button Efour times so that the on- screen › cursor is next to the MANUAL SETUP line. Press the Set Button F, select the CHANNEL ADJUST line and press the Set Button Fto bring the CHANNEL ADJUST menu (Figure 12) to the screen.
| * | CHANNEL | ADJUST | * | |
→ FL | : | 0 | dB | SBR: | 0 | dB |
CEN: | 0 | dB | SBL: | 0 | dB |
FR | : | 0 | dB | SL : | 0 | dB |
SR | : | 0 | dB | SUB: | 0 | dB |
TEST | TONE : AUTO | OFF MAN |
LEVEL | RESET: OFF | ON |
LEVEL | TRIM: GLOBAL | |
EZSET | SETTINGS: OFF ON |
BACK | TO MANUAL SETUP |
Figure 12
When the CHANNEL ADJUST menu first appears, the test tone is off. Use the ⁄/¤ Navigation Button Eto select any channel for adjustment using an external source, such as a test disc, from which to judge the output levels. After the ➔ cursor is pointing to the channel to be adjusted, press the ‹/› Navigation Button
Eto raise or lower the output level. However, before proceeding with any manual adjustment we recommend that you first use the AVR’s inter- nal test tone generator and automatic sequencer to send a tone to each channel so that you may verify that all speaker connections have been properly made.
To turn the test tone on and have it automatically circulate among the channels where a speaker has previously been configured (see page 27), press the ⁄/¤ Navigation Button Euntil the ➔ cursor is pointing to the TEST TONE line on the menu. Next, press the ‹/› Navigation Button Euntil AUTO is shown. This will cause the test tone to circulate, starting at the Front Left speaker. It will circulate clock- wise around the room, playing for two seconds in each speaker before switching to the next speak- er position. The ➔ cursor will blink next to the active speaker to indicate which speaker the sound should be coming from.
IMPORTANT NOTE: Because this test noise will have a much lower level than normal music, the volume must be lowered after the adjustment for all channels is made, but BEFORE you return to the main menu and the test tone turns off.
NOTE: Remember to verify that the speakers have been properly connected. As the test noise circulates, listen to make certain that the sound comes from the speaker position shown in the Main Information Display ˜. If the sound comes from a speaker location that does NOT match the position indicated in the display, turn the AVR off using the Main Power Switch 1 and check the speaker wiring or connections to external power amplifiers to make certain that each speaker is connected to the correct output terminal.