SYSTEM CONFIGURATION
are not primary controls and do not impact the way the AVR “sounds.”
To proceed to the SURROUND CONFIG line, press the ⁄/¤ Navigation Buttons D© to move to that line; otherwise, press it again to move to the DOLBY SURR SETUP line and skip to the instructions for that setting.
The SURROUND CONFIG line is your gate- way to a broad range of surround mode configurations.
To continue, press the Set Button pœ to go to the main SURROUND CONFIG menu (Figure 6).
* * S U R R O U N D C O N F I G * *
➔ L O G I C | 7 G L O B A L : O F F |
D O L B Y | M U L T I C O N F I G |
D O L B Y | 2 . 0 C O N F I G |
D T S C O N F I G
P C M | 4 4 . 1 / 4 8 k H z C O N F I G | |
P C M | 9 6 k H z C O N F I G |
|
B A C K T O S U R R O U N D | S E T U P | |
Figure 6
The LOGIC 7 GLOBAL line is the only item on this menu page that is
The remaining five items in this menu each take you to a submenu listing the individual surround modes available within the selected mode group. To select a surround mode list, press the ⁄/¤ Navigation Buttons D© until the
the ‹/› Navigation Buttons D© to turn the mode “ON” or “OFF.”
•When a mode is ON, the mode will appear in all menu selections whenever you are changing the surround mode.
•When a mode is OFF, the mode will not appear and may not be selected for any source.
•Some modes (e.g., Dolby Digital, DTS and the Stereo mode in the PCM menus) should never be disabled.
A complete list of the AVR 445’s surround modes is found on page 58, but here are some items that will help you decide which modes you want included in your setup, and which modes you may wish to turn off.
•The DOLBY MULTI CONFIG group contains the surround modes available when a mul-
tichannel Dolby Digital, encoded source is present. This includes both the discrete Dolby Digital modes, which cannot be turned off, as well as other modes which may be applied as
•The DOLBY 2.0 CONFIG group contains the surround modes available when a
•The DTS CONFIG group contains the sur- round modes available when a
•The PCM 44.1/48kHz CONFIG group contains the surround modes available when a PCM digital data stream is present. This includes not only PCM sources from DVD or CD players, but also all
•The PCM 96kHz CONFIG group contains the surround modes available when a PCM digital data stream is present. This includes not only 96kHz PCM sources from DVD or CD players, but also all
When all surround modes that are not required have been turned off, press the ⁄/¤ Navigation
Buttons D© until the
then press the Set Button pœ.
The final item on the SURROUND SETUP menu is the DOLBY SURR SETUP line. When the
the screen.
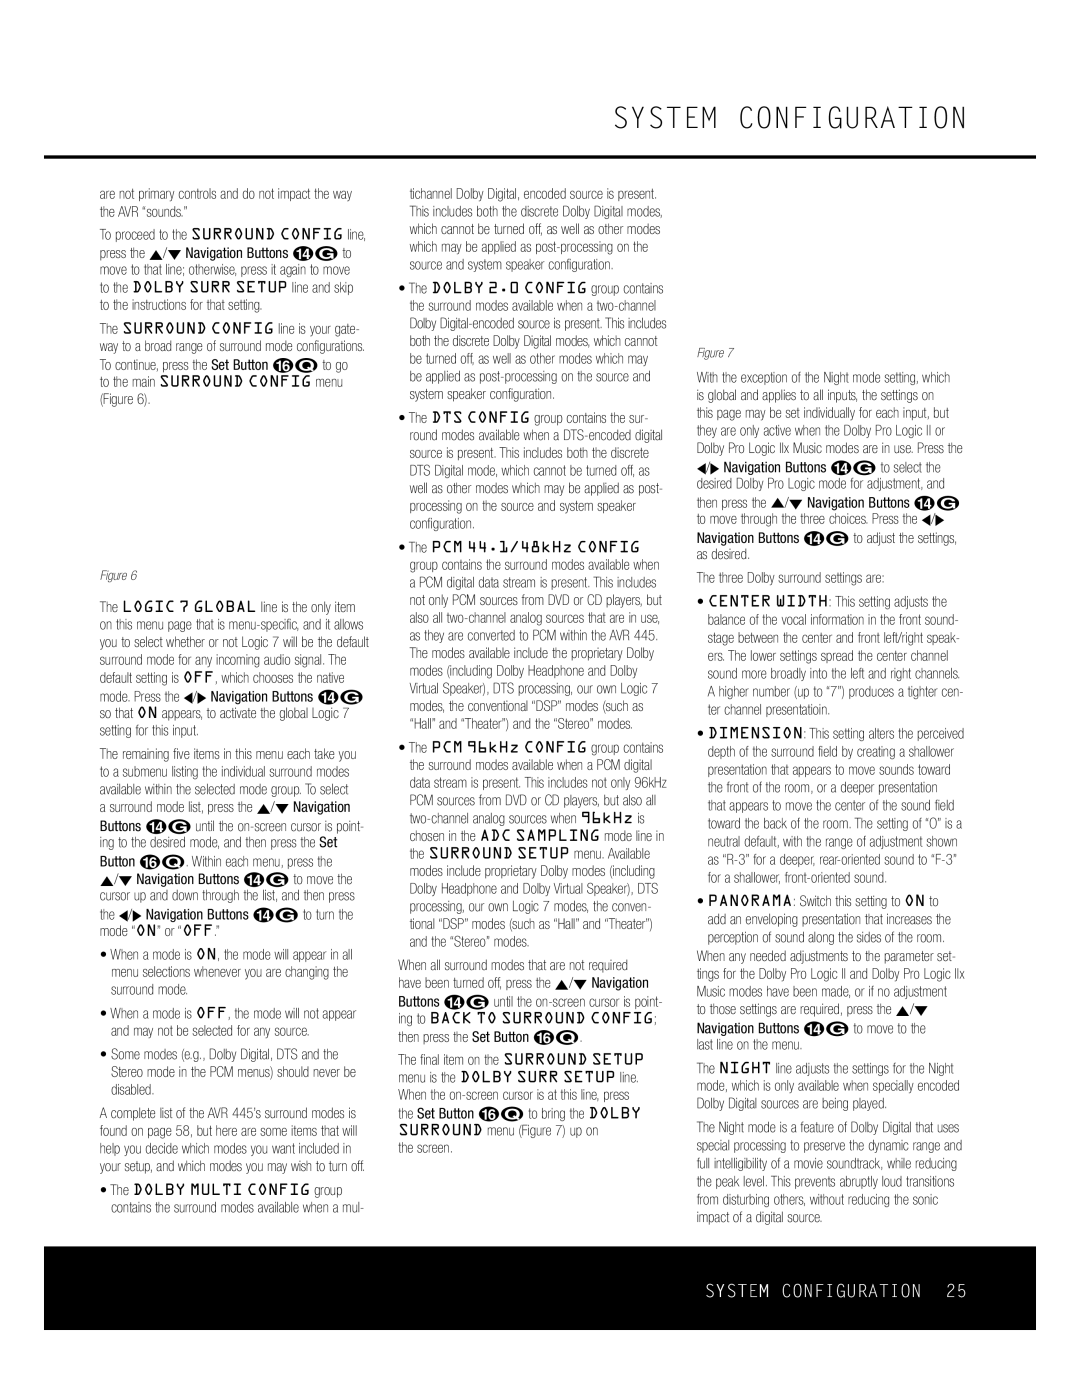
* D O L B Y S U R R | S E T U P * |
➔ M O D E : D O L B Y P L I I x | |
M U S I C |
|
C E N T E R W I D T H | : 3 |
D I M E N S I O N : 0 |
|
P A N O R A M A : O F F O N
N I G H T : O F F M I D M A X
B A C K T O S U R R O U N D S E T U P
Figure 7
With the exception of the Night mode setting, which is global and applies to all inputs, the settings on this page may be set individually for each input, but they are only active when the Dolby Pro Logic II or Dolby Pro Logic IIx Music modes are in use. Press the ‹/› Navigation Buttons D© to select the desired Dolby Pro Logic mode for adjustment, and then press the ⁄/¤ Navigation Buttons D© to move through the three choices. Press the ‹/› Navigation Buttons D© to adjust the settings, as desired.
The three Dolby surround settings are:
•CENTER WIDTH: This setting adjusts the balance of the vocal information in the front sound- stage between the center and front left/right speak- ers. The lower settings spread the center channel sound more broadly into the left and right channels. A higher number (up to “7”) produces a tighter cen- ter channel presentatioin.
•DIMENSION: This setting alters the perceived depth of the surround field by creating a shallower presentation that appears to move sounds toward the front of the room, or a deeper presentation that appears to move the center of the sound field toward the back of the room. The setting of “O” is a neutral default, with the range of adjustment shown as
•PANORAMA: Switch this setting to ON to add an enveloping presentation that increases the perception of sound along the sides of the room.
When any needed adjustments to the parameter set- tings for the Dolby Pro Logic II and Dolby Pro Logic IIx Music modes have been made, or if no adjustment to those settings are required, press the ⁄/¤ Navigation Buttons D© to move to the
last line on the menu.
The NIGHT line adjusts the settings for the Night mode, which is only available when specially encoded Dolby Digital sources are being played.
The Night mode is a feature of Dolby Digital that uses special processing to preserve the dynamic range and full intelligibility of a movie soundtrack, while reducing the peak level. This prevents abruptly loud transitions from disturbing others, without reducing the sonic impact of a digital source.
SYSTEM CONFIGURATION 25