HotBrick Network Solutions
2: Basic Setup
Overview
Basic Setup of your HotBrick Load Balancer
1.Attach the HotBrick Load Balancer
2.Install your HotBrick Load Balancer
3.Configure your HotBrick Load Balancer
4.Configure PCs on your LAN to use the Load Balancer.
Requirements
•One (1) or two (2) DSL or Cable modems, each with an Internet Access account with an ISP.
•Network cables. Use standard 10/100BaseT network (UTP) cables with RJ45 connectors
•TCP/IP network protocol must be installed on all PCs.
Procedure
1: Configuring the Load Balancer LB-2 for your LAN
1.Use a standard LAN cable to connect your PC to any Hub port on the Load Balancer.
2.Connect the power adapter and power up the Load Balancer
3.Start your PC. If your PC is already running, restart it. It will then obtain an IP address from the Load Balancer
4.Start your WEB browser.
5.In the Address or Location box enter:
HTTP://192.168.1.1
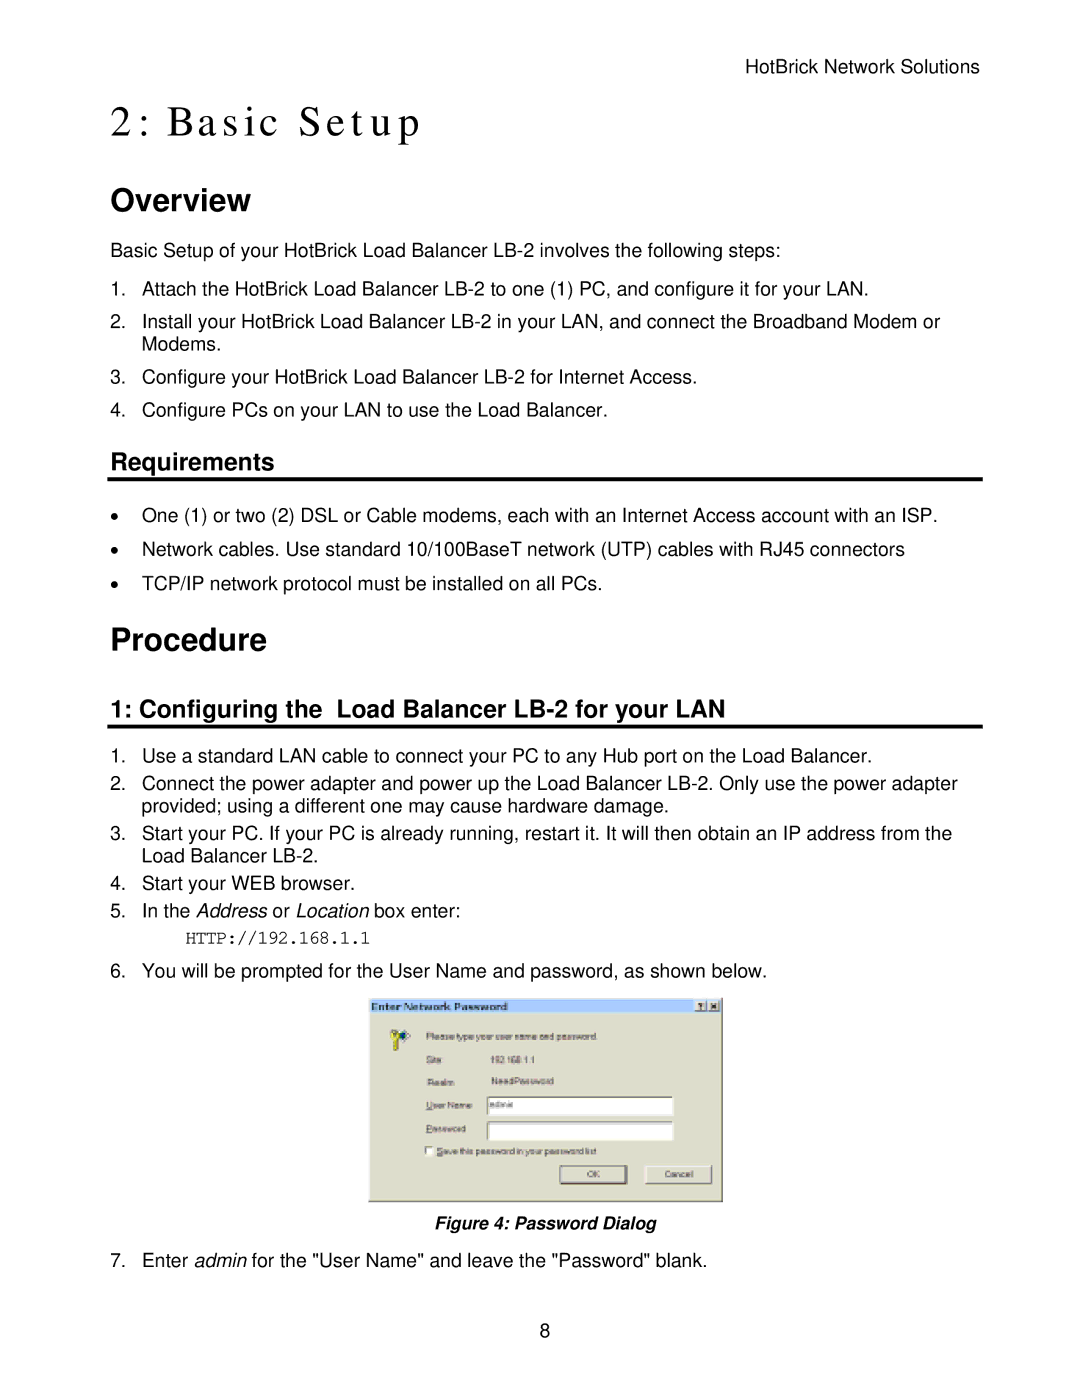
6. You will be prompted for the User Name and password, as shown below.
Figure 4: Password Dialog
7. Enter admin for the "User Name" and leave the "Password" blank.
8