HotBrick Network Solutions
2. Installing the HotBrick Load Balancer LB-2 in your LAN
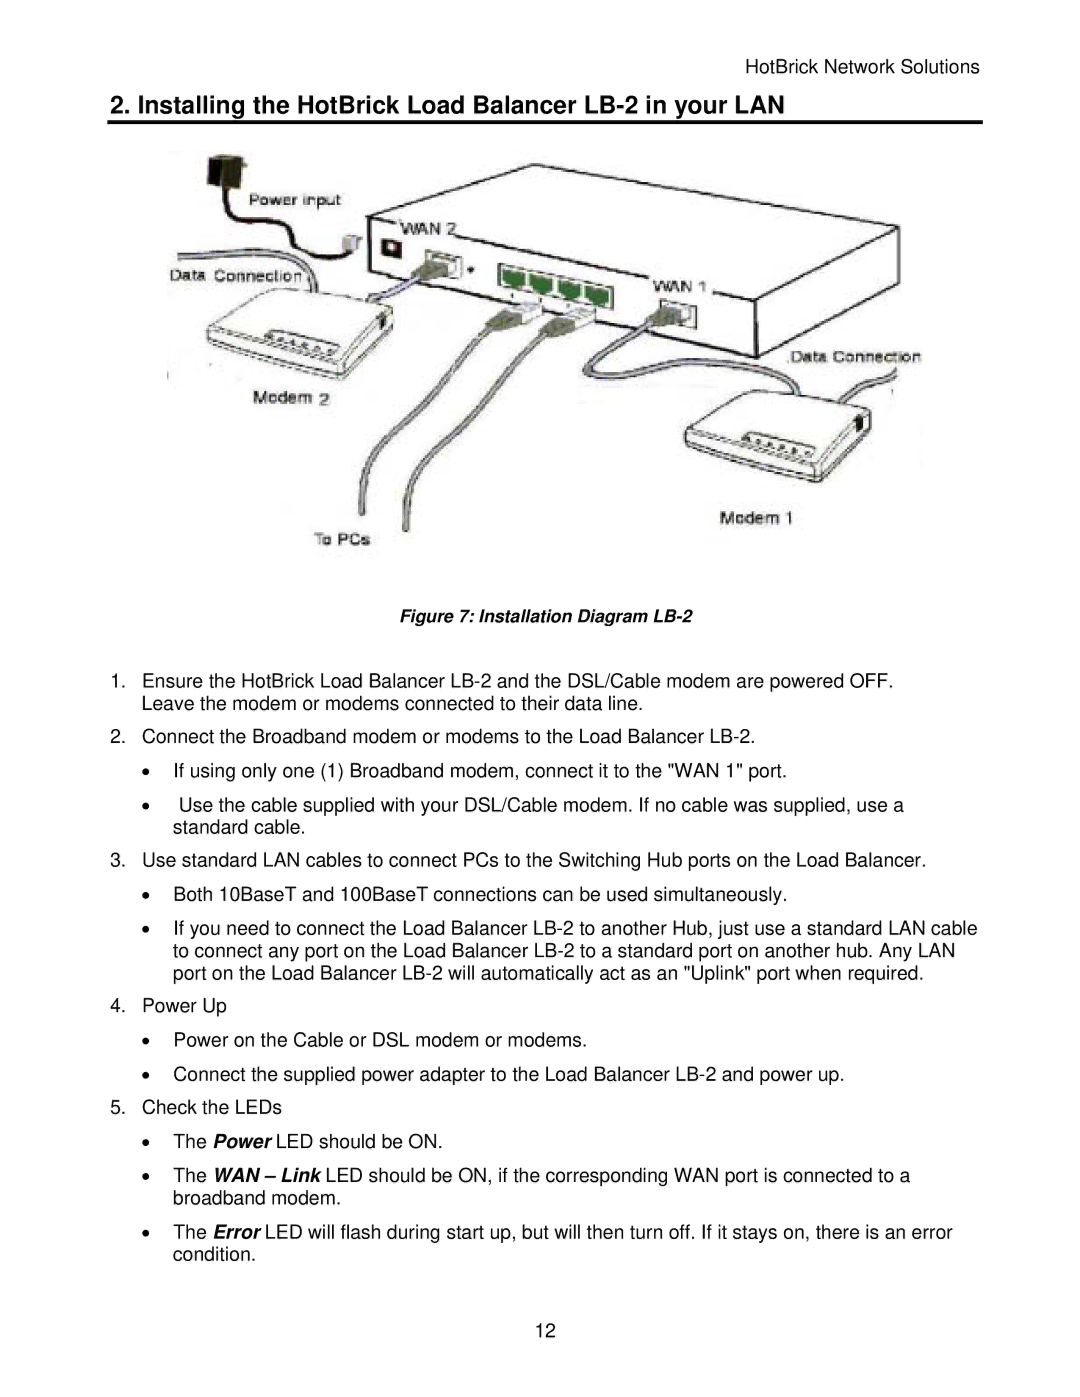
Figure 7: Installation Diagram LB-2
1.Ensure the HotBrick Load Balancer
2.Connect the Broadband modem or modems to the Load Balancer
•If using only one (1) Broadband modem, connect it to the "WAN 1" port.
•Use the cable supplied with your DSL/Cable modem. If no cable was supplied, use a standard cable.
3.Use standard LAN cables to connect PCs to the Switching Hub ports on the Load Balancer.
•Both 10BaseT and 100BaseT connections can be used simultaneously.
•If you need to connect the Load Balancer
4.Power Up
•Power on the Cable or DSL modem or modems.
•Connect the supplied power adapter to the Load Balancer
5.Check the LEDs
•The Power LED should be ON.
•The WAN – Link LED should be ON, if the corresponding WAN port is connected to a broadband modem.
•The Error LED will flash during start up, but will then turn off. If it stays on, there is an error condition.
12