Laserjet PRO 200 Color MFP
Page
HP LaserJet Pro 200 color MFP M276 Series
Copyright and License
Trademark Credits
Table of contents
Copy
Scan
Fax
DSL PBX Isdn
Vii
Manage and maintain 131
Solve problems 149
Enww
Enww
198
Supplies and accessories 213
Index 215
Xiv
Product introduction
Product views
Product front view
Product back view
Serial number and model number location
Control panel layout
Control-panel Home screen
Enww
Print product reports
Menu item Description
Printer sharing disclaimer
Enww
Paper tray
Size Dimensions
Supported paper sizes
Supported paper sizes
Paper type Dimensions1 Weight Capacity2 Paper orientation
Supported paper types
Load the paper input tray
Enww
Print
HP UPD PS driver description
Supported printer drivers Windows
HP PCL 6 driver description
HP UPD PCL 5 driver description
Priority for changing print-job settings
Change print-job settings Windows
Change the default settings for all print jobs
Change the product configuration settings
Change print-job settings Mac OS
Click the Options & Supplies button
Click the Driver tab Configure the installed options Print
Print tasks for Windows
Use a printing shortcut Windows
Create a printing shortcut Windows
Select an existing shortcut as a base
Enww
Print on both sides duplex with Windows
Print multiple pages per sheet with Windows
Enww
Select the page orientation Windows
Enww
Select the paper type Windows
Print the first or last page on different paper Windows
Print
Scale a document to fit page size Windows
Create a booklet Windows
Click the Print on both sides manually check box
Print tasks for Mac OS
Use a printing preset Mac OS
Create a printing preset Mac OS
Print on both sides Mac OS
Select the page orientation Mac OS
Print multiple pages on one sheet of paper Mac OS
Select the paper type Mac OS
Scale a document to fit page size Mac OS
Print a cover page Mac OS
Create a booklet Mac OS
Select the paper size Windows
Cancel a print job Windows
Additional print tasks Windows
Select a custom paper size Windows
Print watermarks Windows
Select the paper size Mac OS
Cancel a print job Mac OS
Additional print tasks Mac OS
Select a custom paper size Mac OS
Create archival-quality prints
Color printing
Use the HP EasyColor option
Change color options Windows
Change the color theme for a print job Windows
Change the color options Mac OS
Open the Color/Quality Options menu
Match colors
Setting description Setting options Edge Control
Manual color options
Halftone
Print colored text as black Windows
Touch the Enable Web Services button
Use HP ePrint
Use AirPrint
Walk-up USB printing
Print Documents View and Print Photos Scan to USB Drive
Copy
Make a single copy
Make multiple copies
Copy a multiple-page original
Collate a copy job
Copy on both sides duplex
Copy on both sides duplex
Reduce or enlarge a copy
Make color or black and white copies
Copy identification cards
Optimize copy quality
Adjust the lightness or darkness for copies
Adjust the copy image
Copy in draft mode
Set the paper size and type for copying on special paper
Set new default copy settings
Restore copy default settings
Copy
Scan
Scan by using the HP Scan software Windows
Scan by using the HP Scan software Mac OS
Scan to a USB flash drive
Scan to a network folder
Touch the Scan to Network Folder item
Scan to email
Scan from a TWAIN-compliant program
Scan by using other software
Scan from a WIA-compliant program
Fax
Setup for stand-alone fax
Set up fax with a telephone answering machine
Set up fax with an extension phone
Connect fax to a telephone line
Setup for stand-alone fax
Use special characters in fax headers
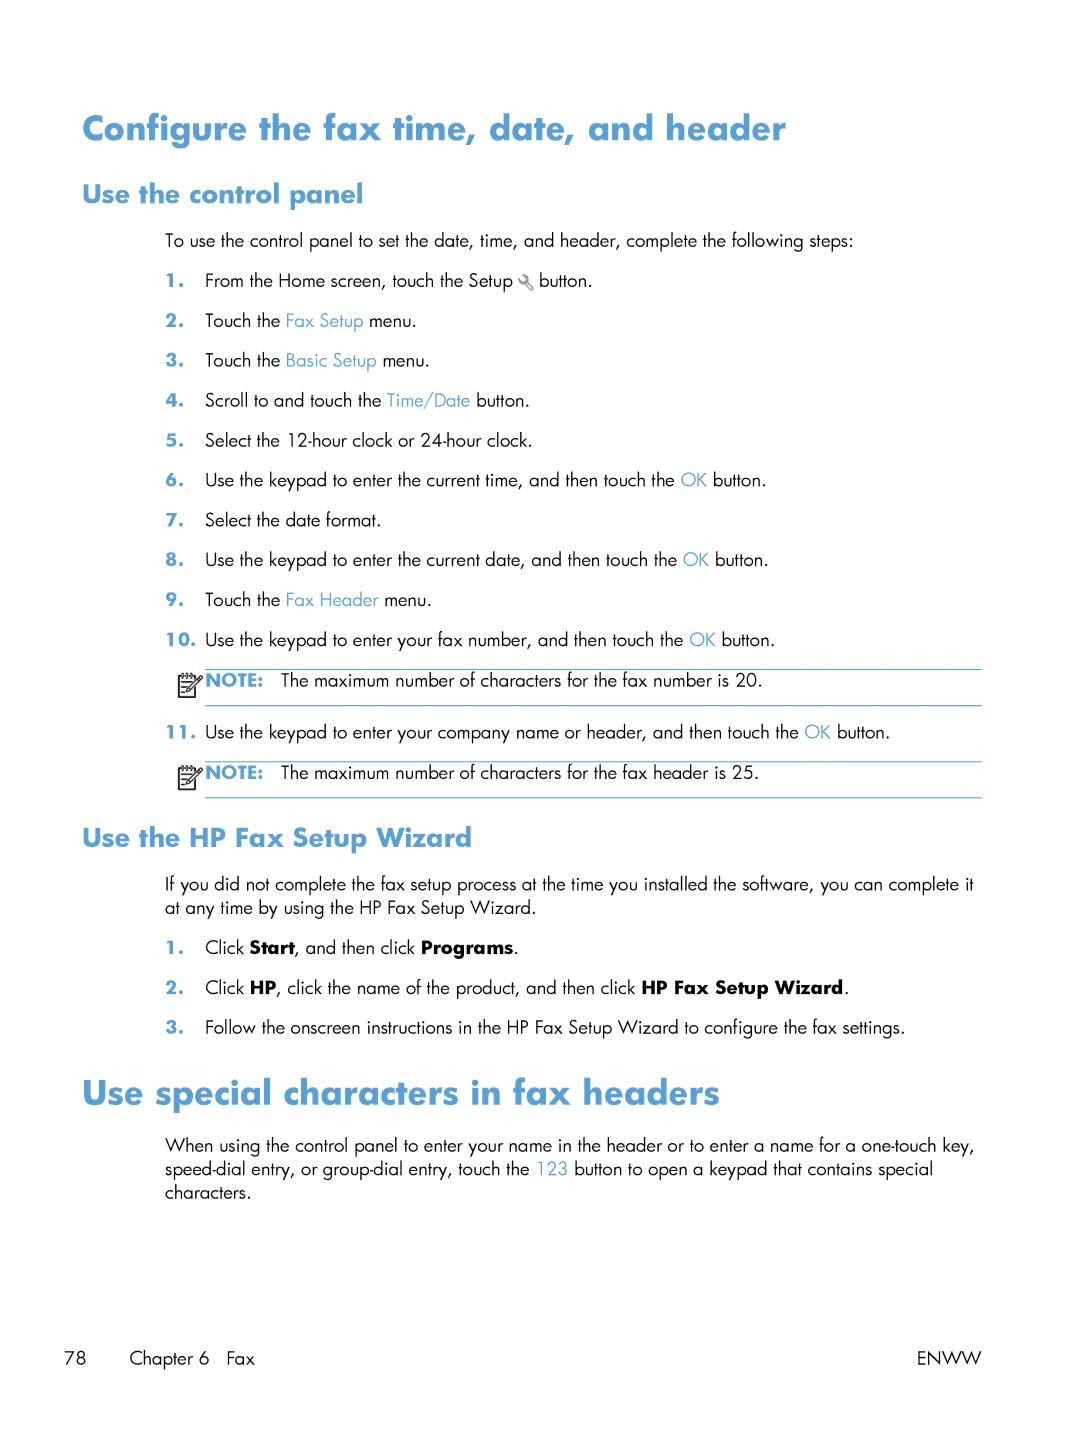
Configure the fax time, date, and header
Use the HP Fax Setup Wizard
Use the control panel
Use the control panel to create and edit the fax phone book
Use the phone book
Use phone-book data from other programs
Delete phone book entries
Delete speed-dial entries
Create and edit speed-dial entries
Create and edit group-dial entries
Delete group-dial entries
Special symbol Button Description
Configure send fax settings
Set special dialing symbols and options
Set the dial tone detection
Set the redial-on-busy option
Set autoredial and the time between redials
Tone dial or pulse dial
Set the redial-on-no-answer option
Set resolution settings
Set light/dark and resolution
Set the default light/dark contrast setting
Set the redial-on-communication-error option
Cover page templates
Set billing codes
Enww
Set the answer mode
Configure receive fax settings
Set fax forwarding
Set the number of rings-to-answer
Block or unblock fax numbers
Type of telephone line
Type of telephone line Recommended rings-to-answer setting
Set distinctive ring
Set the alarm volume, phone-line volume, and ring volume
Set fax reprint settings
Set the fax sounds volume
Use autoreduction for incoming faxes
Set fax polling
Set the private receive feature
Set stamp-received faxes
Set fax polling
Supported fax programs
Cancel a fax
Use fax
Delete faxes from memory
Use fax on a DSL, PBX, or Isdn system
DSL
Use fax on a VoIP service
Fax from the flatbed scanner
Fax from the document feeder
Send a fax from the software
Use speed dials and group-dial entries
Send a fax from the software
Click Send Now
Send a fax with confirmation
Schedule a fax to be sent later
Use access codes, credit cards, or calling cards
Send faxes internationally
Print a fax
Reprint a fax
Receive faxes when fax tones are audible on the phone line
Print a stored fax when the private receive feature is on
Receive faxes to a computer
Touch the Print Private Faxes button
Solve fax problems
Fax troubleshooting checklist
Enww
Fax trace report
Print all fax reports
Fax error report printing
Set the fax error report
Print individual fax reports
Fax error messages
Set the fax-error-correction mode
Change the fax speed
Document feeder door is open
Canceled fax
Canceled send
Fax is busy
Redial pending
Canceling the fax receive
Fax storage is full. Canceling the fax send
Fax storage is full
Decrease the fax speed. Ask the sender to
Fax Service menu, select the Clear Saved
No fax answer
Solve problems sending faxes
No fax detected
Communication error. message appears
An error message displays on the control panel
No dial tone
Fax is busy. message appears
No fax answer. message appears
Document feeder paper jam
Scanner error
Fax storage is full. message appears
Faxes can be received, but not sent
Open the Fax Activity Log menu
Unable to use speed dials
Unable to use fax functions from the control panel
Unable to use group dials
Solve problems receiving faxes
Fax has a dedicated phone line
Fax does not respond
An answering machine is connected to the product
Telephone handset is connected to the product
Answer Mode setting is set to the Manual setting
Voice mail is available on the fax line
Product uses a fax over IP or VoIP phone service
Product is connected to a DSL phone service
No fax detected. message appears
Select the Print Log Now option
Fax is received but does not print
Sender receives a busy signal
Private Receive feature is on
Handset is connected to the product
Cannot send or receive a fax on a PBX line
Solve general fax problems
No dial tone
Faxes are sending slowly
Fax quality is poor
Open the Default Paper Size menu
Fax cuts off or prints on two pages
Enww
Manage and maintain
Use HP Web Services applications
View or change network settings
Configure IP network settings
Rename the product on a network
Link speed and duplex settings
Setting Description
HP Device Toolbox Windows
Tab or section Description Status tab
Print tab
HP Web Services tab
Networking tab
HP Utility Mac OS
HP Utility features
Open the HP Utility
Product security features
HP Web Jetadmin
Set or change the product password
Set the Auto Power Down delay
Economy settings
Set the sleep delay
Print with EconoMode
System Setup Energy Settings Auto Power Down Wake Events
Print when a toner cartridge is at estimated end of life
Enable or disable the At Very Low settings
Recycle supplies
Store and recycle supplies
Toner cartridge storage
Replacement instructions
Replace the toner cartridges
Enww
Enww
Enww
Manually update the firmware
Update the firmware
Set the product to automatically update the firmware
Enww
Solve problems
Check the control panel for error messages
Problem-solving checklist
Check that the product power is on
Test print functionality
Test the fax receiving functionality
Test copy functionality
Test the fax sending functionality
Try sending a print job from a computer
Restore the factory-set defaults
Control panel help system
Interpret control panel messages
10.X00Y Supply Error
Error, Turn off then on
Control panel message types
Fuser Error
XX Error
Fan Error, Turn off then on
Error
Error Turn off then on
Black in wrong position
Black Cartridge Low
Black Very Low
Cyan in wrong position
Cleaning
Cyan Cartridge Low
Cyan Very Low
Door open
Device error, press OK
Genuine HP supply installed
Incompatible color
Jam in Tray 1, Clear jam and then press OK
Install color cartridge
Invalid driver Press OK
Load tray 1 Press OK for available media
Magenta in wrong position
Load Tray 1, Plain Size / Cleaning mode, OK to start
Magenta Cartridge Low
Magenta Very Low
Memory is low. Press OK
Print failure, press OK. If error repeats, turn off then on
Manual Duplex Load Tray 1, Press OK
Misprint, Press OK
Remove shipping locks from cartridges
Rear door open
Remove shipping lock from color cartridge
Replace color
Unsupported color Press OK to continue
Used color installed, to accept press OK
Unexpected size in tray 1 Load size Press OK
Used color in use
Yellow in wrong position
Used supplies in use
Yellow Cartridge Low
Yellow Very Low
Product picks up multiple sheets of paper
Paper feeds incorrectly or becomes jammed
Product does not pick up paper
Prevent paper jams
Clear jams
Jam locations
Clear jams from the document feeder
Clear jams in the paper input tray
Enww
Clear jams from the output bin
Clear jams from the rear door
Enww
Check the paper type setting Mac OS
Check the paper type setting Windows
Improve print quality
Print the supplies status
Check toner cartridge status
Calibrate the product to align the colors
Check the supplies status
Print the print quality
Print a cleaning
Perform additional print quality troubleshooting
Interpret the print quality
Inspect the toner cartridge for damage
Check the EconoMode setting
Check print job settings
Use paper that meets HP specifications
Check the paper and printing environment
Change the color theme for a print job
Adjust color settings in the printer driver
Change the color options
HP PCL 6 driver
Use the printer driver that best meets your printing needs
HP UPD PS driver
HP UPD PCL
Solve copy quality problems
Check the scanner glass for dirt and smudges
Check the paper settings
Check the image adjustment settings
Optimize for text or pictures
Edge-to-edge copying
Enww
Solve scan quality problems
Check the color settings
Check the resolution settings
Setting Recommended use
Check the image adjustment settings
Optimize for text or pictures
Enww
Solve fax quality problems
Check the send-fax resolution setting
Check the Error Correction setting
Send to a different fax machine
Check the Fit-to-Page setting
Check the senders fax machine
Perform a fax diagnostic test
System Setup Self Diagnostics
Product does not print or it prints slowly
Product does not print
Product prints slowly
Solve walk-up USB printing problems
File does not print from the USB storage accessory
Solve walk-up USB printing problems
Solve direct connection problems
Computer is using the incorrect IP address for the product
Solve wired network problems
Poor physical connection
Computer or workstation might be set up incorrectly
Computer is unable to communicate with the product
Solve wireless network problems
Wireless connectivity checklist
Wireless product loses communication when connected to a
Cannot connect more computers to the wireless product
Network does not appear in the wireless networks list
Wireless network is not functioning
Perform a wireless network diagnostic test
Reduce interference on a wireless network
An error message displayed during the software installation
Solve product software problems with Windows
Product is in Ready mode, but nothing prints
Windows
Click Devices and Printers
Solve product software problems with Mac OS
Printer driver is not listed in the Print & Fax list
Hardware troubleshooting
Software troubleshooting
Print job was not sent to the product that you wanted
Windows XP
Remove software Windows
Remove software Mac OS
Windows Vista and Windows
Enww
Supplies and accessories
HP anticounterfeit Web site
Order parts, accessories, and supplies
HP policy on non-HP supplies
Part number Cartridge number Description
Accessories
Index
DSL
Jams
152 Network report Shortcuts Windows Creating Using Index
TCP/IP
Enww
Page
Hewlett-Packard Development Company, L.P