Diagnostic Tools
This section describes the following diagnostic tools you can use for troubleshooting and repairing the OmniBook:
∙OmniBook hardware diagnostic program (below).
∙
∙Desktop Management Interface (page
∙BIOS Setup utility (page
OmniBook Diagnostic Program
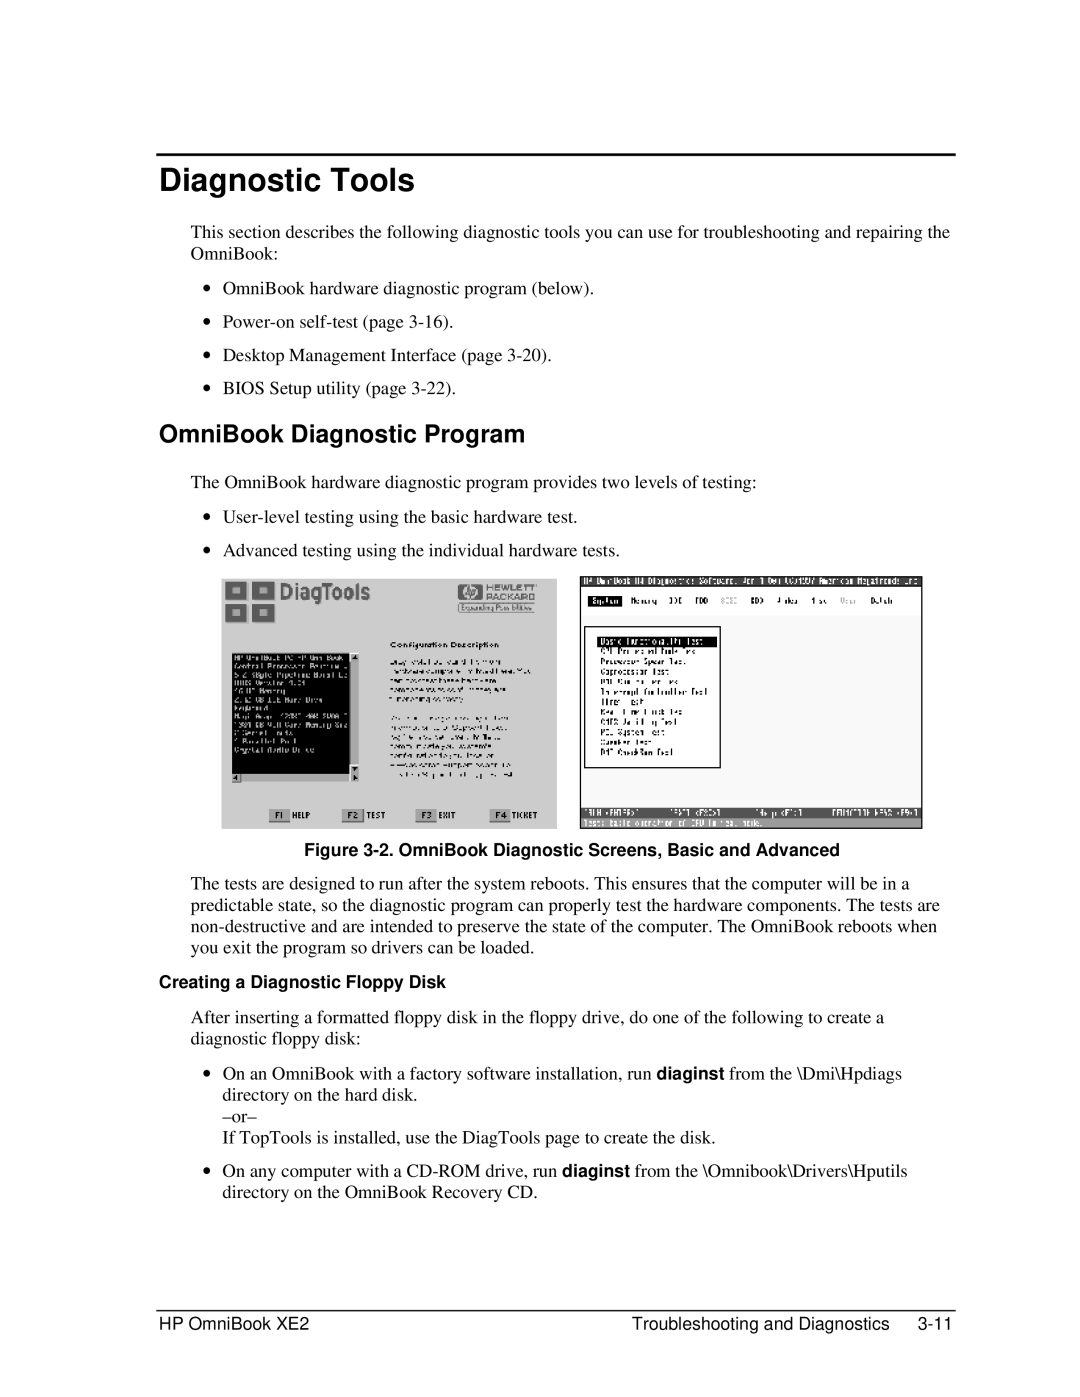
The OmniBook hardware diagnostic program provides two levels of testing:
∙
∙Advanced testing using the individual hardware tests.
Figure 3-2. OmniBook Diagnostic Screens, Basic and Advanced
The tests are designed to run after the system reboots. This ensures that the computer will be in a predictable state, so the diagnostic program can properly test the hardware components. The tests are
Creating a Diagnostic Floppy Disk
After inserting a formatted floppy disk in the floppy drive, do one of the following to create a diagnostic floppy disk:
∙On an OmniBook with a factory software installation, run diaginst from the \Dmi\Hpdiags directory on the hard disk.
If TopTools is installed, use the DiagTools page to create the disk.
∙On any computer with a
HP OmniBook XE2 | Troubleshooting and Diagnostics |