Removal and replacement procedures
Remove the audio board and cable:
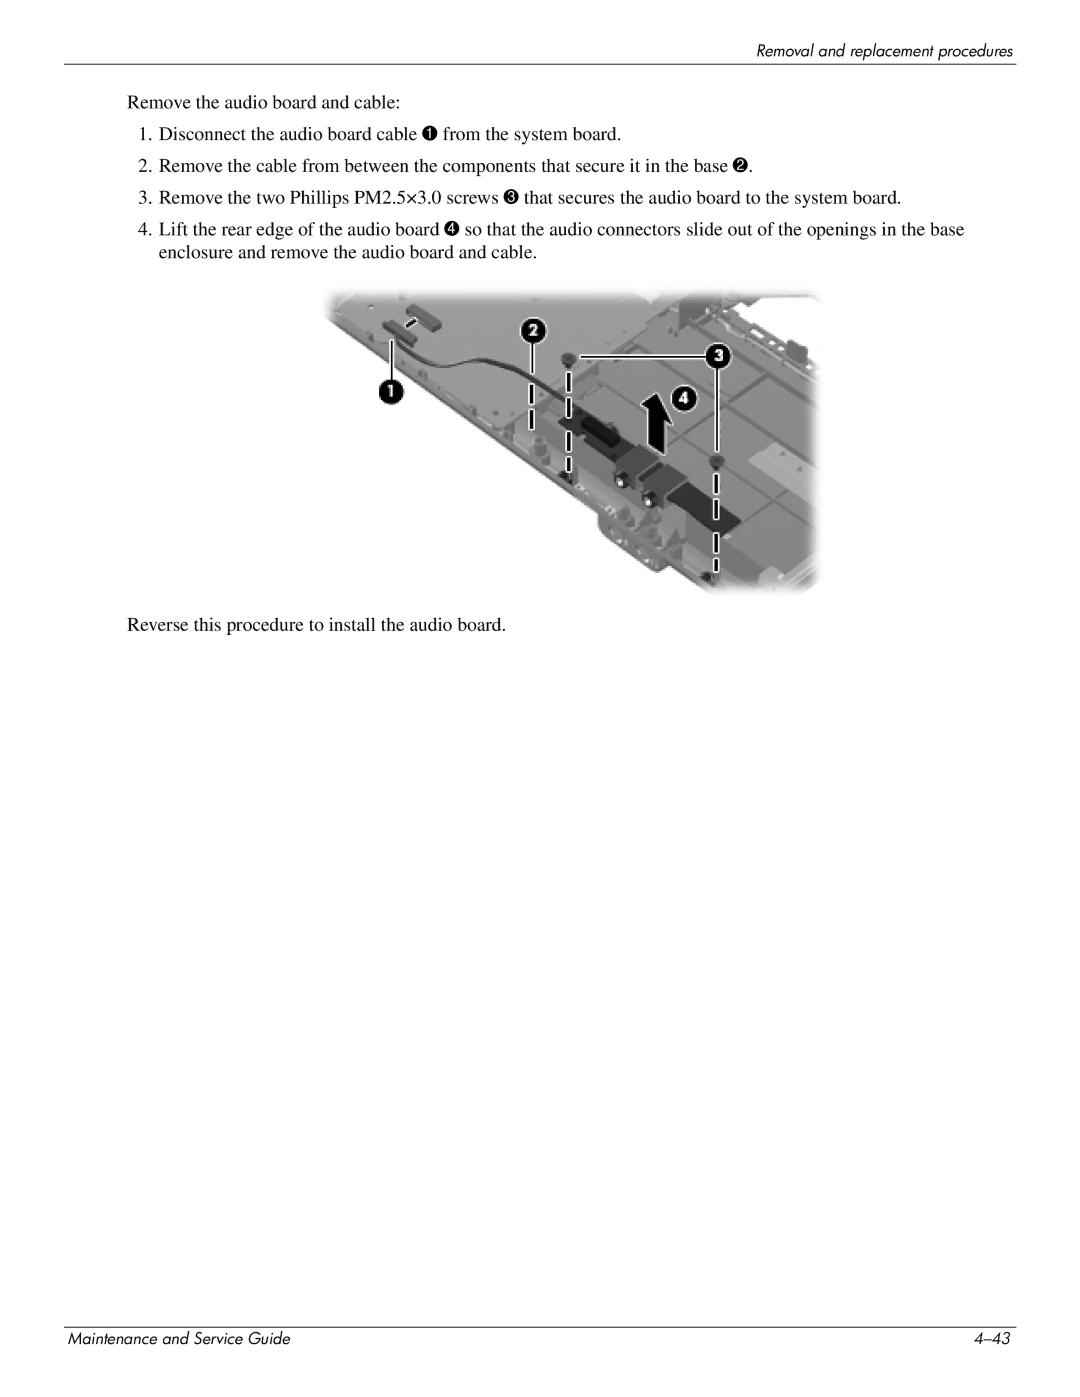
1.Disconnect the audio board cable 1 from the system board.
2.Remove the cable from between the components that secure it in the base 2.
3.Remove the two Phillips PM2.5×3.0 screws 3 that secures the audio board to the system board.
4.Lift the rear edge of the audio board 4 so that the audio connectors slide out of the openings in the base enclosure and remove the audio board and cable.
Reverse this procedure to install the audio board.
Maintenance and Service Guide |