Connecting a Digital Video Camera to the PC
When connecting an analog camera to the PC, use the Video and Audio In connectors on the front of the PC. The following instructions only apply to digital cameras.
See the documentation that came with your digital video camera.
1 | Turn on the PC, and wait for Windows XP | . |
| to start. |
|
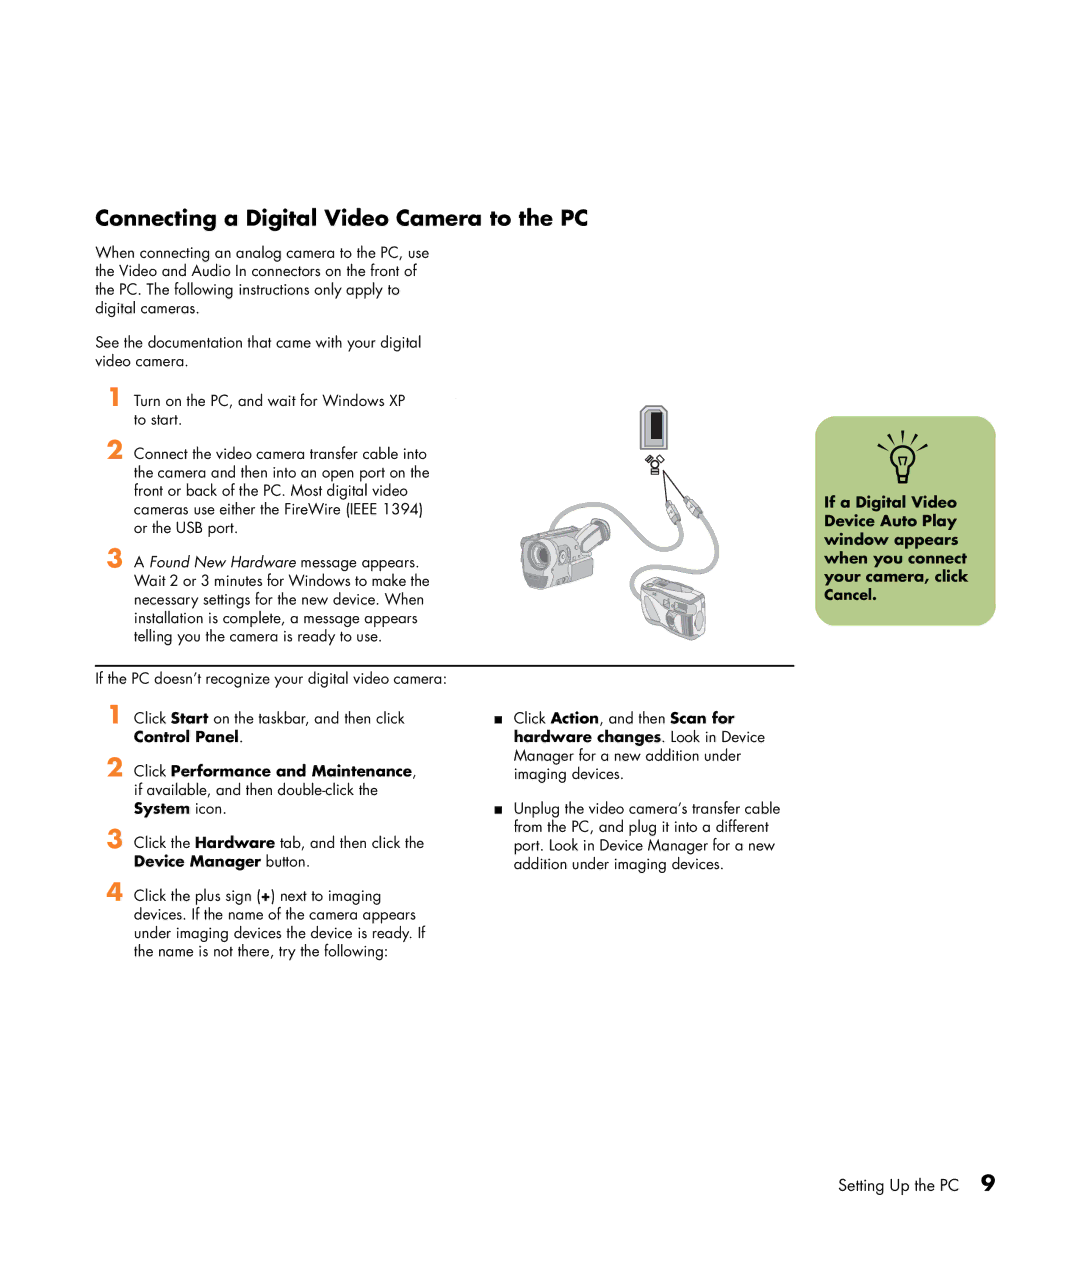
2 | Connect the video camera transfer cable into |
|
| the camera and then into an open port on the |
|
| front or back of the PC. Most digital video |
|
| cameras use either the FireWire (IEEE 1394) |
|
| or the USB port. |
|
3 | A Found New Hardware message appears. |
|
| Wait 2 or 3 minutes for Windows to make the |
|
| necessary settings for the new device. When |
|
installation is complete, a message appears telling you the camera is ready to use.
n
If a Digital Video Device Auto Play window appears when you connect your camera, click
Cancel.
If the PC doesn’t recognize your digital video camera:
1
2 Click Performance and Maintenance, if available, and then
3
4 Click the plus sign (+) next to imaging devices. If the name of the camera appears under imaging devices the device is ready. If the name is not there, try the following:
■Click Action, and then Scan for hardware changes. Look in Device Manager for a new addition under imaging devices.
■Unplug the video camera’s transfer cable from the PC, and plug it into a different port. Look in Device Manager for a new addition under imaging devices.
Setting Up the PC 9