5 Click Sound Effect Manager. The window opens.
6 Click Audio Wizard. A window opens that shows the connector panel on the front of the PC.
7 Place a check in the Enable jack detection check box to enable the wizard.
8 Connect the speaker system audio cable plugs into the connectors on the front of your PC. The panel display highlights a cable that is properly inserted in a connector.
9 Close the window.
Retasking front-panel connectors
To retask using the Audio Wizard
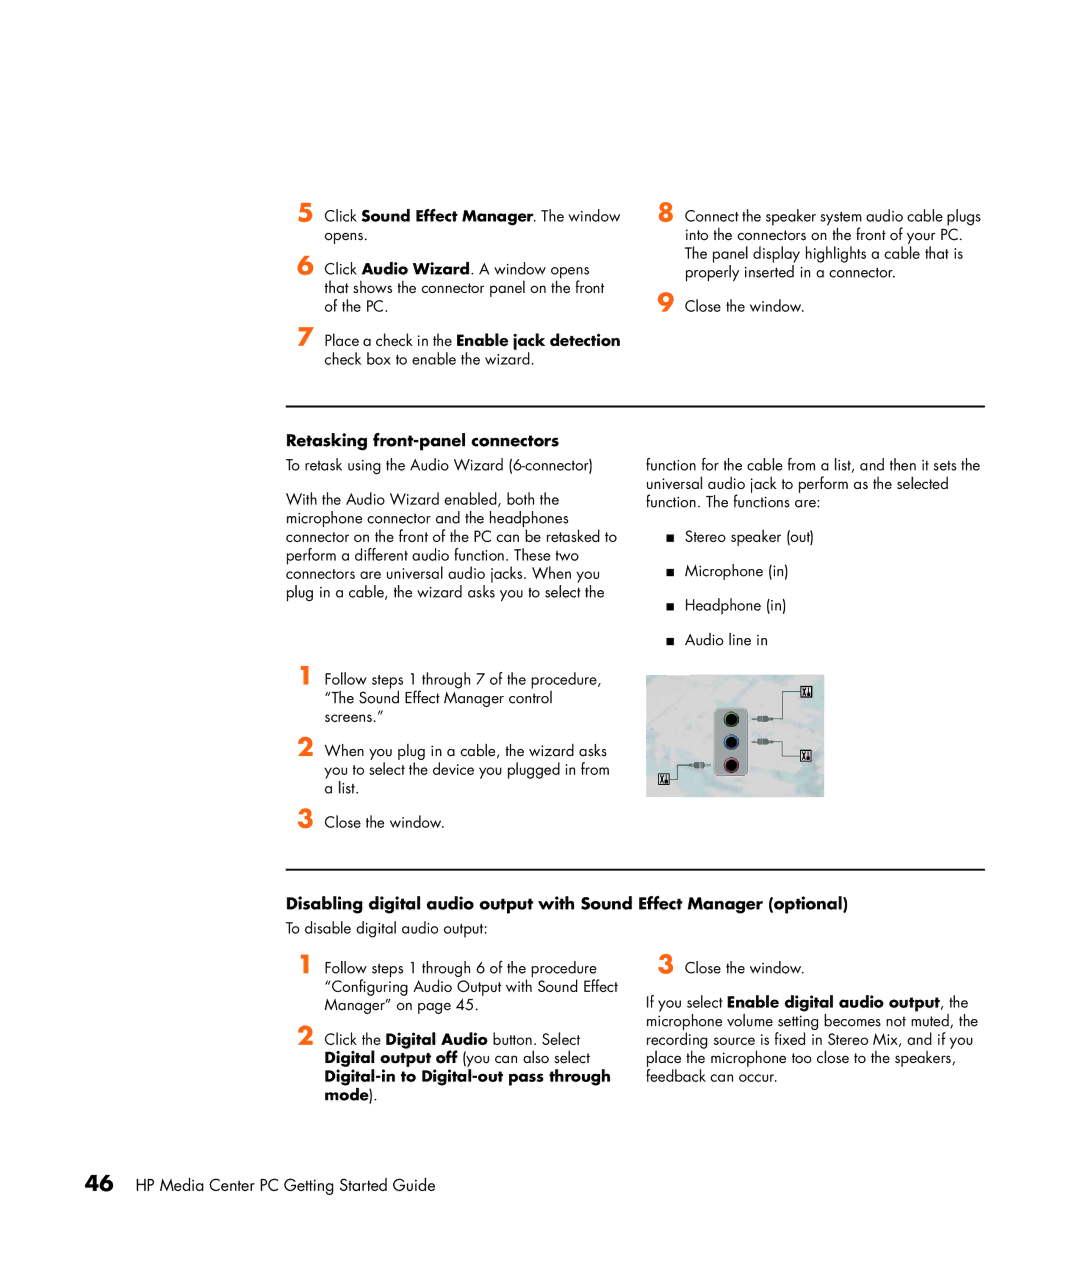
With the Audio Wizard enabled, both the microphone connector and the headphones connector on the front of the PC can be retasked to perform a different audio function. These two connectors are universal audio jacks. When you plug in a cable, the wizard asks you to select the
function for the cable from a list, and then it sets the universal audio jack to perform as the selected function. The functions are:
■Stereo speaker (out)
■Microphone (in)
■Headphone (in)
■Audio line in
1 Follow steps 1 through 7 of the procedure, “The Sound Effect Manager control screens.”
2 When you plug in a cable, the wizard asks you to select the device you plugged in from a list.
3 Close the window.
Disabling digital audio output with Sound Effect Manager (optional)
To disable digital audio output:
1 Follow steps 1 through 6 of the procedure “Configuring Audio Output with Sound Effect Manager” on page 45.
2 Click the Digital Audio button. Select Digital output off (you can also select
Digital-in to Digital-out pass through mode).
3 Close the window.
If you select Enable digital audio output, the microphone volume setting becomes not muted, the recording source is fixed in Stereo Mix, and if you place the microphone too close to the speakers, feedback can occur.