Setting the Date Stamp
The date of recording can be printed directly on the still images. This function must be activated before the image is captured. Once date and time are stamped on a photo, they can no longer be edited or deleted.
Limitations of Date Stamp functions are as follows:
•Available for Photos only.
•May slow down AEB/ Burst mode when Date Stamp is enabled in AEB/ Burst mode.
•In vertical or rotated images, the date and time on your photos still appear horizontally.
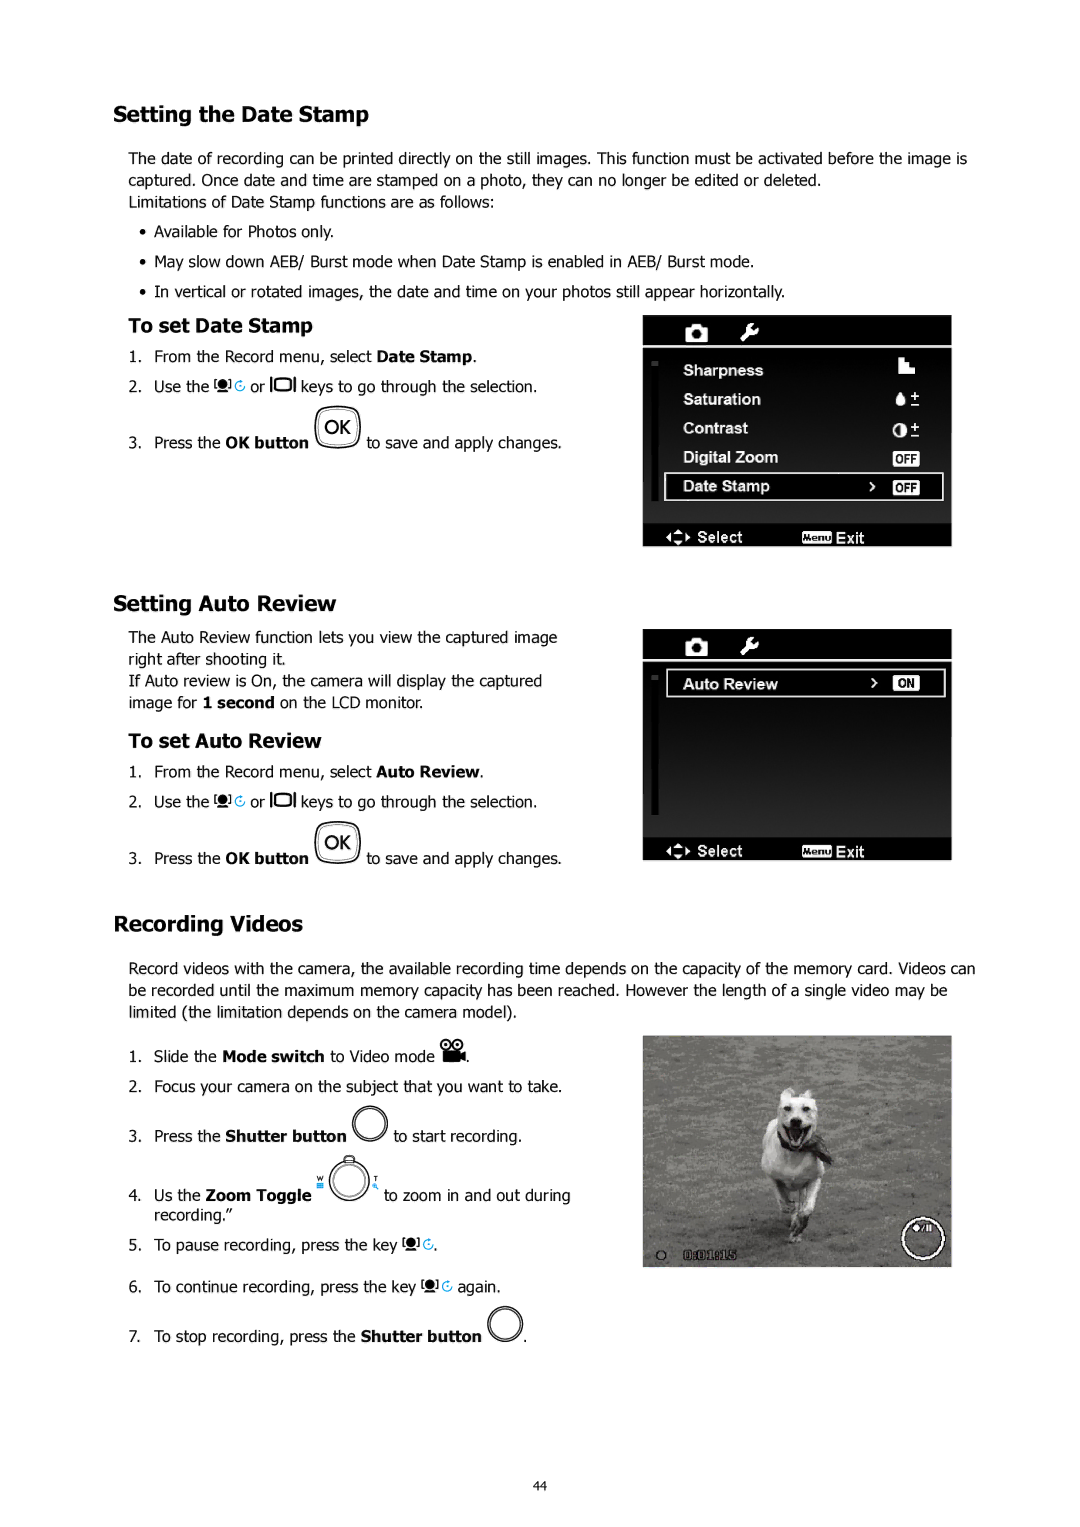
To set Date Stamp
1.From the Record menu, select Date Stamp.
2.Use the ![]()
![]()
![]()
![]() or
or ![]()
![]() keys to go through the selection.
keys to go through the selection.
3.Press the OK button ![]()
![]()
![]() to save and apply changes.
to save and apply changes.
Setting Auto Review
The Auto Review function lets you view the captured image right after shooting it.
If Auto review is On, the camera will display the captured image for 1 second on the LCD monitor.
To set Auto Review
1.From the Record menu, select Auto Review.
2.Use the ![]()
![]()
![]()
![]() or
or ![]()
![]() keys to go through the selection.
keys to go through the selection.
3.Press the OK button ![]()
![]()
![]() to save and apply changes.
to save and apply changes.
Recording Videos
Record videos with the camera, the available recording time depends on the capacity of the memory card. Videos can be recorded until the maximum memory capacity has been reached. However the length of a single video may be limited (the limitation depends on the camera model).
1.Slide the Mode switch to Video mode ![]() .
.
2.Focus your camera on the subject that you want to take.
3.Press the Shutter button ![]() to start recording.
to start recording.
4.Us the Zoom Toggle ![]()
![]()
![]()
![]()
![]() to zoom in and out during recording.”
to zoom in and out during recording.”
5.To pause recording, press the key ![]()
![]()
![]() .
.
6.To continue recording, press the key ![]()
![]()
![]() again.
again.
7.To stop recording, press the Shutter button ![]() .
.
44