Using the TV’s menu
TINTPICNTRASTTURESETTING | NORMAL |
|
PICTURE SETTING |
| |
BRIGHT |
|
|
SHARP |
| RESET |
TVCOLOURBACKOK |
| |
|
|
|
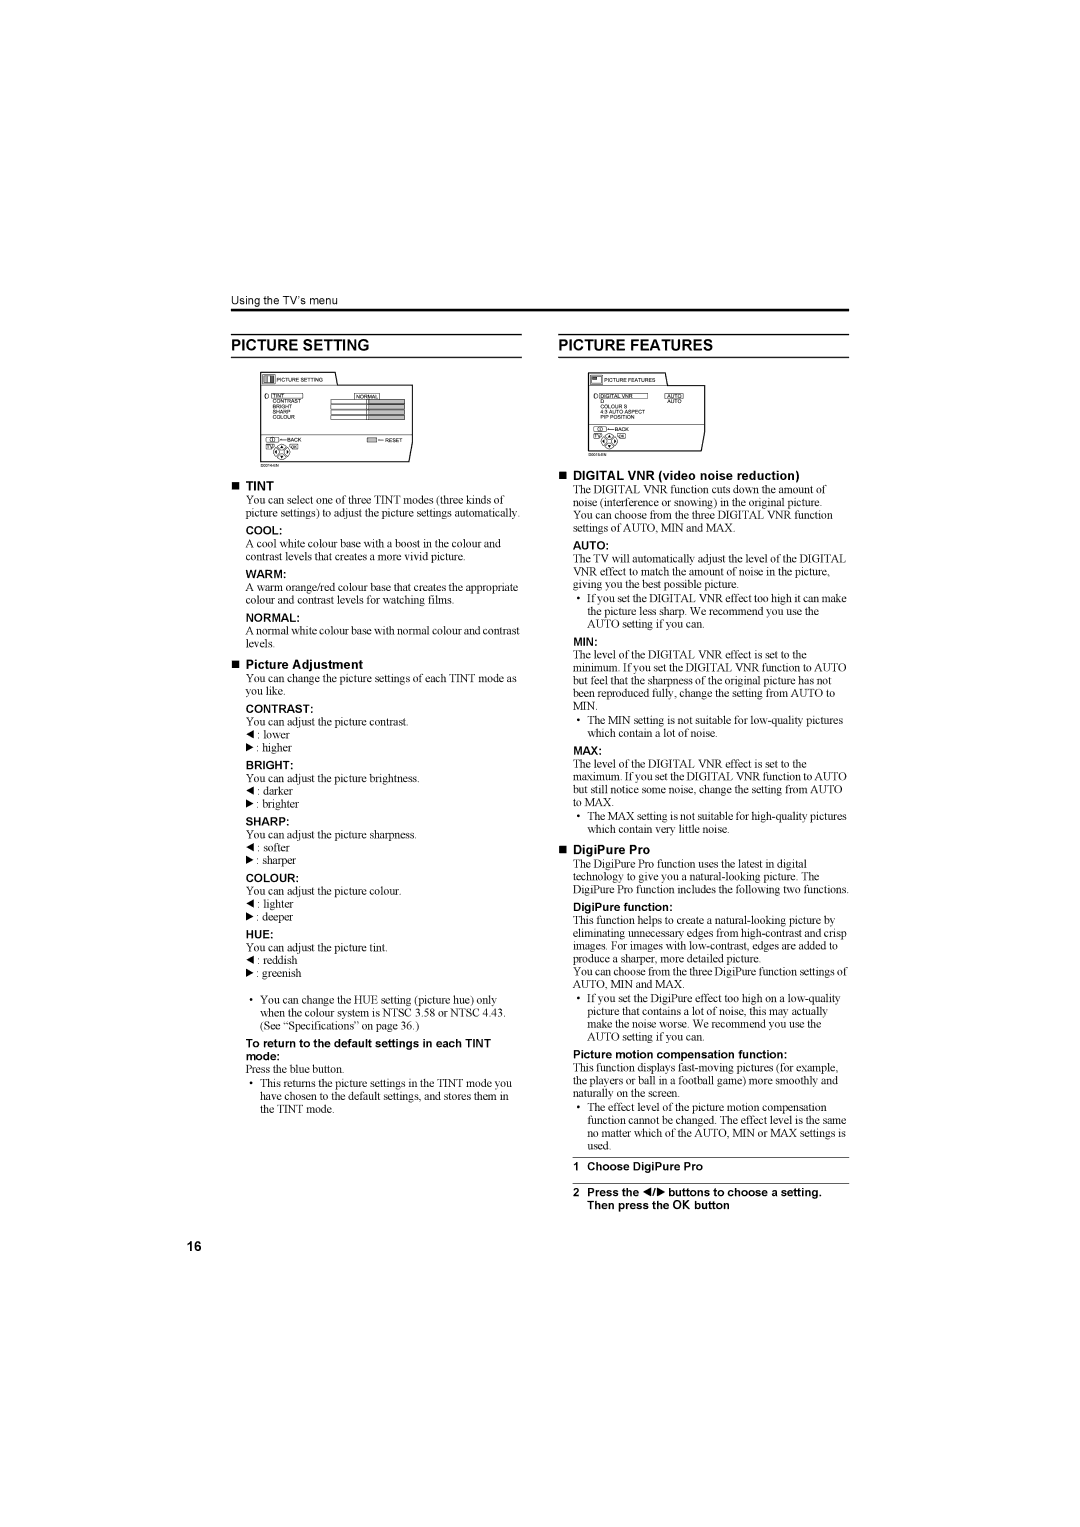
TINT
You can select one of three TINT modes (three kinds of picture settings) to adjust the picture settings automatically.
COOL:
A cool white colour base with a boost in the colour and contrast levels that creates a more vivid picture.
WARM:
A warm orange/red colour base that creates the appropriate colour and contrast levels for watching films.
NORMAL:
A normal white colour base with normal colour and contrast levels.
Picture Adjustment
You can change the picture settings of each TINT mode as you like.
CONTRAST:
You can adjust the picture contrast.
2 : lower
3 : higher
BRIGHT:
You can adjust the picture brightness.
2 : darker
3 : brighter
SHARP:
You can adjust the picture sharpness.
2 : softer
3 : sharper
COLOUR:
You can adjust the picture colour.
2 : lighter
3 : deeper
HUE:
You can adjust the picture tint.
2 : reddish
3 : greenish
•You can change the HUE setting (picture hue) only when the colour system is NTSC 3.58 or NTSC 4.43. (See “Specifications” on page 36.)
To return to the default settings in each TINT mode:
Press the blue button.
•This returns the picture settings in the TINT mode you have chosen to the default settings, and stores them in the TINT mode.
PICTURE FEATURES | ||
IGITALPICTUREVNRFEATURES | AUTO | |
DigiPurePro | ||
COLOURSYSTEM |
| |
4:3AUTOASPECT |
| |
PIPPOSITION |
| |
TV | BACKOK |
|
|
| |
DIGITAL VNR (video noise reduction)
The DIGITAL VNR function cuts down the amount of noise (interference or snowing) in the original picture. You can choose from the three DIGITAL VNR function settings of AUTO, MIN and MAX.
AUTO:
The TV will automatically adjust the level of the DIGITAL VNR effect to match the amount of noise in the picture, giving you the best possible picture.
•If you set the DIGITAL VNR effect too high it can make the picture less sharp. We recommend you use the AUTO setting if you can.
MIN:
The level of the DIGITAL VNR effect is set to the minimum. If you set the DIGITAL VNR function to AUTO but feel that the sharpness of the original picture has not been reproduced fully, change the setting from AUTO to MIN.
•The MIN setting is not suitable for
MAX:
The level of the DIGITAL VNR effect is set to the maximum. If you set the DIGITAL VNR function to AUTO but still notice some noise, change the setting from AUTO to MAX.
•The MAX setting is not suitable for
DigiPure Pro
The DigiPure Pro function uses the latest in digital technology to give you a
DigiPure function:
This function helps to create a
You can choose from the three DigiPure function settings of AUTO, MIN and MAX.
•If you set the DigiPure effect too high on a
Picture motion compensation function:
This function displays
•The effect level of the picture motion compensation function cannot be changed. The effect level is the same no matter which of the AUTO, MIN or MAX settings is used.
1Choose DigiPure Pro
2Press the 5 buttons to choose a setting. Then press the a button
16
