Chapter 3. Installing 3Com VCX IP Telecommuting Module
•The other way is as a number between 0 and 32. An IP address has 32 bits, where the number of the network mask indicates how many bits are used in the network’s addresses. The rest of the bits identifies the computer on the network.
Now, you can select to deactivate any network interfaces. Select y to deactivate all interfaces but the one you just configured. The remaining network interfaces can be activated later when you complete the configuration via the web interface from your work station. This only applies to interfaces which was previously active; you can’t activate interfaces with this setting.
Now enter the computer or computers from which the Telecommuting Module may be con- figured (the configuration computers).
Then enter a password for the Telecommuting Module. This is the password you use in your web browser to access and change the Telecommuting Module’s configuration. Finally, you can reset all other configuration if you want to.
Following is a sample run of the installation program.
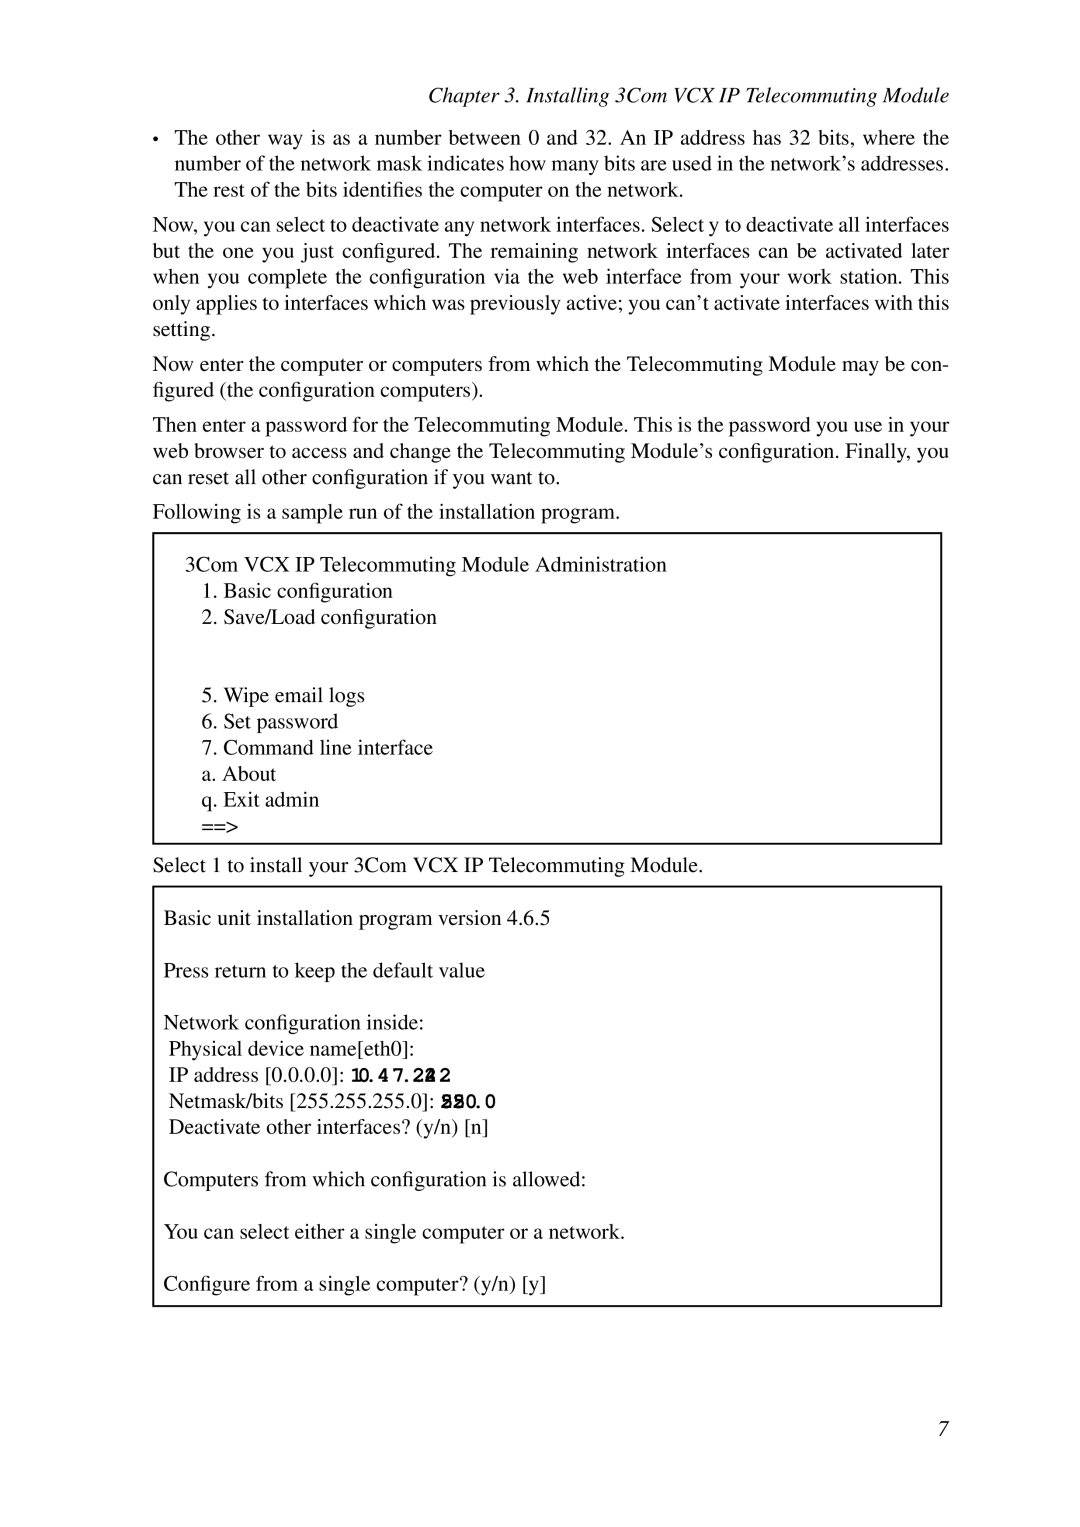
3Com VCX IP Telecommuting Module Administration
1.Basic configuration
2.Save/Load configuration
5.Wipe email logs
6.Set password
7.Command line interface a. About
q. Exit admin ==>
Select 1 to install your 3Com VCX IP Telecommuting Module.
Basic unit installation program version 4.6.5
Press return to keep the default value
Network configuration inside:
Physical device name[eth0]:
IP address [0.0.0.0]: 10.47.2.242
Netmask/bits [255.255.255.0]: 255.255.0.0
Deactivate other interfaces? (y/n) [n]
Computers from which configuration is allowed:
You can select either a single computer or a network.
Configure from a single computer? (y/n) [y]
7