2-8 Installation
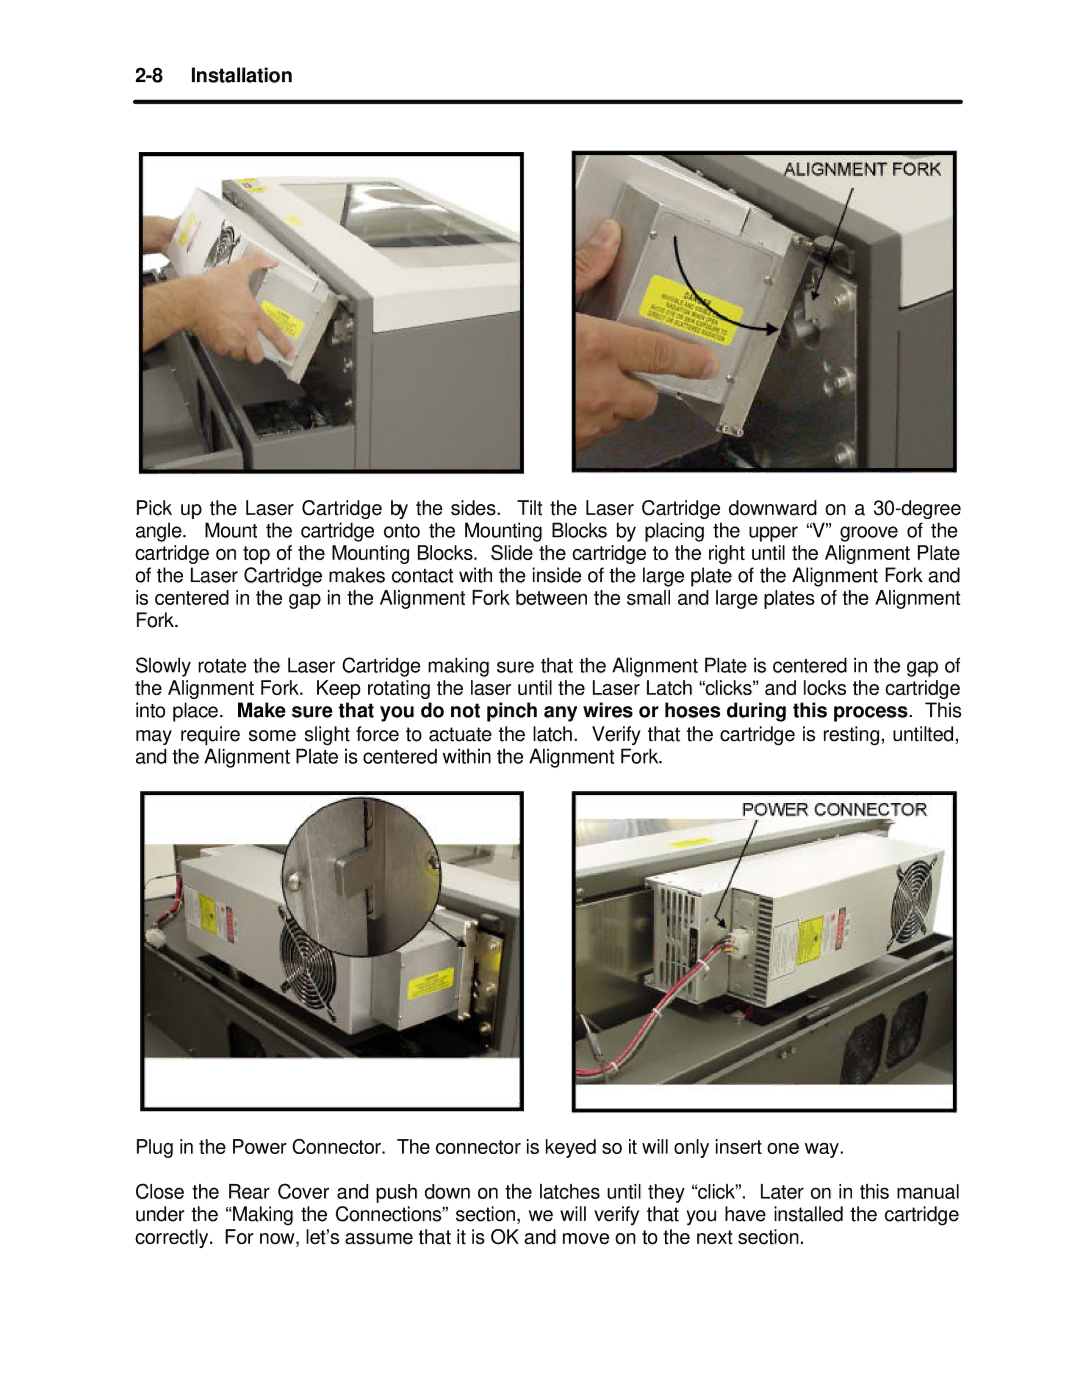
Pick up the Laser Cartridge by the sides. Tilt the Laser Cartridge downward on a
Slowly rotate the Laser Cartridge making sure that the Alignment Plate is centered in the gap of the Alignment Fork. Keep rotating the laser until the Laser Latch “clicks” and locks the cartridge into place. Make sure that you do not pinch any wires or hoses during this process. This may require some slight force to actuate the latch. Verify that the cartridge is resting, untilted, and the Alignment Plate is centered within the Alignment Fork.
Plug in the Power Connector. The connector is keyed so it will only insert one way.
Close the Rear Cover and push down on the latches until they “click”. Later on in this manual under the “Making the Connections” section, we will verify that you have installed the cartridge correctly. For now, let’s assume that it is OK and move on to the next section.