Chapter 5: Controller Maintenance
Step 4. Remove the optional BBU charger board. The BBU charger board obstructs the DIMM module and must therefore be removed. See Section 5.3.3 below.
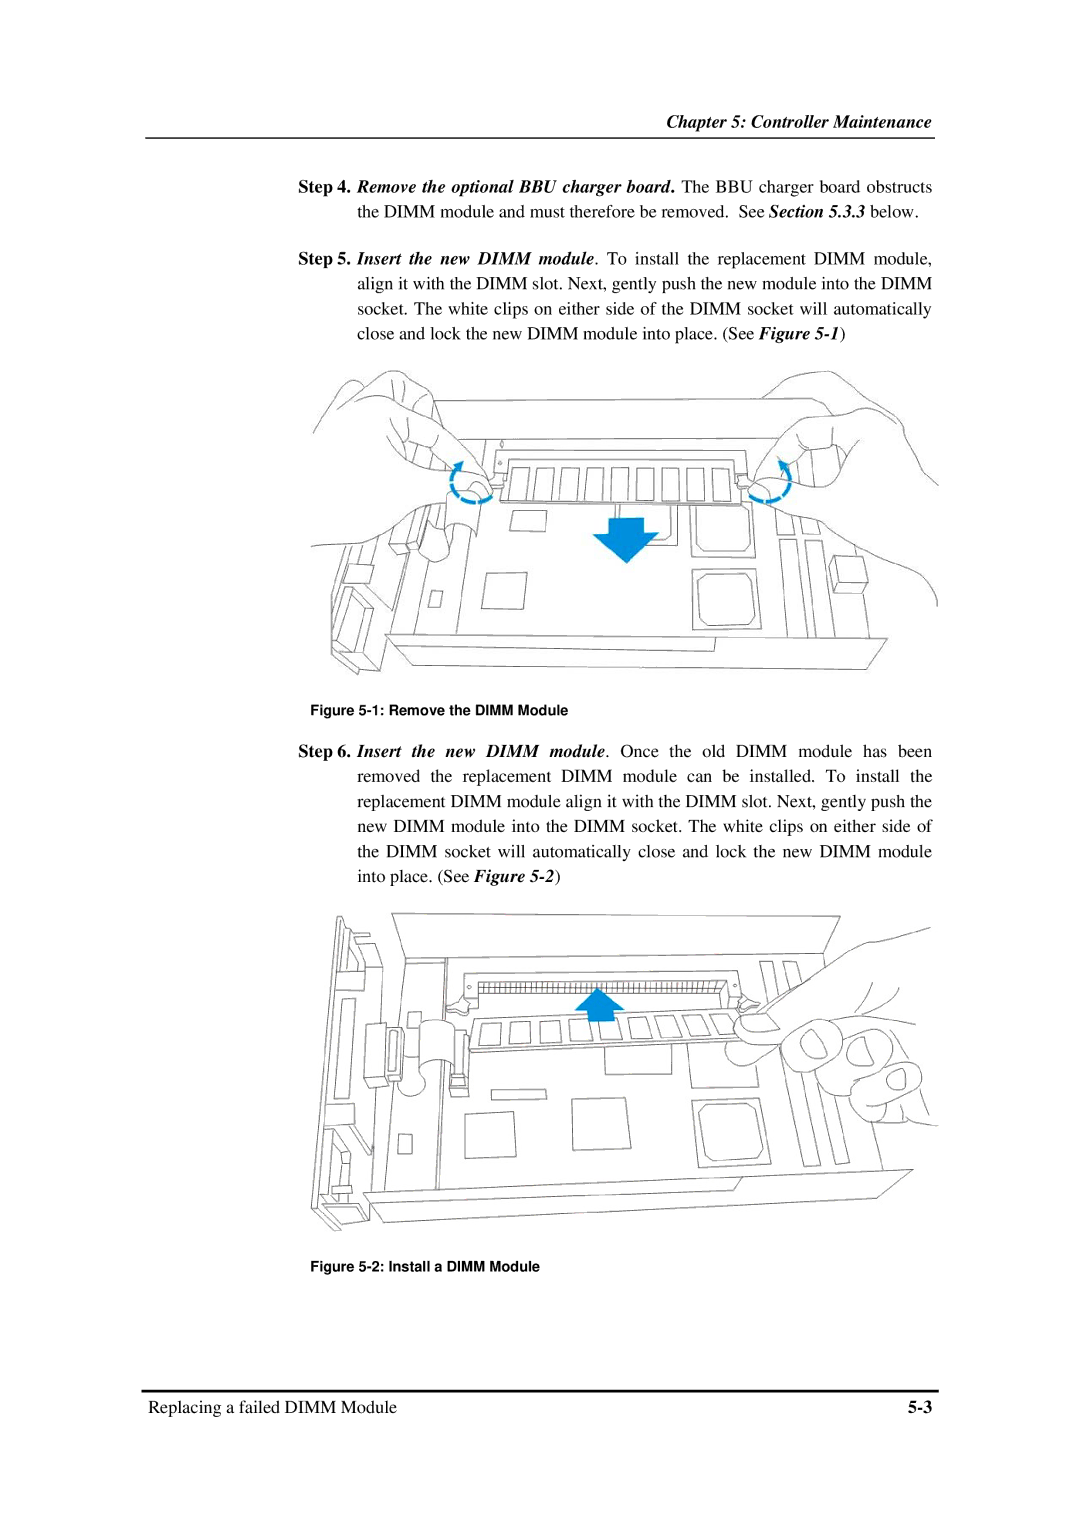
Step 5. Insert the new DIMM module. To install the replacement DIMM module, align it with the DIMM slot. Next, gently push the new module into the DIMM socket. The white clips on either side of the DIMM socket will automatically close and lock the new DIMM module into place. (See Figure
Figure 5-1: Remove the DIMM Module
Step 6. Insert the new DIMM module. Once the old DIMM module has been removed the replacement DIMM module can be installed. To install the replacement DIMM module align it with the DIMM slot. Next, gently push the new DIMM module into the DIMM socket. The white clips on either side of the DIMM socket will automatically close and lock the new DIMM module into place. (See Figure
Figure 5-2: Install a DIMM Module
Replacing a failed DIMM Module |