14. OTHERS
| |||
OPTIONAL ACCESSORIES | |||
Viewfinder | : | ||
Power zoom lens | : S14 x 7.3B12, S16 x 6.7B12 | ||
| S19 x 6.5B12 (FUJINON) | ||
| YH14 x 7.3K12, YH18 x 6.7K12 (CANON) | ||
AC power adapter | : | ||
Microphone | : | ||
Microphone holder | : | ||
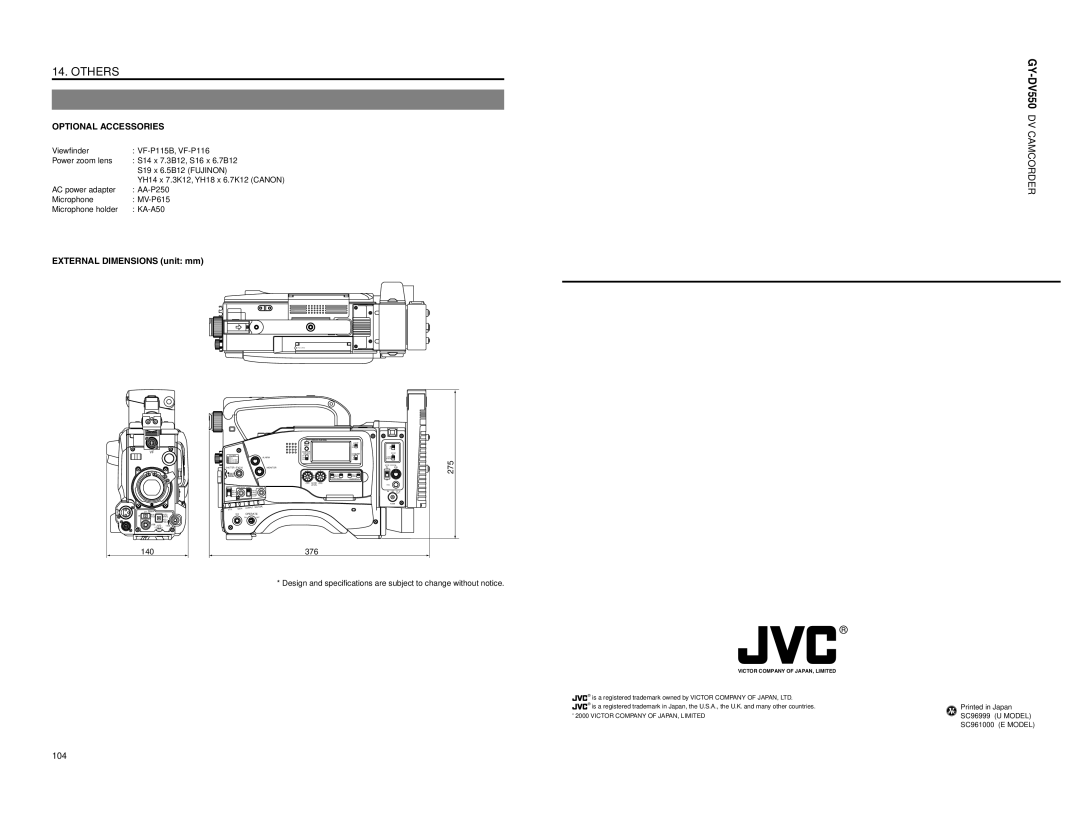
EXTERNAL DIMENSIONS (unit: mm) | |||
|
|
|
|
|
|
|
|
|
|
|
| OPERATE/WARNING |
|
|
|
|
|
| LIGHT |
|
|
|
| RESET |
|
| VF |
|
| MONITOR | COUNTER |
|
| FILTER | SELECT | ||
|
|
| ALARM |
| |
|
|
|
| 275 | |
|
|
| SHUTTER STATUS | MONITOR | |
|
|
| MENU |
|
|
|
|
|
| AUDIO SELECT | AUDIO INPUT |
|
|
|
|
| |
|
|
|
| LEVEL |
|
PUSH | OFF ZEBRA |
| NG | OPERATE |
|
ON | SKIN | AUTO |
|
|
|
| AREA | WHITE |
| ONOFF |
|
|
| ACCU |
|
|
|
|
| FOCUS |
|
|
|
| VTR AUDIO | TAKE |
|
|
|
| LEVEL |
|
|
| |
| 140 |
|
| 376 |
|
|
|
|
| * Design and specifications are subject to change without notice. | |
| VICTOR COMPANY OF JAPAN, LIMITED |
|
® | is a registered trademark owned by VICTOR COMPANY OF JAPAN, LTD. |
|
|
| |
® | is a registered trademark in Japan, the U.S.A., the U.K. and many other countries. | Printed in Japan |
| ||
© 2000 VICTOR COMPANY OF JAPAN, LIMITED | SC96999 (U MODEL) | |
|
| SC961000 (E MODEL) |
104