26![]()
![]()
![]()
![]()
![]()
![]()
![]()
![]()
![]()
![]()
![]()
![]()
![]()
![]()
![]()
![]()
![]()
![]()
![]()
![]()
![]()
![]()
![]()
![]()
![]()
![]()
![]()
P
 LAYBACK

 AND
AND

 RECORDING

 FEATURES
 (cont.)


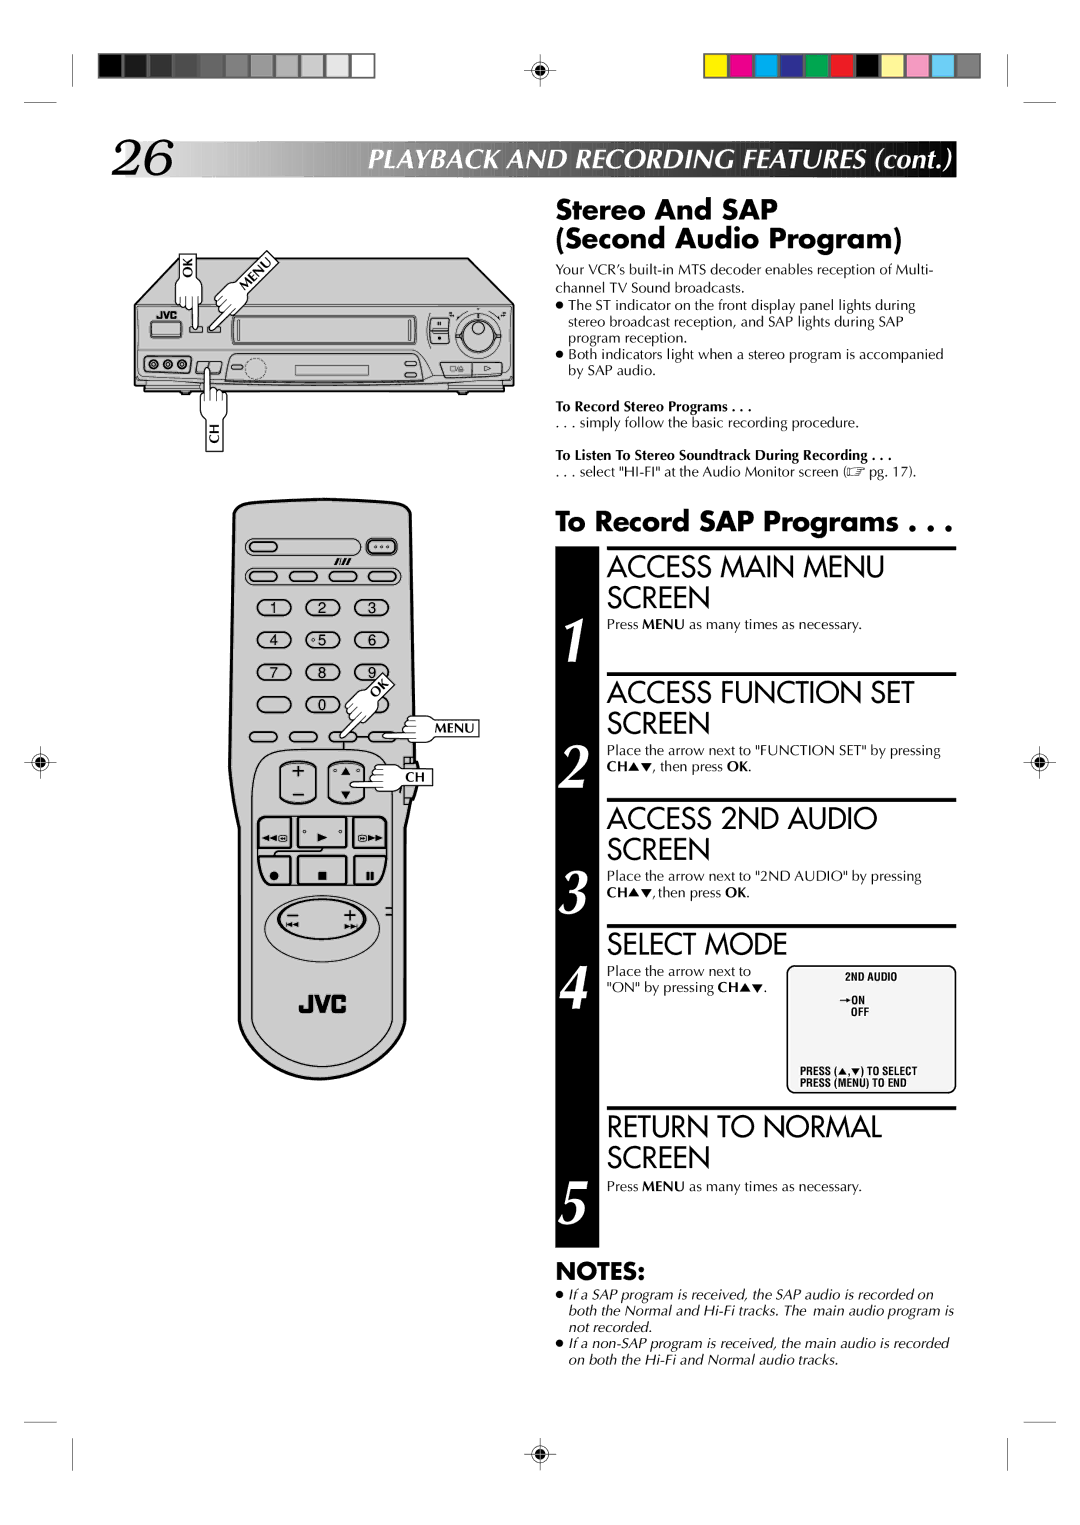
Stereo And SAP (Second Audio Program)
OK
MENU
6
q
Your VCR’s
●The ST indicator on the front display panel lights during stereo broadcast reception, and SAP lights during SAP program reception.
●Both indicators light when a stereo program is accompanied by SAP audio.
CH
To Record Stereo Programs . . .
. . . simply follow the basic recording procedure.
To Listen To Stereo Soundtrack During Recording . . .
. . . select
1 2
4![]() 5
5
78
0
3
6
9 OK
MENU
CH |
To Record SAP Programs . . .
|
| ACCESS MAIN MENU | |
1 |
| SCREEN |
|
| Press MENU as many times as necessary. | ||
|
| ACCESS FUNCTION SET | |
2 |
| SCREEN |
|
| Place the arrow next to "FUNCTION SET" by pressing | ||
| CH5°, then press OK. |
| |
|
| ACCESS 2ND AUDIO | |
3 |
| SCREEN |
|
| Place the arrow next to "2ND AUDIO" by pressing | ||
| CH5°, then press OK. |
| |
4 |
| SELECT MODE |
|
| Place the arrow next to | 2ND AUDIO | |
| "ON" by pressing CH5°. | ||
| =ON | ||
|
| ||
|
| OFF | |
|
|
| PRESS (5,°) TO SELECT |
|
|
| PRESS (MENU) TO END |
|
|
| |
|
| RETURN TO NORMAL | |
5 |
| SCREEN |
|
| Press MENU as many times as necessary. | ||
|
|
|
|
NOTES:
●If a SAP program is received, the SAP audio is recorded on both the Normal and
●If a