*CABLE/SAT Button enables remote control of connected satellite receiver. ☞ pg. 46, “Remote Control LCD” in the right column
(STANDBY/ON ![]()
![]()
![]() Button — same as button on recorder.
Button — same as button on recorder.
)–
*Preset position is not displayed during playback.
qTV/VCR Button switches connected TV's mode between TV and AV. ☞ pg. 14
w30 SEC Button initiates a
e ![]() Button transmits entered the PlusCode number to the recorder. ☞ pg. 18
Button transmits entered the PlusCode number to the recorder. ☞ pg. 18
rWEEKLY Button enables timer recording of weekly serials. ☞ pg. 19, 21
tä (TIMER) Button engages timer-standby mode. ☞ pg. 19, 21
yAUX Button selects recorder's auxiliary input mode. ☞ pg. 48, 50
uMENU Button accesses Menu screen. ☞ pg. 11 i Auto Tracking Button (![]()
![]() ) enables/disables
) enables/disables
auto tracking mode during playback. ☞ pg. 32 SP/LP/EP Button selects tape speed. ☞ pg. 16 o OK Button enters selections mode in
menus. ☞ pg. 11
p NAVIGATION Button accesses title screeen for tape navigation. ☞ pg. 24
Q PR +/– Button — same as button on recorder.
☞pg. 16
WDATE +/– Button inputs date of programme for timer recording. ☞ pg. 20
EFast Forward [FF] Button — same as button on
recorder. ☞ pg. 14, 15
RSTOP Button — same as button on recorder. ☞ pg. 14
TPAUSE Button — same as button on recorder. ☞ pg. 15
Y @ #Button initiates functions such as Index Search ☞ pg. 36,
TV ![]() +/– Button controls volume of connected TV. ☞ pg. 45
+/– Button controls volume of connected TV. ☞ pg. 45
![]()
![]()
![]()
![]()
![]()
![]()
![]()
![]()
![]()
![]()
![]()
![]()
![]()
![]()
![]()
![]()
![]()
![]()
![]()
![]()
![]()
![]()
![]()
![]()
![]()
![]() 83
83![]()
How To Use
The remote control can operate most of your video recorder's functions, as well as basic functions of TV sets and satellite receivers of JVC and other brands.
(☞ pg. 45, 46)
●Point the remote control toward the sensor window.
●The maximum operating distance of the remote control is about 8 m.
NOTES:
●When inserting the batteries, be sure to insert in the correct directions as indicated under the battery cover.
●If the remote control doesn't work properly, remove its batteries, wait a short time, replace the batteries and then try again.
Remote Control LCD
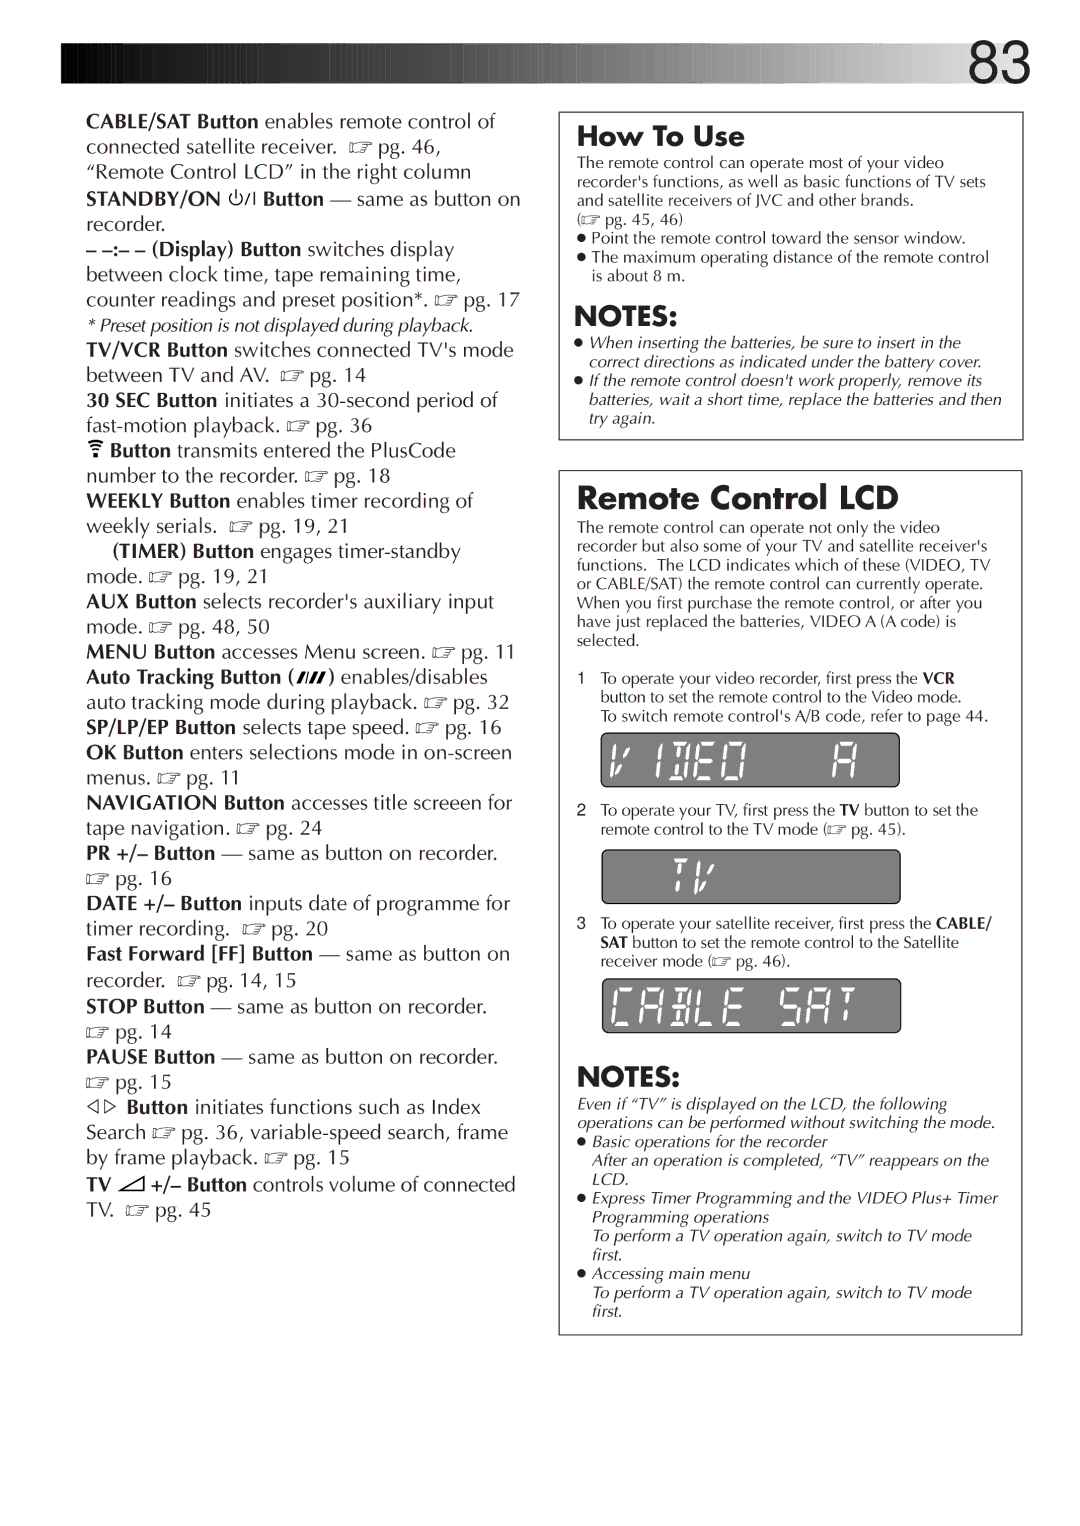
The remote control can operate not only the video recorder but also some of your TV and satellite receiver's functions. The LCD indicates which of these (VIDEO, TV or CABLE/SAT) the remote control can currently operate. When you first purchase the remote control, or after you have just replaced the batteries, VIDEO A (A code) is selected.
1To operate your video recorder, first press the VCR button to set the remote control to the Video mode.
To switch remote control's A/B code, refer to page 44.
2To operate your TV, first press the TV button to set the remote control to the TV mode (☞ pg. 45).
3To operate your satellite receiver, first press the CABLE/ SAT button to set the remote control to the Satellite receiver mode (☞ pg. 46).
NOTES:
Even if “TV” is displayed on the LCD, the following operations can be performed without switching the mode.
●Basic operations for the recorder
After an operation is completed, “TV” reappears on the LCD.
●Express Timer Programming and the VIDEO Plus+ Timer Programming operations
To perform a TV operation again, switch to TV mode first.
●Accessing main menu
To perform a TV operation again, switch to TV mode first.
