58 EN | HARDWARE |
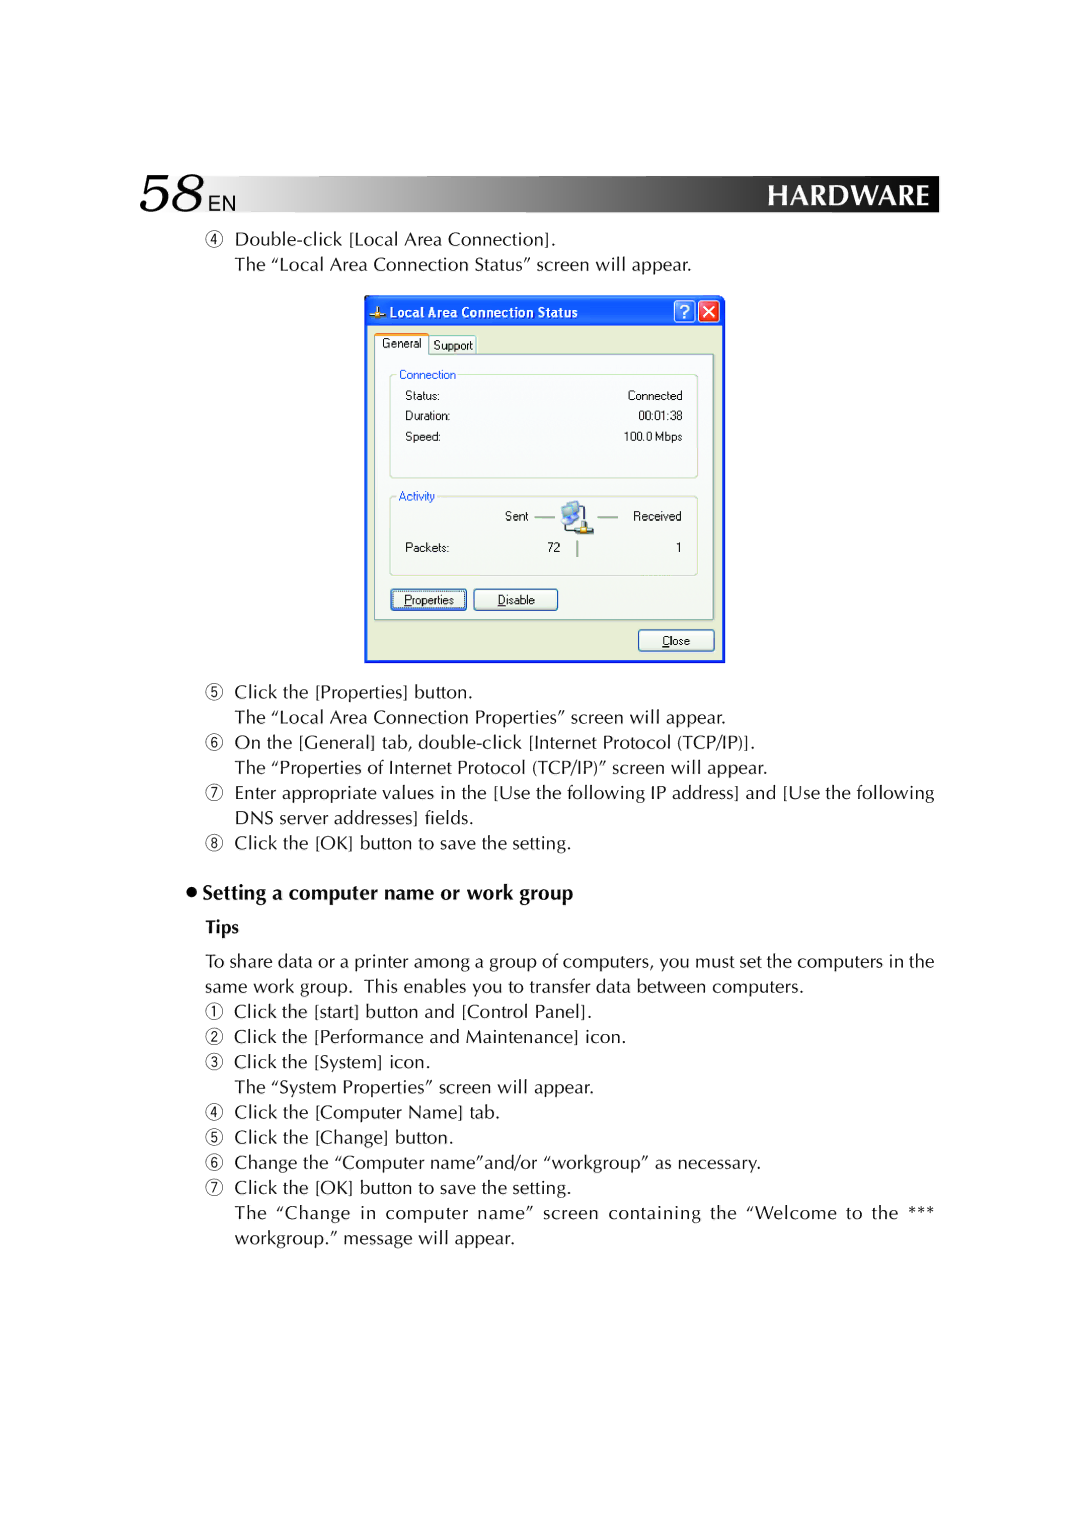
4
The “Local Area Connection Status” screen will appear.
5Click the [Properties] button.
The “Local Area Connection Properties” screen will appear.
6On the [General] tab,
7Enter appropriate values in the [Use the following IP address] and [Use the following DNS server addresses] fields.
8Click the [OK] button to save the setting.
¡Setting a computer name or work group
Tips
To share data or a printer among a group of computers, you must set the computers in the same work group. This enables you to transfer data between computers.
1Click the [start] button and [Control Panel].
2 Click the [Performance and Maintenance] icon.
3 Click the [System] icon.
The “System Properties” screen will appear.
4 Click the [Computer Name] tab.
5 Click the [Change] button.
6 Change the “Computer name”and/or “workgroup” as necessary.
7 Click the [OK] button to save the setting.
The “Change in computer name” screen containing the “Welcome to the ***
workgroup.” message will appear.