Basic operations
Selecting the analog or digital input
mode
When you have connected some components such as MD recorder, the DBS tuner and so on, using digital terminals (see page 9), you need to change the input mode for these components to the digital input.
You can choose digital sound from the following sources: “MD”, “DBS”, “AUX”.
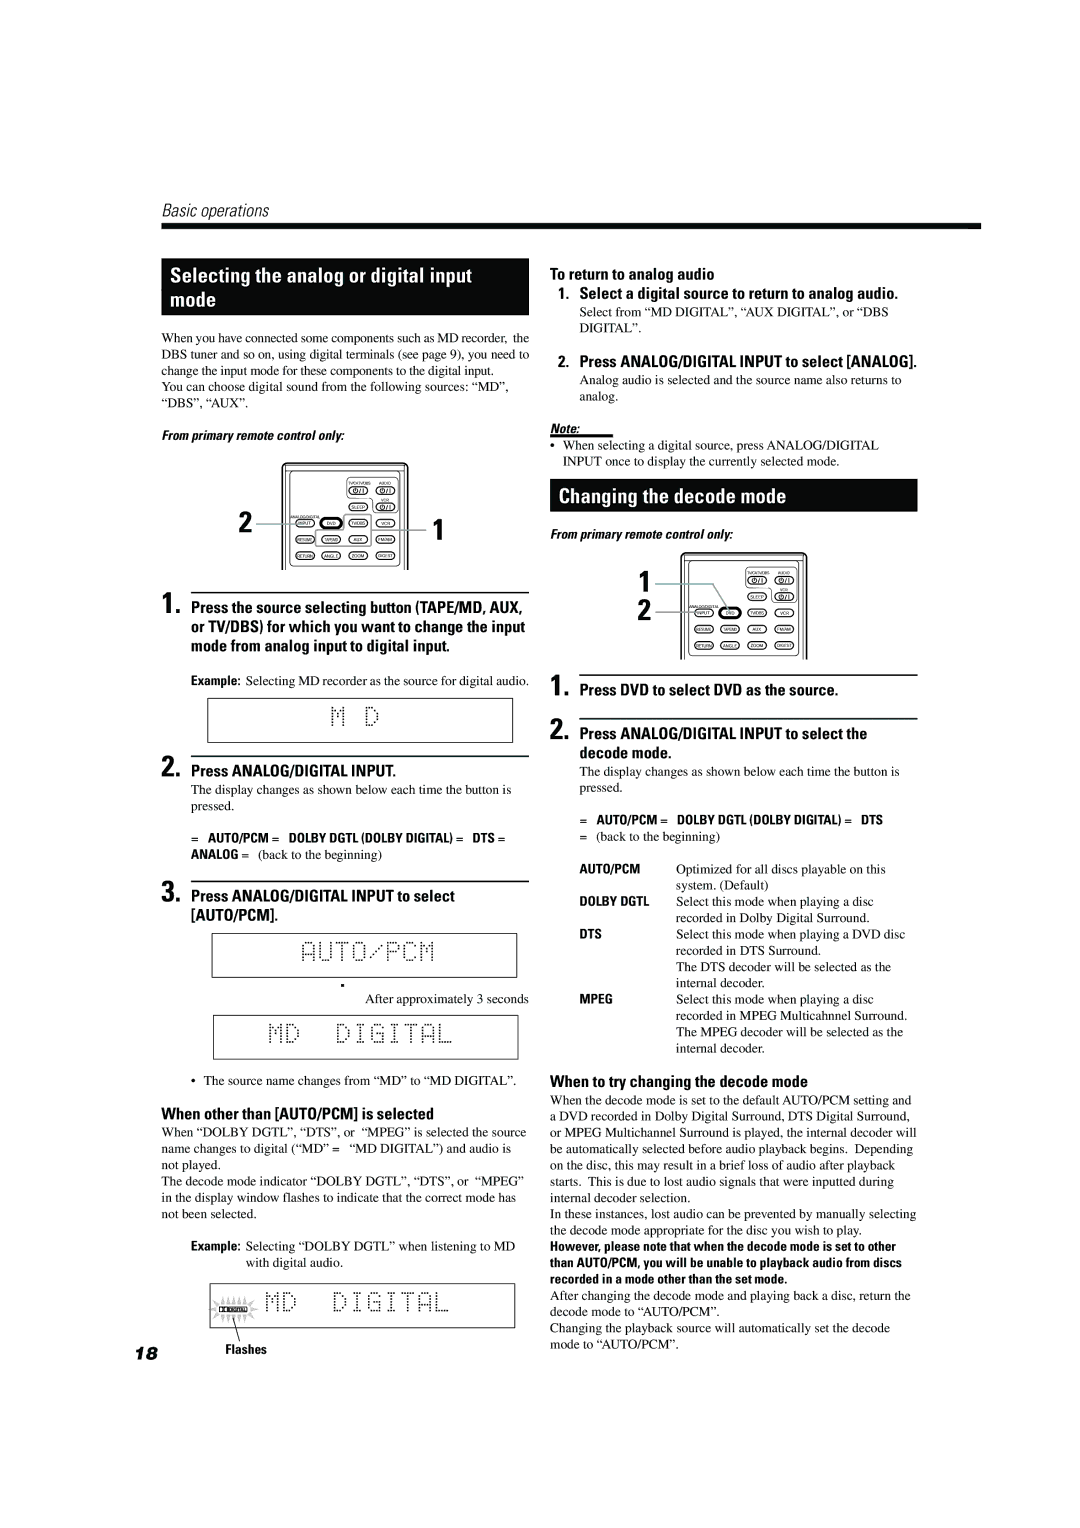
From primary remote control only:
2 ![]()
![]()
![]()
![]()
![]()
![]()
![]() 1
1
1. Press the source selecting button (TAPE/MD, AUX, or TV/DBS) for which you want to change the input mode from analog input to digital input.
Example: Selecting MD recorder as the source for digital audio.
2. Press ANALOG/DIGITAL INPUT.
The display changes as shown below each time the button is pressed.
To return to analog audio
1. Select a digital source to return to analog audio.
Select from “MD DIGITAL”, “AUX DIGITAL”, or “DBS DIGITAL”.
2. Press ANALOG/DIGITAL INPUT to select [ANALOG].
Analog audio is selected and the source name also returns to analog.
Note:
•When selecting a digital source, press ANALOG/DIGITAL INPUT once to display the currently selected mode.
Changing the decode mode
From primary remote control only:
1
2
1. Press DVD to select DVD as the source.
2. Press ANALOG/DIGITAL INPUT to select the decode mode.
The display changes as shown below each time the button is pressed.
=AUTO/PCM =DOLBY DGTL (DOLBY DIGITAL) =DTS
=AUTO/PCM =DOLBY DGTL (DOLBY DIGITAL) =DTS =
ANALOG =(back to the beginning)
3. Press ANALOG/DIGITAL INPUT to select [AUTO/PCM].
«After approximately 3 seconds
=(back to the beginning)
AUTO/PCM | Optimized for all discs playable on this |
| system. (Default) |
DOLBY DGTL | Select this mode when playing a disc |
| recorded in Dolby Digital Surround. |
DTS | Select this mode when playing a DVD disc |
| recorded in DTS Surround. |
| The DTS decoder will be selected as the |
| internal decoder. |
MPEG | Select this mode when playing a disc |
| recorded in MPEG Multicahnnel Surround. |
| The MPEG decoder will be selected as the |
| internal decoder. |
• The source name changes from “MD” to “MD DIGITAL”.
When other than [AUTO/PCM] is selected
When “DOLBY DGTL”, “DTS”, or “MPEG” is selected the source name changes to digital (“MD” = “MD DIGITAL”) and audio is not played.
The decode mode indicator “DOLBY DGTL”, “DTS”, or “MPEG” in the display window flashes to indicate that the correct mode has not been selected.
Example: Selecting “DOLBY DGTL” when listening to MD with digital audio.
18Flashes
When to try changing the decode mode
When the decode mode is set to the default AUTO/PCM setting and a DVD recorded in Dolby Digital Surround, DTS Digital Surround, or MPEG Multichannel Surround is played, the internal decoder will be automatically selected before audio playback begins. Depending on the disc, this may result in a brief loss of audio after playback starts. This is due to lost audio signals that were inputted during internal decoder selection.
In these instances, lost audio can be prevented by manually selecting the decode mode appropriate for the disc you wish to play.
However, please note that when the decode mode is set to other than AUTO/PCM, you will be unable to playback audio from discs recorded in a mode other than the set mode.
After changing the decode mode and playing back a disc, return the decode mode to “AUTO/PCM”.
Changing the playback source will automatically set the decode mode to “AUTO/PCM”.