Basic operations
When a decode mode which differs from the type of disc being played is selected
Insert a DVD disc in the center unit to display the type of audio being played in the Decode mode indicator in the display window. Audio cannot be played if a decode mode which differs from the displayed mode is selected.
The selected decode mode flashes to indicate that the selected decode mode does not allow audio playback.
Example: When DTS is selected as the decode mode for Dolby digital audio.
Flashes
Adjusting the Input Signal Level
When using the DSP mode effect during playback from an analog device, the sound will occasionally be distorted due to a overly- strong input signal. In these instances, it is possible to adjust the level of the input signal. Only input signals from analog devices (TV SOUND, VCR, TAPE, AUX, FM, AM, MD, DBS) may be adjusted in this way.
On the front panel only:
1
1. Press and hold INPUT ATT. (DSP MODE).
Release the button when the display window shows “INPUT ATT ON,” or “INPUT NORMAL.”
Pressing and holding the INPUT ATT. button further cycles through the following modes:
INPUT NORMAL: Playback source without adjusting the input signal level. This is the default setting.
J
INPUT ATT ON: Lower the input level and playback source.
The ATT mark will light up.
To change the input signal level, press and hold INPUT ATT. until “INPUT NORMAL” or “INPUT ATT ON” is displayed.
Notes:
•When in “INPUT ATT ON” mode, ATT will light up in the display window. However, when the playback source is digital (DVD, etc.) it will go off. Lighting up will resume if playback is switched to an analog device.
•Even while in “INPUT ATT ON” mode, if the DSP mode is turned off (“DSP OFF”), playback will continue without any reduction of the input signal.
Sub woofer volume control and
phase setting
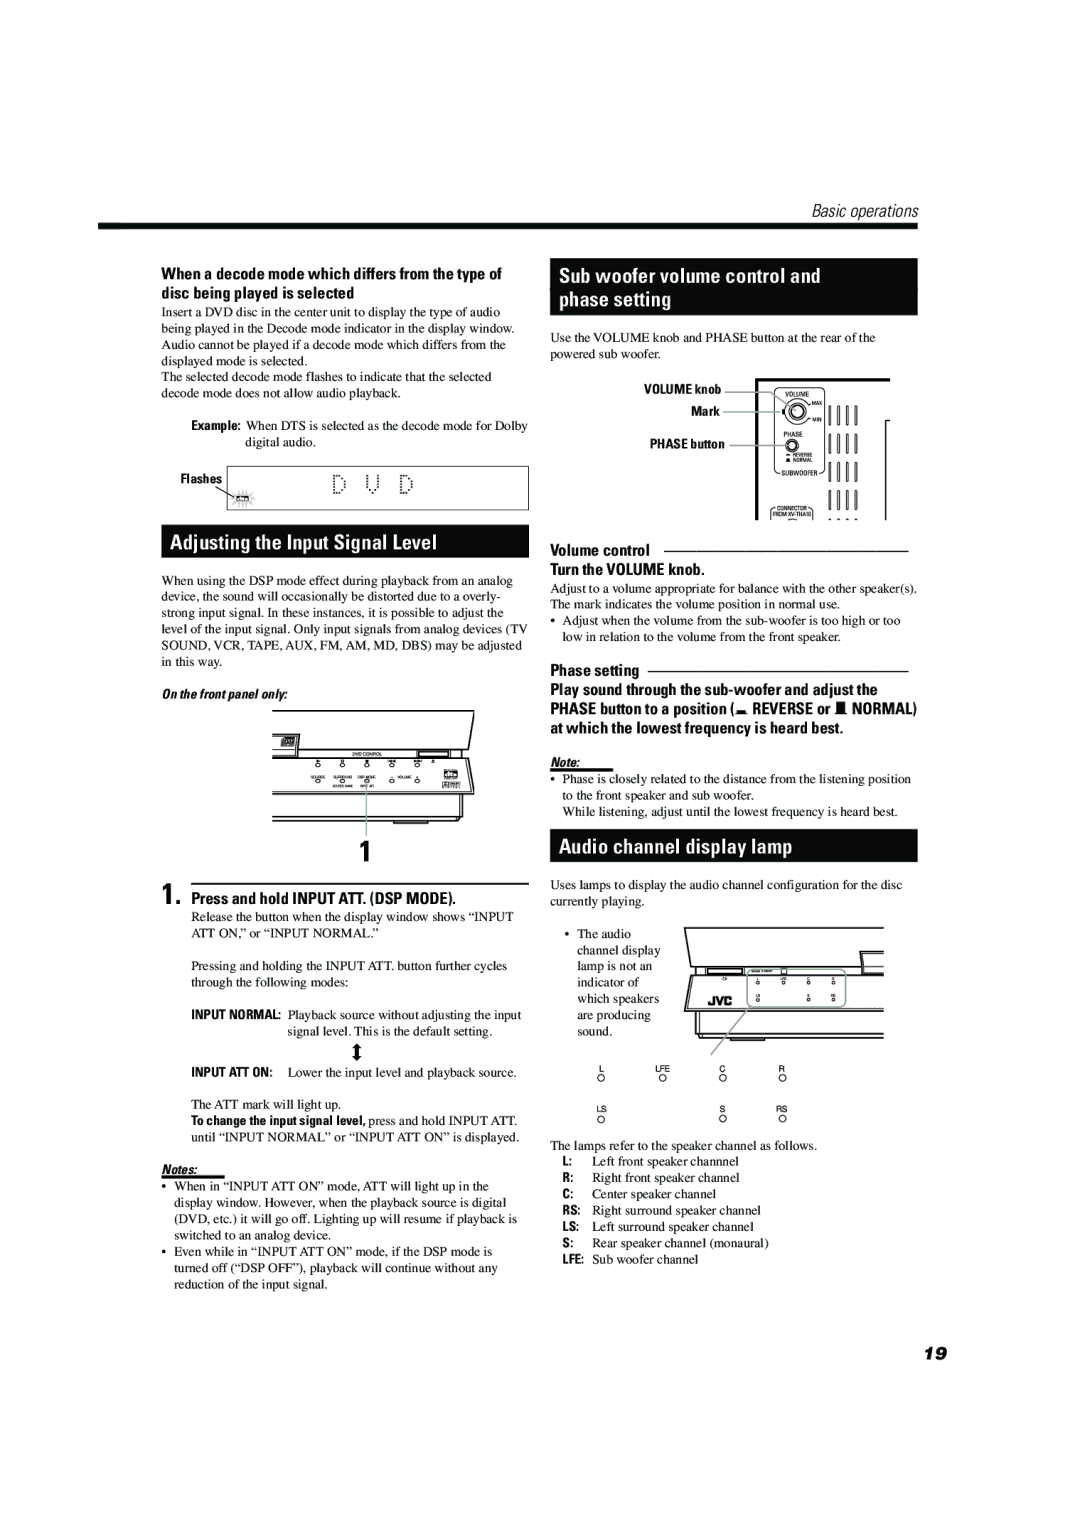
Use the VOLUME knob and PHASE button at the rear of the powered sub woofer.
VOLUME knob
Mark
PHASE button ![]()
Volume control ———————————————
Turn the VOLUME knob.
Adjust to a volume appropriate for balance with the other speaker(s). The mark indicates the volume position in normal use.
•Adjust when the volume from the
Phase setting ————————————————
Play sound through the
Note:
•Phase is closely related to the distance from the listening position to the front speaker and sub woofer.
While listening, adjust until the lowest frequency is heard best.
Audio channel display lamp
Uses lamps to display the audio channel configuration for the disc currently playing.
• The audio channel display lamp is not an indicator of which speakers are producing sound.
The lamps refer to the speaker channel as follows.
L:Left front speaker channnel
R:Right front speaker channel
C:Center speaker channel
RS: Right surround speaker channel
LS: Left surround speaker channel
S:Rear speaker channel (monaural) LFE: Sub woofer channel
19
