INSTALLATION AND CONNECTION
INSTALLATION STEPS
INSTALLATION OF CABLE GLAND AND MOUNTING PLATE
Note:
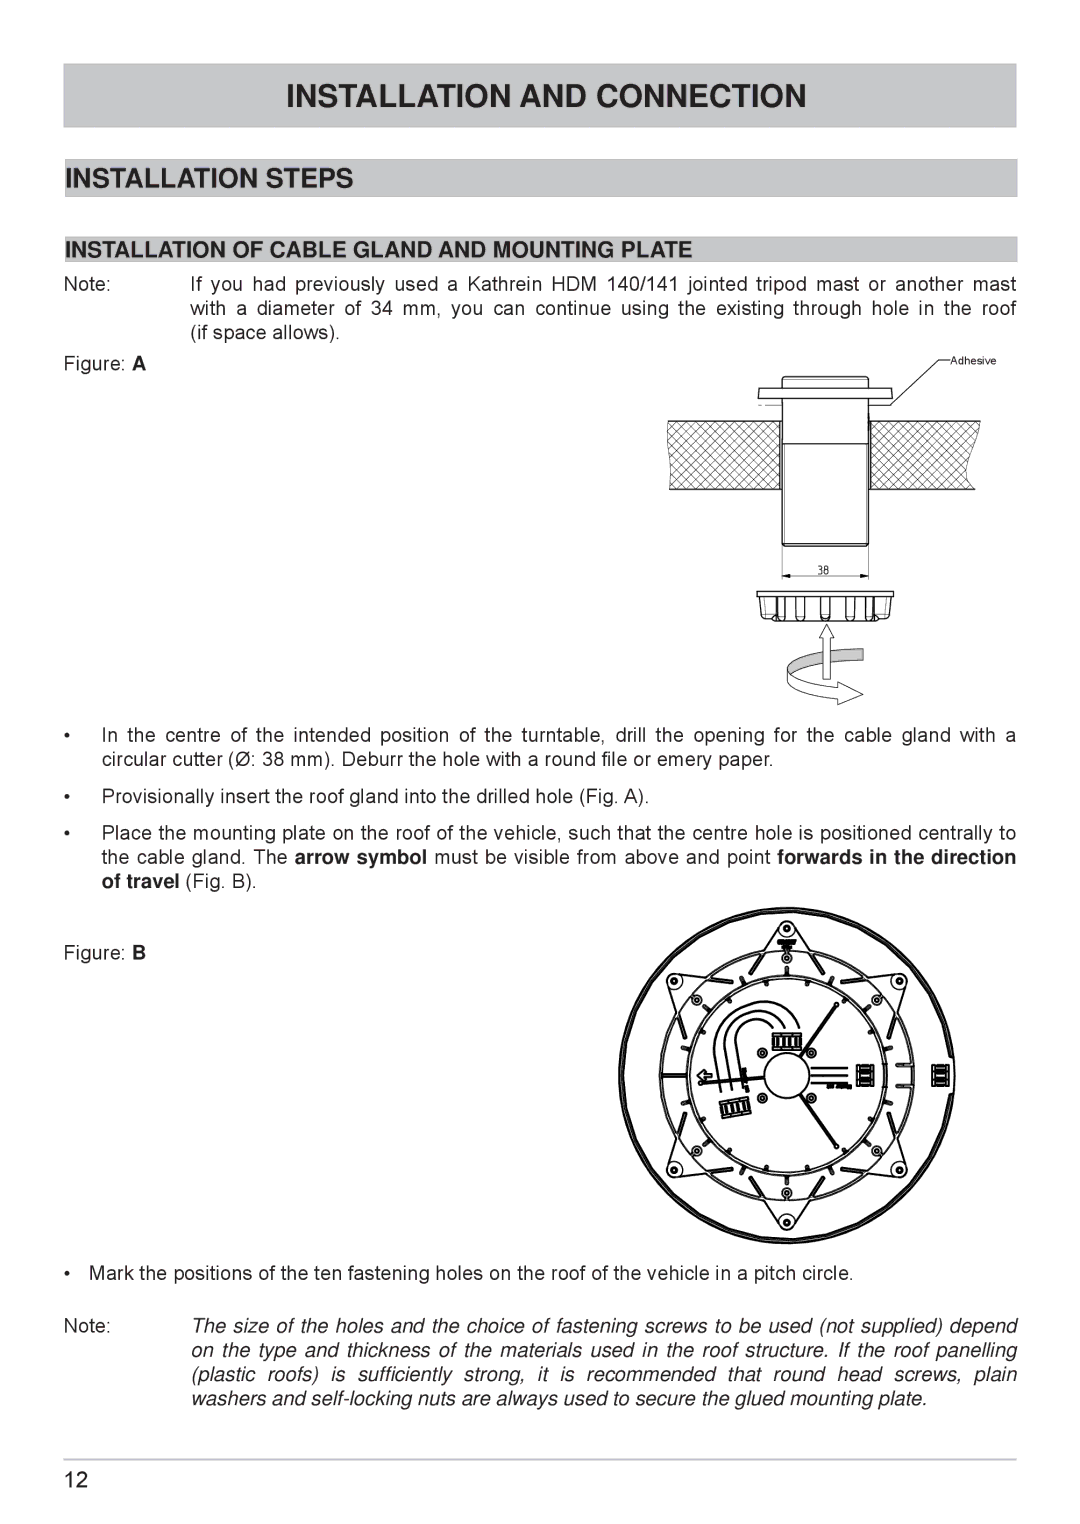
Figure: A
If you had previously used a Kathrein HDM 140/141 jointed tripod mast or another mast with a diameter of 34 mm, you can continue using the existing through hole in the roof (if space allows).
Adhesive
•In the centre of the intended position of the turntable, drill the opening for the cable gland with a circular cutter (Ø: 38 mm). Deburr the hole with a round file or emery paper.
•Provisionally insert the roof gland into the drilled hole (Fig. A).
•Place the mounting plate on the roof of the vehicle, such that the centre hole is positioned centrally to the cable gland. The arrow symbol must be visible from above and point forwards in the direction of travel (Fig. B).
Figure: B
• Mark the positions of the ten fastening holes on the roof of the vehicle in a pitch circle.
Note: The size of the holes and the choice of fastening screws to be used (not supplied) depend on the type and thickness of the materials used in the roof structure. If the roof panelling (plastic roofs) is sufficiently strong, it is recommended that round head screws, plain washers and
12