13 OPERATOR CONVENIENCES
CONTROLLING THE | ||
If a PC and the | (OPTIONAL) | |
a serial cable {page 76}, you can remotely control the |
| |
functions of the | The optional | |
free | maximum of | |
http://www.kenwood.com/i/products/info/amateur.html | memory channels. After recording a message via | |
your transceiver microphone, you can then transmit | ||
| ||
The detailed remote controlling instructions are | those recorded messages. It also announces the key | |
available in accompanied documents and help file. | function and frequencies each time you press a key | |
| (Voice announcement). Since the incoming reception | |
REMOTE CONTROLLING THE | signal is processed in digital data in the transceiver, | |
the | ||
NETWORK | ||
audio signals constantly in the background. If you | ||
In addition to the | wish, you can store the last | |
incoming signal to the | ||
program can also be downloaded from the above | ||
(Constant recording). | ||
site. This | ||
For information on how to install the | ||
program that allows a user who is connected in the | ||
network to remote control the | to ÒINSTALLING OPTIONSÓ {page 81}. | |
from a distant location. If you make interface cables | RECORDING MESSAGES | |
that transfer the audio between the | ||
transceiver and PC on the host transceiver, you can | This section explains how to record a single | |
receive signals and transmit your voice over the | ||
network. For detailed information, download the | message. | |
1 Select SSB, FM, or AM mode {page 19}. | ||
documents. | ||
¥ Select a mode that you wish to transmit. | ||
| ||
| 2 If VOX is ON, press [VOX/ 8] to switch the | |
| function OFF. | |
| 3 Press [CH1/ 1/ REC] (1 s) to record the message | |
| for channel 1. | |
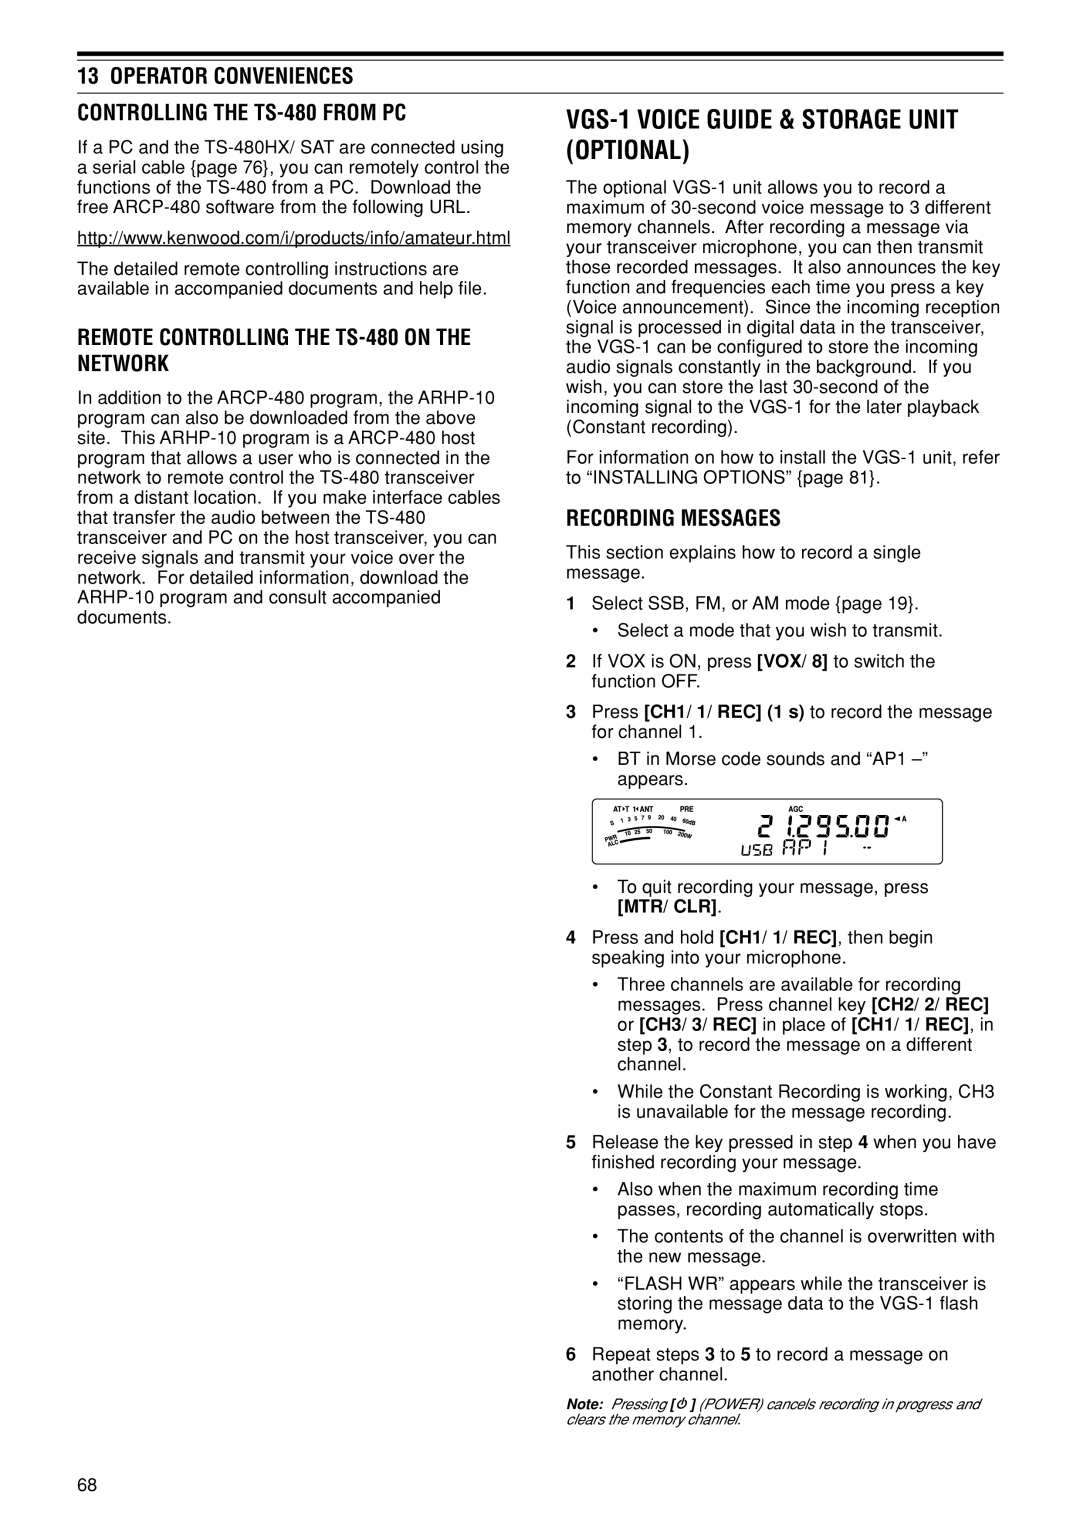
| ¥ BT in Morse code sounds and ÒAP1 ÐÓ | |
| appears. |
¥ To quit recording your message, press [MTR/ CLR].
4 Press and hold [CH1/ 1/ REC], then begin speaking into your microphone.
¥ Three channels are available for recording messages. Press channel key [CH2/ 2/ REC] or [CH3/ 3/ REC] in place of [CH1/ 1/ REC], in step 3, to record the message on a different channel.
¥ While the Constant Recording is working, CH3 is unavailable for the message recording.
5 Release the key pressed in step 4 when you have finished recording your message.
¥ Also when the maximum recording time passes, recording automatically stops.
¥ The contents of the channel is overwritten with the new message.
¥ ÒFLASH WRÓ appears while the transceiver is storing the message data to the
6 Repeat steps 3 to 5 to record a message on another channel.
Note: Pressing [ ![]() ] (POWER) cancels recording in progress and clears the memory channel.
] (POWER) cancels recording in progress and clears the memory channel.
68
