Tools and Materials Required
•Hammer, Pliers, Tape measure
•Sabre saw or keyhole saw
•#8 x 1/2” sheet metal screws to secure duct
•
•
•Roof cap or wall venthood
•Caulking or silicone to seal installation
•Slot screwdriver, Electric drill, 3/32 drill bit
The above parts are standard and are available from a hardware store or heating contractor.
Installation of Ducting Horizontally Through an Outside Wall
Standard
If you can’t find an adapter elbow that will attach to the exhaust outlet of the range, you can easily make one by bending the one inch flanges of a standard elbow out ninety degrees. Put a bead of silicone seal on the flanges and attach the adapter to the back of the range with four 1/2” x #8 sheet metal screws.
Cut a
Attach the vent hood to the duct pipe. Caulk the back of the vent hood and around the pipe where it will be pushed into the wall. Insert the vent assembly through the wall and into the range adapter so that the caulking seals completely against the siding.
Install the mesh filter into the warming cabinet. Do not install charcoal filter.
Installation of Ducting Through an Attic or Basement Space to an Outside Wall
The range may be positioned flush with the back wall if the vent elbow and pipe are embedded in the wall. If ducting through the ceiling, continue the vent through the ceiling into the attic. Terminate the vent either on an outside wall, below the soffit using a vent hood or through the roof with a roof cap. If ducting through the basement, continue the vent through the floor to a point at least 36” above the grade level. Terminate the vent through the outside wall using a vent hood. Install the mesh filter into the warming cabinet. Do not install charcoal filter. If you are venting more than 10 feet or have more than one 90° elbow, we strongly recommend the 1518 inline blower.
Note To Installer: Leave these instructions with the appliance
Note To Consumer: Retain these instructions for future reference.
smooth top Electric Cooktop
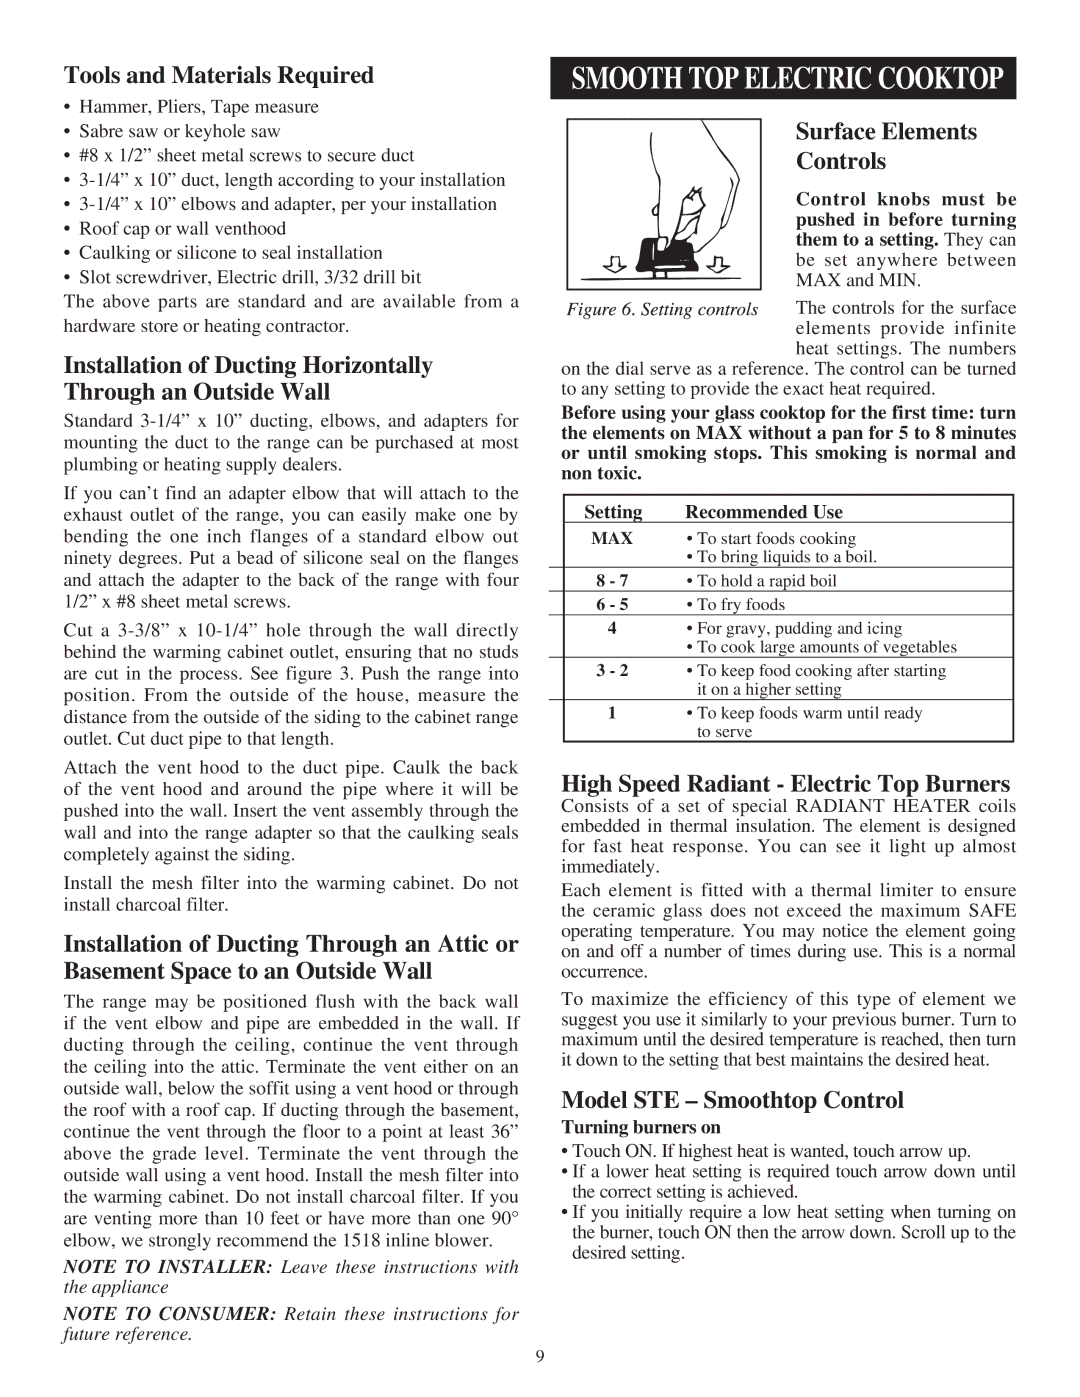
Surface Elements
Controls
Control knobs must be pushed in before turning them to a setting. They can be set anywhere between MAX and MIN.
The controls for the surface elements provide infinite heat settings. The numbers
on the dial serve as a reference. The control can be turned to any setting to provide the exact heat required.
Before using your glass cooktop for the first time: turn the elements on max without a pan for 5 to 8 minutes or until smoking stops. This smoking is normal and non toxic.
| Setting | Recommended Use |
| MAX | • To start foods cooking |
|
| • To bring liquids to a boil. |
| 8 - 7 | • To hold a rapid boil |
| 6 - 5 | • To fry foods |
| 4 | • For gravy, pudding and icing |
|
| • To cook large amounts of vegetables |
| 3 - 2 | • To keep food cooking after starting |
|
| it on a higher setting |
| 1 | • To keep foods warm until ready |
|
| to serve |
High Speed Radiant - Electric Top Burners
Consists of a set of special Radiant Heater coils embedded in thermal insulation. The element is designed for fast heat response. You can see it light up almost immediately.
Each element is fitted with a thermal limiter to ensure the ceramic glass does not exceed the maximum Safe operating temperature. You may notice the element going on and off a number of times during use. This is a normal occurrence.
To maximize the efficiency of this type of element we suggest you use it similarly to your previous burner. Turn to maximum until the desired temperature is reached, then turn it down to the setting that best maintains the desired heat.
Model STE – Smoothtop Control
Turning burners on
•Touch ON. If highest heat is wanted, touch arrow up.
•If a lower heat setting is required touch arrow down until the correct setting is achieved.
•If you initially require a low heat setting when turning on the burner, touch ON then the arrow down. Scroll up to the desired setting.
9