A match should never be used when testing for leaks. All fittings have been tightened and tested at the factory. If a leak is detected, tighten the fitting. Don’t use pipe dope on factory fittings.
Range Conversion to “LP”
Models 1865, 1870 & 1875
(Gas Top Models)
All our ranges are factory set to burn natural gas unless “LP” is specified. To use the range on “LP” gas, please do the following:
Order an “LP” kit from the factory. $35 UPS included.
Burner | Large | Medium | Small |
Nat. Gas | #50 (1.75 mm) | #55 (1.32 mm) | #57 (1.09 mm) |
LP/Propane | #64 (.91 mm) | #65 (.89 mm) | #70 (.71 mm) |
Store natural gas spuds so they are available for future conversions.
Installation of “LP” Spuds
Apply masking tape at the end of a 7 mm nut driver to help hold the gas orifice spud in the nut driver while changing it. Press nut driver down onto the gas orifice spud and remove by turning it counterclockwise and lifting out, set gas orifice spud aside.
Gas orifice spuds are stamped with a number on the side. Replace the LP gas orifice spud with the correct Natural gas orifice spud.
Refer to the following chart for the correct Natural gas orifice spud placement.
Conversion of Regulator to “LP” on Models 1865, 1870 & 1875
Disconnect Power the Range
•Open oven door and remove it, see removal instructions on page 16.
•With a Philips driver, undo the 2 screws holding the top down.
•Pull top forward about 2” then lift front. Raise the service stay on each side to hold the top up.
•On the back right of the range unscrew the nut on top of the regulator.
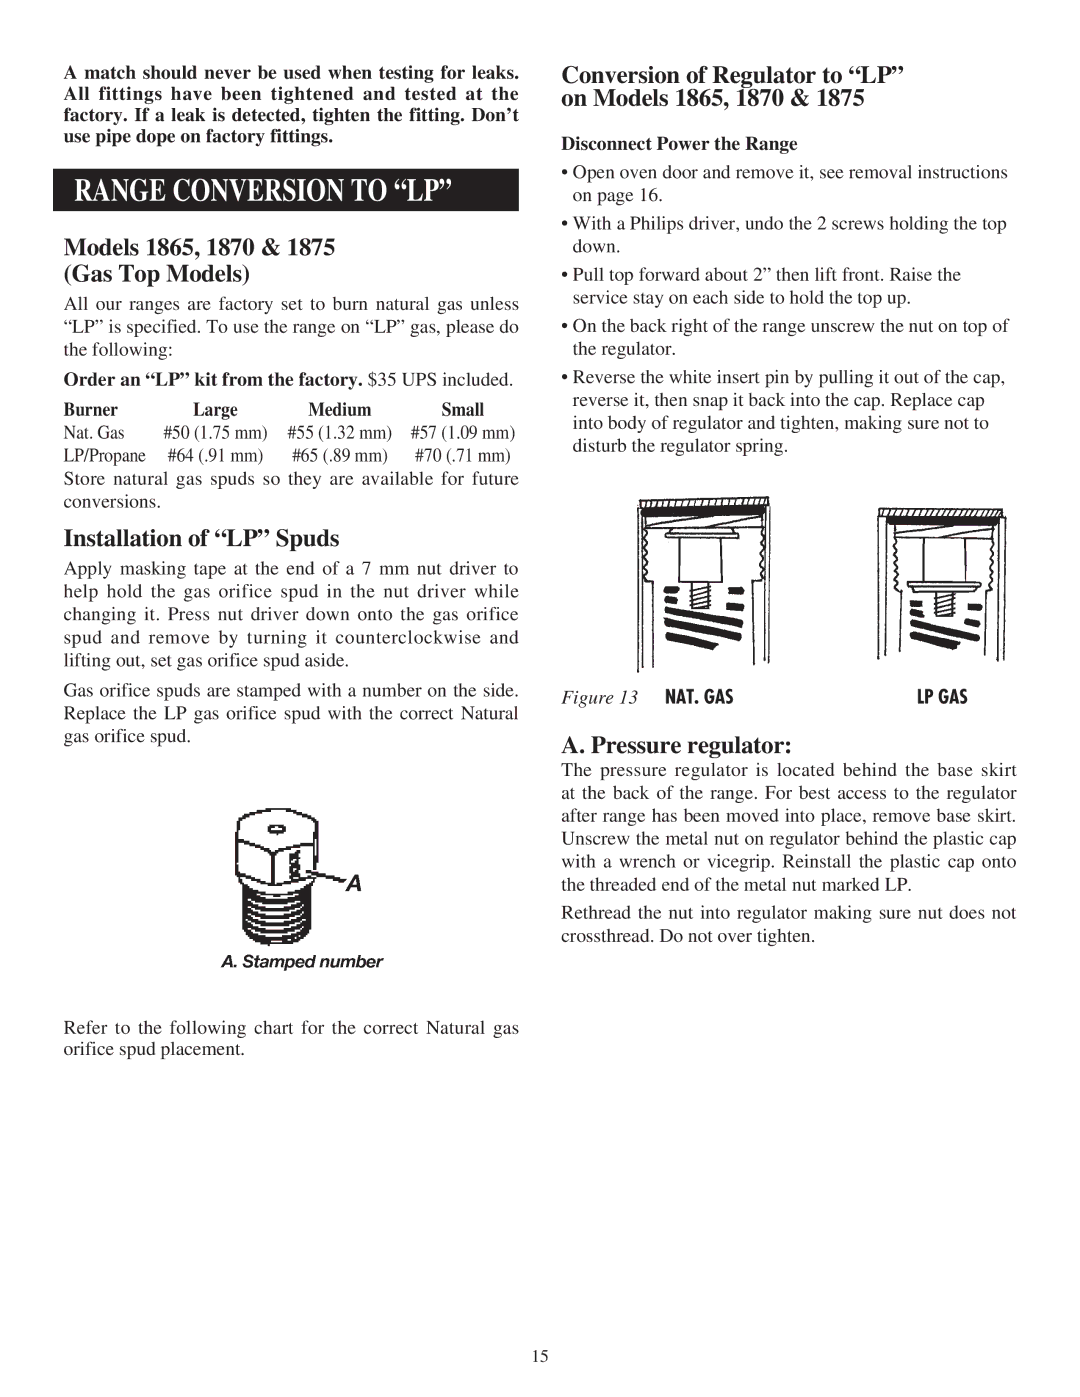
•Reverse the white insert pin by pulling it out of the cap, reverse it, then snap it back into the cap. Replace cap into body of regulator and tighten, making sure not to disturb the regulator spring.
Figure 13 Nat. Gas | LP Gas |
A. Pressure regulator:
The pressure regulator is located behind the base skirt at the back of the range. For best access to the regulator after range has been moved into place, remove base skirt. Unscrew the metal nut on regulator behind the plastic cap with a wrench or vicegrip. Reinstall the plastic cap onto the threaded end of the metal nut marked LP.
Rethread the nut into regulator making sure nut does not crossthread. Do not over tighten.
15