pSewing table extension with accessory compartment a Stitch plate
s Sewing foot
d Buttonhole lever
f Needle retaining screw g Sewing foot lifting lever h Front cover
j Thread takeover lever k Power plug
l Foot pedal
y Sewing machine plug
Accessories
xsmall thread roll holder c large thread roll holder v Darning plate
b additional thread spool carrier n Felt pads
m 4 bobbins
M Sewing foot for sewing in zippers N Sewing foot for sewing buttonholes B Sewing foot for sewing on buttons V 6 Sewing needles
C Twin needle
X Large screwdriver Y Small screwdriver L Protective cover
K Sewing machine lubrication oil J Brush and thread cutter
H Stitch plate opener G Threading aid
F Blind hem foot
Foot pedal l
The machine will begin to sew at a slow speed as soon as the foot pedal l is gently activated. The sewing speed of the machine will increase when more pressure is applied to the foot pedal l. The machine will stop running when you take your foot from the pedal, as pressure is no longer being applied to the pedal l.
Attention!
Ensure that you do not place any objects on the foot pedal l, as this could lead to unintentional running of the machine.
Changing the sewing needles
Important
Remove the power plug k from the wall socket!
Otherwise the appliance could run unintentionally.
1.By turning the handwheel 0 bring the needle shank into the highest possible position.
2.Apply pressure to the sewing foot lifting lever g so that the sewing foot s is lowered onto the stitching plate a.
3.Remove the needle by loosening the retaining screw f.
4.Turn the new needle into a position whereby the flattened side of the needle is pointing to the rear and insert the needle as far as it will go into the needle clamp from below.
5.Tighten the retaining screw.
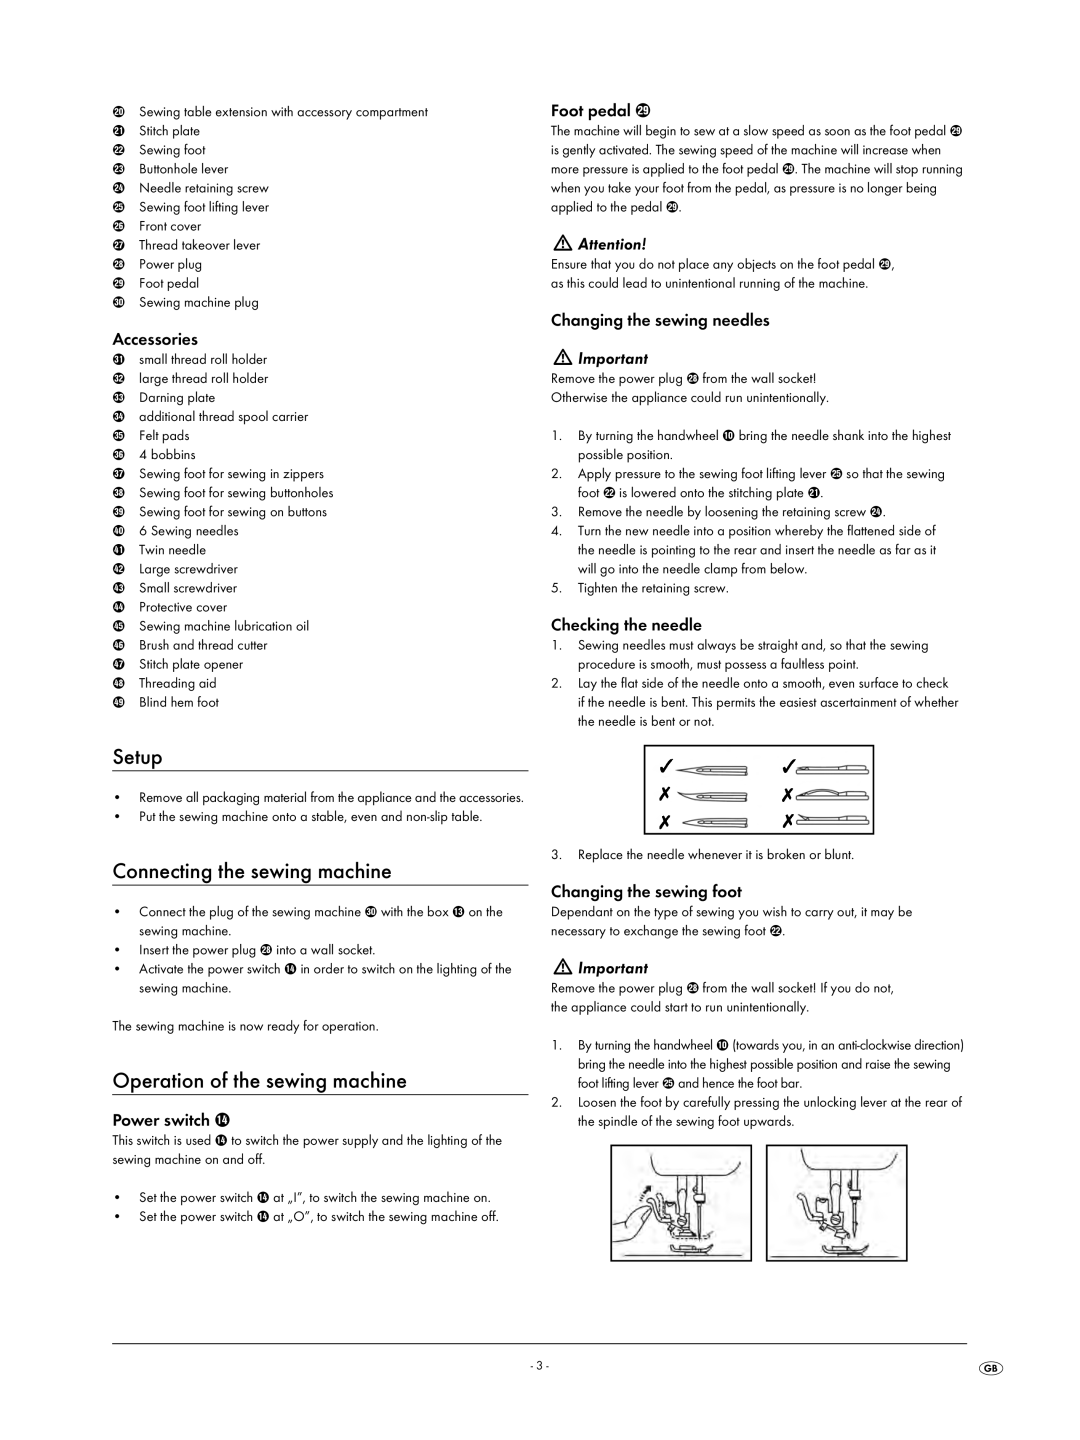
Checking the needle
1.Sewing needles must always be straight and, so that the sewing procedure is smooth, must possess a faultless point.
2.Lay the flat side of the needle onto a smooth, even surface to check if the needle is bent. This permits the easiest ascertainment of whether the needle is bent or not.
Setup
•Remove all packaging material from the appliance and the accessories.
•Put the sewing machine onto a stable, even and
Connecting the sewing machine
•Connect the plug of the sewing machine y with the box e on the sewing machine.
•Insert the power plug k into a wall socket.
•Activate the power switch r in order to switch on the lighting of the sewing machine.
The sewing machine is now ready for operation.
Operation of the sewing machine
Power switch r
This switch is used r to switch the power supply and the lighting of the sewing machine on and off.
•Set the power switch r at „I”, to switch the sewing machine on.
•Set the power switch r at „O”, to switch the sewing machine off.
3.Replace the needle whenever it is broken or blunt.
Changing the sewing foot
Dependant on the type of sewing you wish to carry out, it may be necessary to exchange the sewing foot s.
Important
Remove the power plug k from the wall socket! If you do not, the appliance could start to run unintentionally.
1.By turning the handwheel 0 (towards you, in an
2.Loosen the foot by carefully pressing the unlocking lever at the rear of the spindle of the sewing foot upwards.
- 3 -