Fine adjustment during sewing buttonholes | Sewing on buttons | |
|
|
|
Should the buttonhole seams sewn on both sides of the buttonhole not be uniform in appearance, a fine adjustment can be undertaken as per the following method:
1.Set the stitch type selector w at „F“ and, as a test, sew the
2.Should the sewn
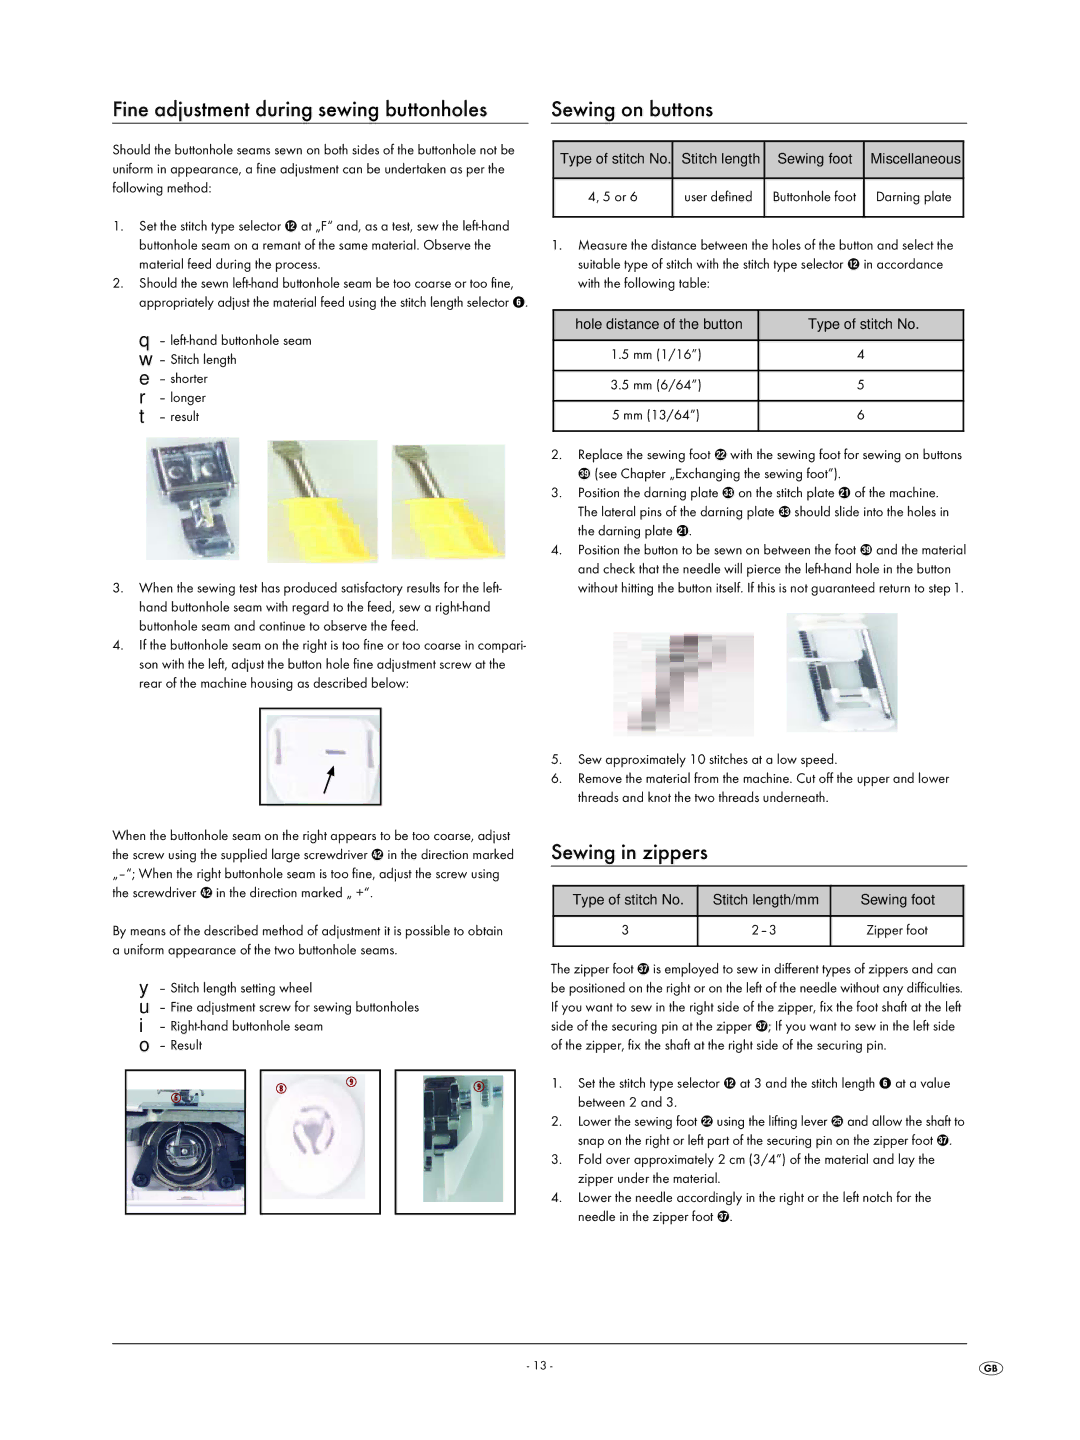
q –
e – shorter r – longer t – result
3.When the sewing test has produced satisfactory results for the left- hand buttonhole seam with regard to the feed, sew a
4.If the buttonhole seam on the right is too fine or too coarse in compari- son with the left, adjust the button hole fine adjustment screw at the rear of the machine housing as described below:
Type of stitch No. | Stitch length | Sewing foot | Miscellaneous |
|
|
|
|
4, 5 or 6 | user defined | Buttonhole foot | Darning plate |
|
|
|
|
1.Measure the distance between the holes of the button and select the suitable type of stitch with the stitch type selector w in accordance with the following table:
hole distance of the button | Type of stitch No. |
|
|
1.5 mm (1/16”) | 4 |
|
|
3.5 mm (6/64”) | 5 |
|
|
5 mm (13/64”) | 6 |
|
|
2.Replace the sewing foot s with the sewing foot for sewing on buttons B (see Chapter „Exchanging the sewing foot”).
3.Position the darning plate v on the stitch plate a of the machine. The lateral pins of the darning plate v should slide into the holes in the darning plate a.
4.Position the button to be sewn on between the foot B and the material and check that the needle will pierce the
5.Sew approximately 10 stitches at a low speed.
6.Remove the material from the machine. Cut off the upper and lower threads and knot the two threads underneath.
When the buttonhole seam on the right appears to be too coarse, adjust the screw using the supplied large screwdriver X in the direction marked
By means of the described method of adjustment it is possible to obtain a uniform appearance of the two buttonhole seams.
y – Stitch length setting wheel
u – Fine adjustment screw for sewing buttonholes i –
o – Result
Sewing in zippers
Type of stitch No. | Stitch length/mm | Sewing foot |
|
|
|
3 | Zipper foot | |
|
|
|
The zipper foot M is employed to sew in different types of zippers and can be positioned on the right or on the left of the needle without any difficulties. If you want to sew in the right side of the zipper, fix the foot shaft at the left side of the securing pin at the zipper M; If you want to sew in the left side of the zipper, fix the shaft at the right side of the securing pin.
1.Set the stitch type selector w at 3 and the stitch length 6 at a value between 2 and 3.
2.Lower the sewing foot s using the lifting lever g and allow the shaft to snap on the right or left part of the securing pin on the zipper foot M.
3.Fold over approximately 2 cm (3/4”) of the material and lay the zipper under the material.
4.Lower the needle accordingly in the right or the left notch for the needle in the zipper foot M.
- 13 -