Straight stitch
The following types of stitches are defined as straight stitches:
Type of stitch No. | Stitch length | |
|
| |
2 (with needle positioned |
| |
on the left) | ||
3 (with central needle position) | ||
| ||
|
| |
21 (triple stretch stitch) | firmly fixed at 2.5 | |
|
|
Commencing sewing
1.Position the adjustment wheel of the stitch type selector w such that the desired number appears in the
2.Bring the needle into the highest possible position and raise the sewing foot s.
3.If nothing has happened: retrieve the lower thread by turning the handwheel 0 in an anticlockwise direction and drawing the upper and lower thread together behind the foot.
4.Lay the fabric, respectively layers of fabrics, to be sewn on the sewing table under the raised sewing foot s, in such a manner that the need- le is located approximately 1 cm (3/8“) from the fabric edge and above the start of the seam.
5.Lower the sewing foot s.
6.In order to finish off the end of the seam, by sewing backwards, press the sewing direction reverse switch t as far as it will go and activate the foot pedal l slightly. Backward sewing is used to combine two seams as well as to reinforce seams.
7.After finishing sewing backwards change over to sewing in a forward direction, releasing the direction changeover switch t and briefly taking your foot from the foot pedal l, then pressing the foot pedal down once again l.
Removing the fabric from the machine
1.Stop the machine.
2.Bring the needle into the highest possible position.
3.Raise the sewing foot s and carefully pull the sewn product out towards the left.
4.Cut the two threads (Upper and lower threads) with the thread cutter on the rear of the foot bar.
Take note
The thread cutter is the indentation at the rear of the foot bar. Lay the thread that is to be cut into the indentation, hold the thread firmly to left and right of the foot bar and then draw it downwards.
5.To prepare the machine for sewing the next seam, pull approximately 10 cm (4”) from the upper and lower threads through the toes of the sewing foot s in the direction of the rear of the machine.
Edging seams and stretch materials
•Stitch type No. 2 (simple straight stitch with needle position on the left) is used to sew hems and
•Stitch type No. 21 (straight triple stretch stitch) is used to sew stretch materials.
Sewing in zigzag stitches
Type of stitch No. | Stitch length |
|
|
4 (stitch width 1.5 mm (1/16”)) |
|
|
|
5 (stitch width 3.5 mm (9/64”)) | |
|
|
6 (stitch width 5 mm (13/64”)) |
|
|
|
Changing the sewing direction
1.Stop the machine at the point where you wish to change the sewing direction, ensuring that the needle is piercing the fabric.
2.Raise the sewing foot s and align the fabric to the new sewing direc- tion, whereby you can use the inserted needle as a turning point.
3.Lower the sewing foot s back down and then start sewing in the new direction.
Zigzag stitch
Set the stitch type number on the selector wheel w according to the fixed stitch width of the zigzag stitch. Set the stitch length on the stitch length selector 6.
It is advisable to sew a few stitches in straight stitch at the beginning and end of a zigzag seam.
Finishing the seam
The backwards sewing function is also employed at the ends of the seam to secure and to reinforce the seam.
1.First sew in the forward mode until you reach the end of the seam, then stop the machine in this positon using the foot pedal l.
2.Press the sewing direction reverse switch t, then activate the foot pedal l in order to sew backwards ca. 1 cm (3/8”) from the edge or the end of the seam.
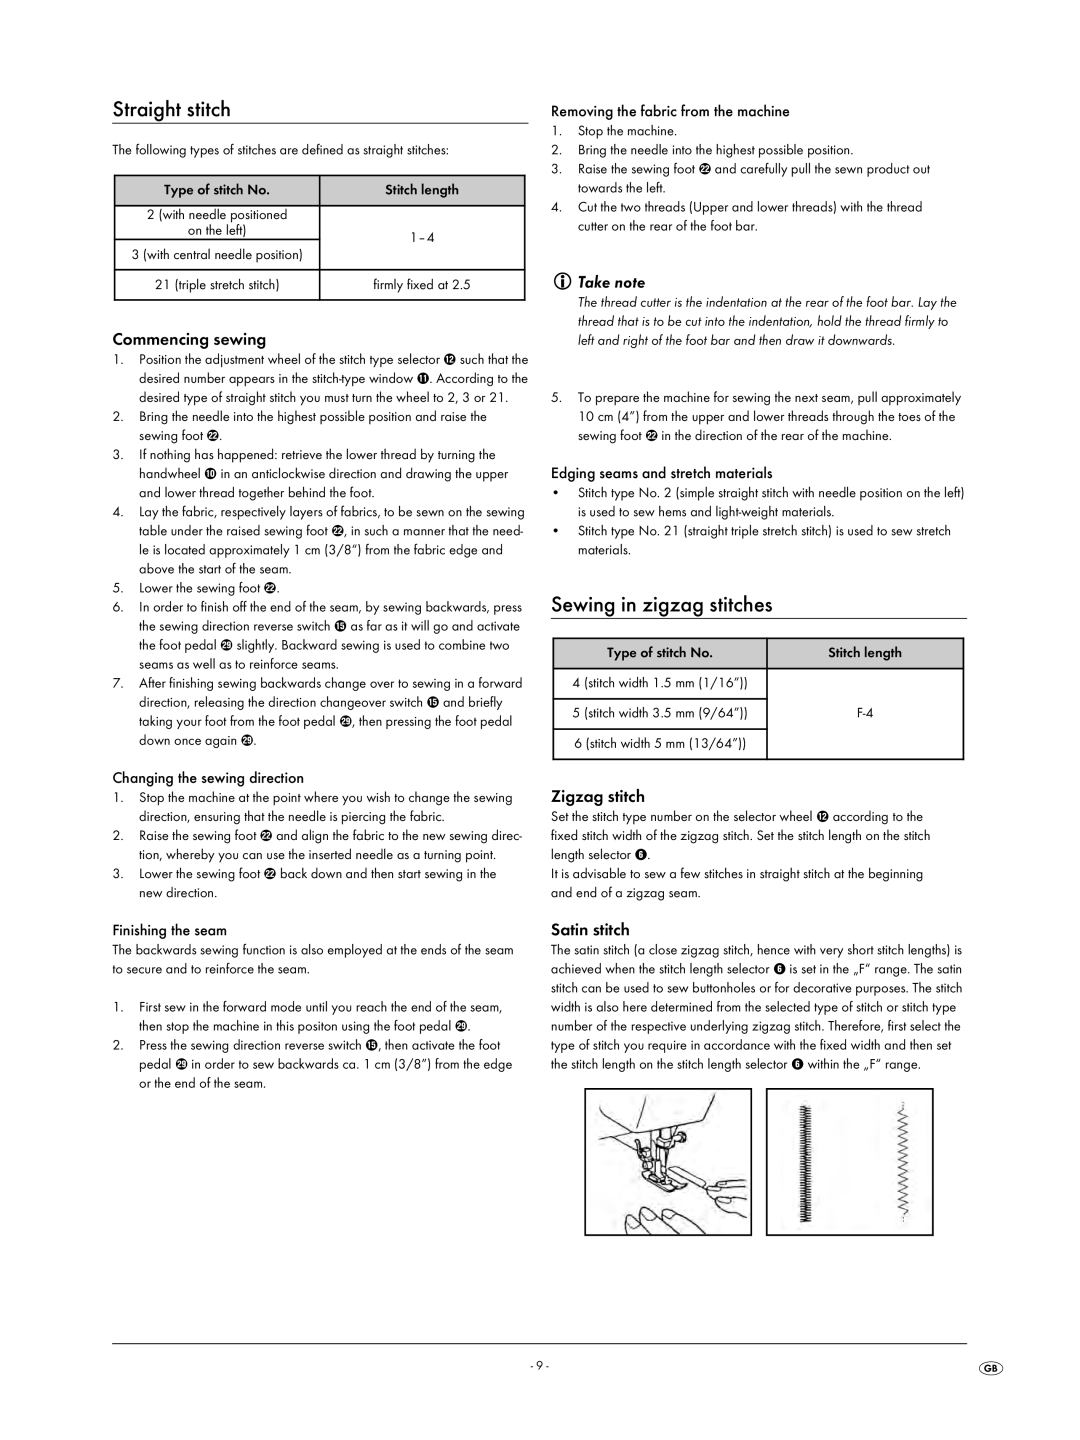
Satin stitch
The satin stitch (a close zigzag stitch, hence with very short stitch lengths) is achieved when the stitch length selector 6 is set in the „F“ range. The satin stitch can be used to sew buttonholes or for decorative purposes. The stitch width is also here determined from the selected type of stitch or stitch type number of the respective underlying zigzag stitch. Therefore, first select the type of stitch you require in accordance with the fixed width and then set the stitch length on the stitch length selector 6 within the „F“ range.
- 9 -